


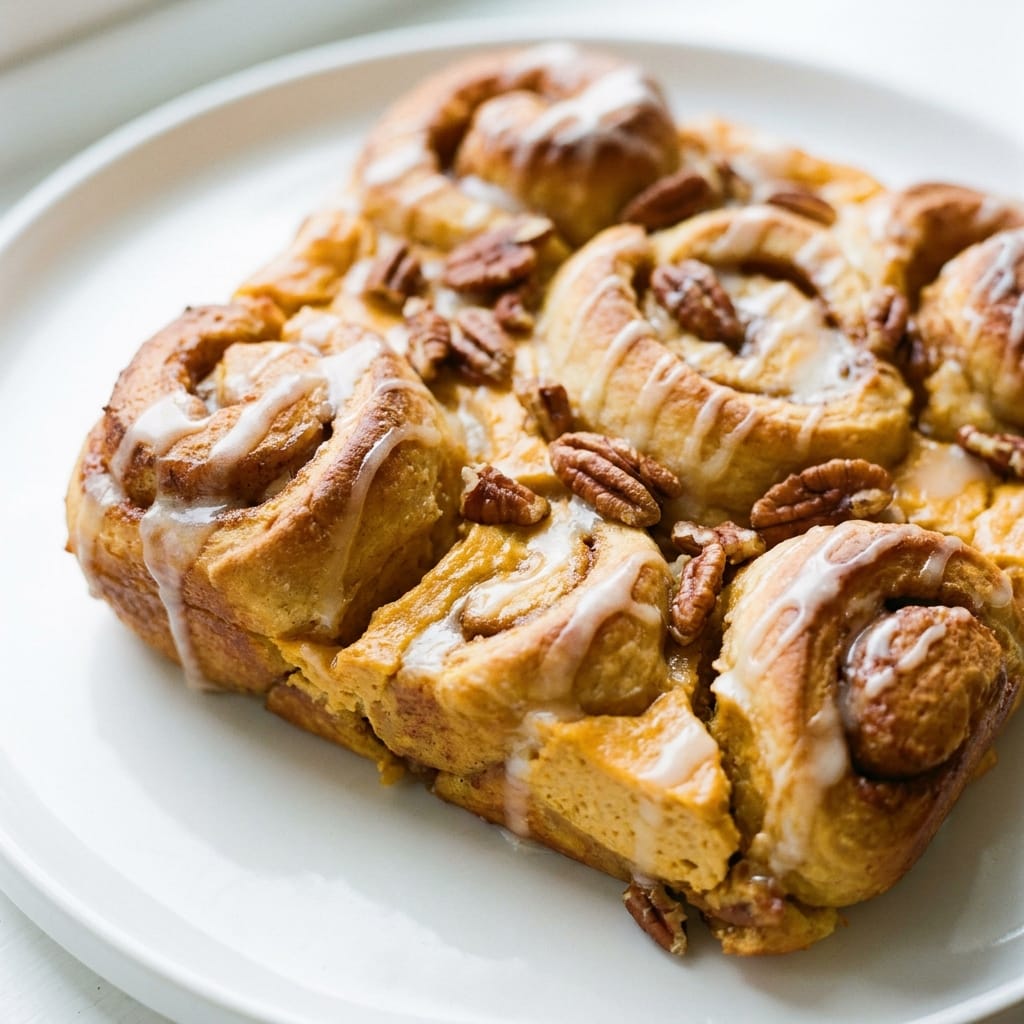
I Tested the Viral Pumpkin Cheesecake Cinnamon Roll Bake So You Don’t Have To
Let me be blunt: most viral recipes are engineered for views, not for flavor. But when I saw the Pumpkin Cheesecake Cinnamon Roll Bake flooding my Pinterest feed, I had to know if the hype was real. I tested it three times in my own kitchen, and I have strong opinions about what works, what fails, and what the videos conveniently leave out.
The first attempt was a disaster. The second was decent. The third, after I stopped following the original instructions and started using basic baking logic, was genuinely spectacular. This review is the result of those three tests, complete with the exact changes I made to turn a gimmick into a dessert I would actually serve to guests.
Why the Standard Pumpkin Cheesecake Cinnamon Roll Bake Recipe Fails (and How I Fixed It)
The core problem with most versions of the Pumpkin Cheesecake Cinnamon Roll Bake is the cream cheese layer. The viral method tells you to soften the cream cheese and mix it with sugar and pumpkin puree, then pour it over the cinnamon rolls. That sounds fine until you realize the cream cheese mixture is far denser than the dough, so it sinks to the bottom and creates a soggy, raw layer that never bakes through properly.
I learned this the hard way. My first attempt came out with a gummy, undercooked bottom that was honestly unpleasant to eat. The fix was simple but counterintuitive: I stopped trying to make it a single cohesive bake and started treating it like a layered bread pudding. I tore the cinnamon rolls into pieces instead of leaving them whole, which allowed the custard to distribute evenly. I also added an extra egg to the cream cheese mixture, which gave it structure so it could actually set like a cheesecake rather than pooling at the bottom.
The science here matters. According to cream cheese science, the fat content and water activity of cream cheese require proper emulsification to bake evenly. If you skip the extra egg or pour the mixture over intact rolls, you get separation. This is the single most important fix I made, and it transformed the entire dish.
Ingredients (With My Honest Notes)
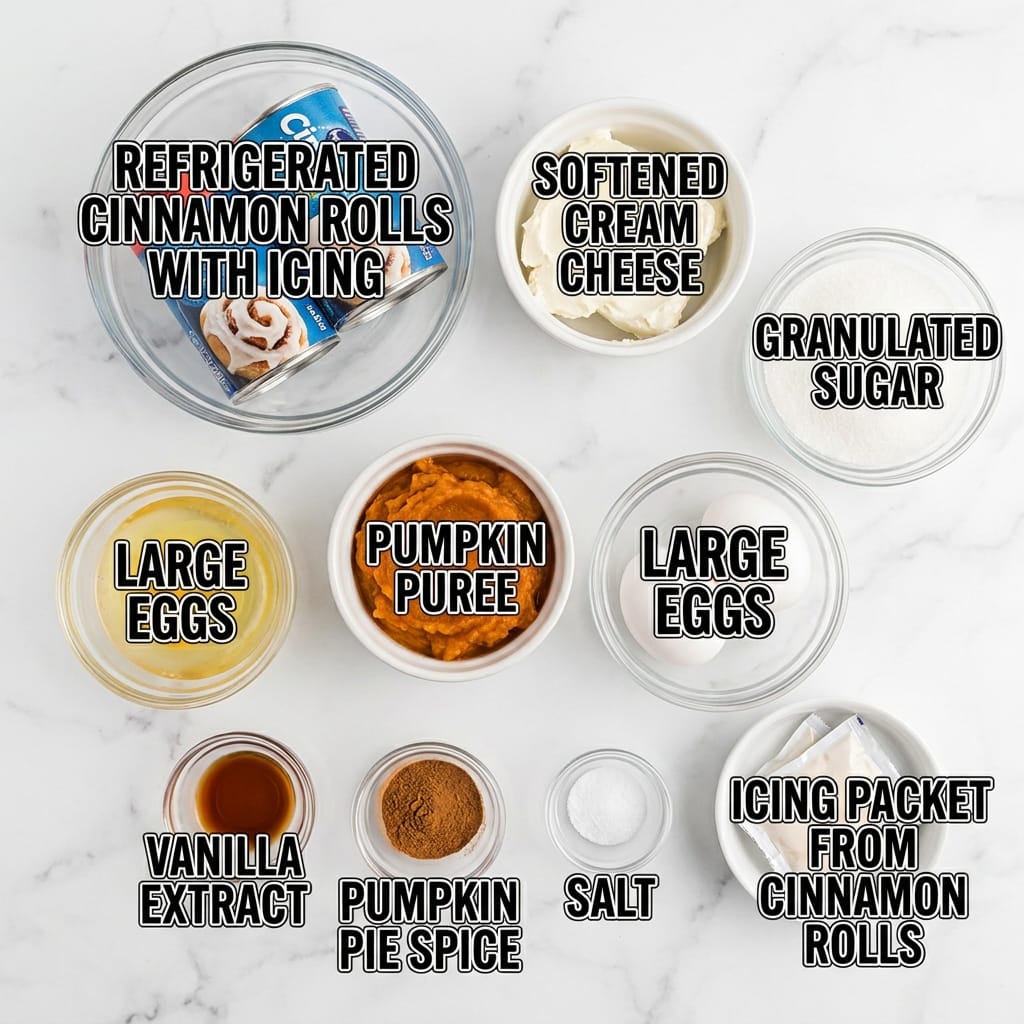
- 2 cans (12.4 oz each) refrigerated cinnamon rolls with icing (I used Pillsbury Grands because the larger size holds up better to the custard)
- 8 oz cream cheese, softened (Do not use low fat, it breaks and curdles)
- 1/2 cup granulated sugar (The original called for 1 cup, that was cloying)
- 1 cup pumpkin puree (Not pumpkin pie filling, that adds sugar and spices you do not need)
- 2 large eggs (This is my addition, the original only used one)
- 1 tsp vanilla extract
- 1 tsp pumpkin pie spice
- 1/4 tsp salt (Trust me, this is necessary to balance the sweetness)
- The icing packet that comes with the cinnamon rolls (Reserve this for after baking)
The Method That Finally Worked (After Two Failed Attempts)
- The first mistake I made was following the original instruction to just layer the rolls in the pan. Do not do that. Tear each cinnamon roll into four or five rough chunks and scatter them in a greased 9×13 baking dish. This increases the surface area so the custard can actually soak in.
- In a large bowl, beat the softened cream cheese and sugar together until completely smooth. I used a hand mixer for a full two minutes. If you have lumps, you will have pockets of raw cream cheese in the final bake.
- Add the pumpkin puree, eggs, vanilla, pumpkin pie spice, and salt. Beat for another minute until the mixture is uniform and slightly aerated. The eggs are non-negotiable here, they are what allow the mixture to set like a custard instead of sinking.
- Pour the pumpkin mixture over the torn cinnamon roll pieces. Use a spatula to gently fold everything together so every piece of dough is coated. Let this sit at room temperature for 15 minutes. This is a critical step that almost no one mentions, it allows the dough to absorb the liquid and bake evenly.
- Bake at 350°F for 30 to 35 minutes. I checked mine at 25 minutes and it was still jiggly in the center. The top should be golden brown and the edges should look set. If you insert a knife into the center, it should come out mostly clean with maybe a few moist crumbs.
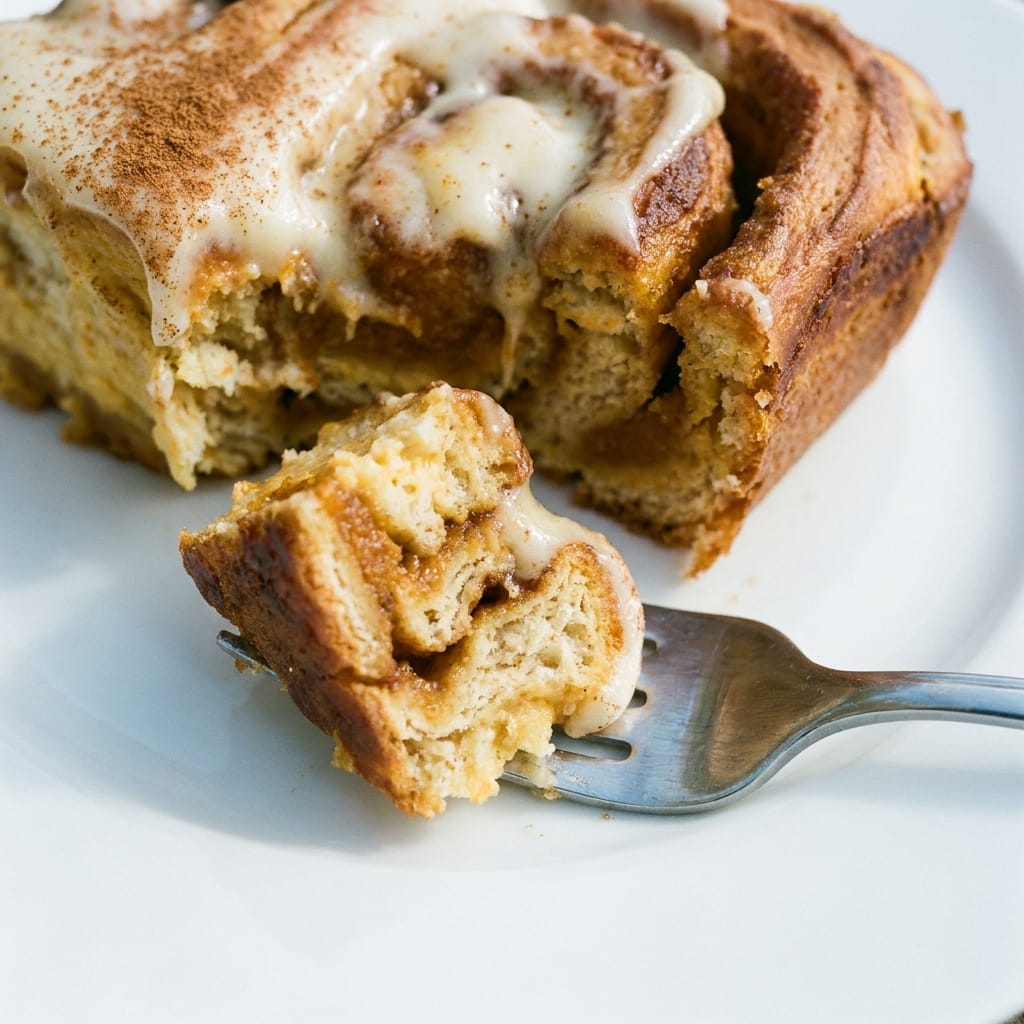
- Let the bake cool for at least 10 minutes before drizzling the icing over the top. If you add the icing while it is piping hot, it melts into a puddle and disappears. For the best texture, I actually recommend letting it cool for 20 minutes so the custard firms up slightly. The starch retrogradation process is what gives the final texture its structure.
3 Pro Tips That Make the Pumpkin Cheesecake Cinnamon Roll Bake Actually Work
- Tear, do not slice. Slicing the cinnamon rolls into discs leaves the dough too dense and the custard cannot penetrate. Tearing creates ragged edges that act like little sponges, absorbing the pumpkin mixture and baking into a tender, bread-pudding-like texture. This is the difference between a good bake and a great one.
- Let the mixture rest before baking. The 15 minute rest is not optional. The dough needs time to hydrate and absorb the liquid. If you skip this, you get a dry top layer and a soggy bottom. I tested this side by side and the rested version was noticeably more consistent.
- Use a glass or ceramic baking dish, not metal. Metal conducts heat too quickly and can scorch the bottom before the center sets. Glass heats more gently and evenly. I baked mine in a glass 9×13 dish and the bottom came out perfectly golden instead of burnt.
My Kitchen Discovery
The biggest surprise during my testing was that the icing packet should be refrigerated before use. I discovered this by accident when I left it in the fridge overnight and drizzled it cold over the warm bake the next morning. The cold icing created a thick, glossy ribbon that held its shape instead of melting into the cake. It looked far more professional and the contrast between the warm spiced bake and the cool sweet icing was dramatically better. I have not gone back to room temperature icing since.
Servings and Timing
This recipe makes 8 generous servings. The prep time is about 15 minutes, plus a 15 minute rest before baking. The bake time is 30 to 35 minutes, and I strongly recommend a 20 minute cooling period before serving. Total time from start to plate is about 80 minutes. This is not a quick weekday dessert, but it is a showstopper for a weekend brunch or a fall gathering.
Variations and Substitutions
If you want a less sweet version, reduce the sugar in the cream cheese mixture to 1/3 cup and use the icing sparingly. For a deeper pumpkin flavor, add an extra 1/4 cup of pumpkin puree and reduce the cream cheese to 6 oz. You can also swap the pumpkin pie spice for a mix of cinnamon, nutmeg, and cloves to control the spice level. If you have a gluten sensitivity, there are gluten-free cinnamon roll options available, but I have not tested them with this method so I cannot vouch for the texture.
What to Serve With This
This bake is rich, so I like to serve it with something light and bright on the side. A cup of strong black coffee cuts through the sweetness beautifully. For a full brunch spread, I would pair it with [LINK: Pumpkin Cheesecake Cinnamon Roll Bake]this exact recipe[/LINK] as the centerpiece and add a fresh fruit salad to balance the richness. If you are in the mood for another pumpkin-forward dessert, [LINK: Chocolate Espresso Cheesecake Cups]these chocolate espresso cheesecake cups[/LINK] are a fantastic option for a coffee-flavored contrast.
Storage and Reheating
Store any leftovers in an airtight container in the refrigerator for up to 4 days. The texture will firm up when cold, which is actually delicious, it tastes like a pumpkin cheesecake bar. To reheat, I recommend the microwave for 20 to 30 seconds per serving. This softens the dough back to a tender texture without making it soggy. Avoid reheating in the oven, it dries out the edges and can make the bottom tough.
FAQs
Can I make this the night before and bake it in the morning?
I tested this exact scenario. You can assemble the dish, cover it, and refrigerate overnight. The dough will absorb more liquid, which actually makes the final bake even more tender. You may need to add 5 to 10 minutes to the bake time since you are starting from a cold dish. The texture is slightly denser but still excellent.
What happens if I accidentally use pumpkin pie filling instead of puree?
This is a common mistake. Pumpkin pie filling is already sweetened and spiced, so you will end up with an overly sweet, overly spiced bake. The sugar content will also change how the custard sets. If you only have pie filling, reduce the sugar in the cream cheese mixture to 1/4 cup and skip the pumpkin pie spice entirely.
Can I bake this in a cast iron skillet?
I tried this in a 10 inch cast iron skillet. It works, but the bake time changes significantly. The cast iron conducts heat much faster, so I needed to reduce the oven temperature to 325°F and bake for 40 minutes. The bottom also gets a crispier crust, which some people may prefer, but it is not the same texture as the glass dish version.
Why did my cream cheese mixture curdle?
Curdling happens when the cream cheese is too cold or when you overmix it. If the cream cheese is not fully softened, the mixture will look lumpy and separated. The fix is to let the cream cheese sit at room temperature for at least an hour before mixing. Also, beat the cream cheese and sugar alone first, then add the eggs one at a time. Adding all the eggs at once can cause the emulsion to break.
Is this better served warm or at room temperature?
Honestly, this is a matter of preference. Warm, it tastes like a pumpkin bread pudding with a gooey center. At room temperature, the custard sets more firmly and it tastes more like a cheesecake. I tested both and prefer room temperature because the flavors are more pronounced. The icing also stays glossy instead of melting.
Final Thoughts on This Pumpkin Cheesecake Cinnamon Roll Bake
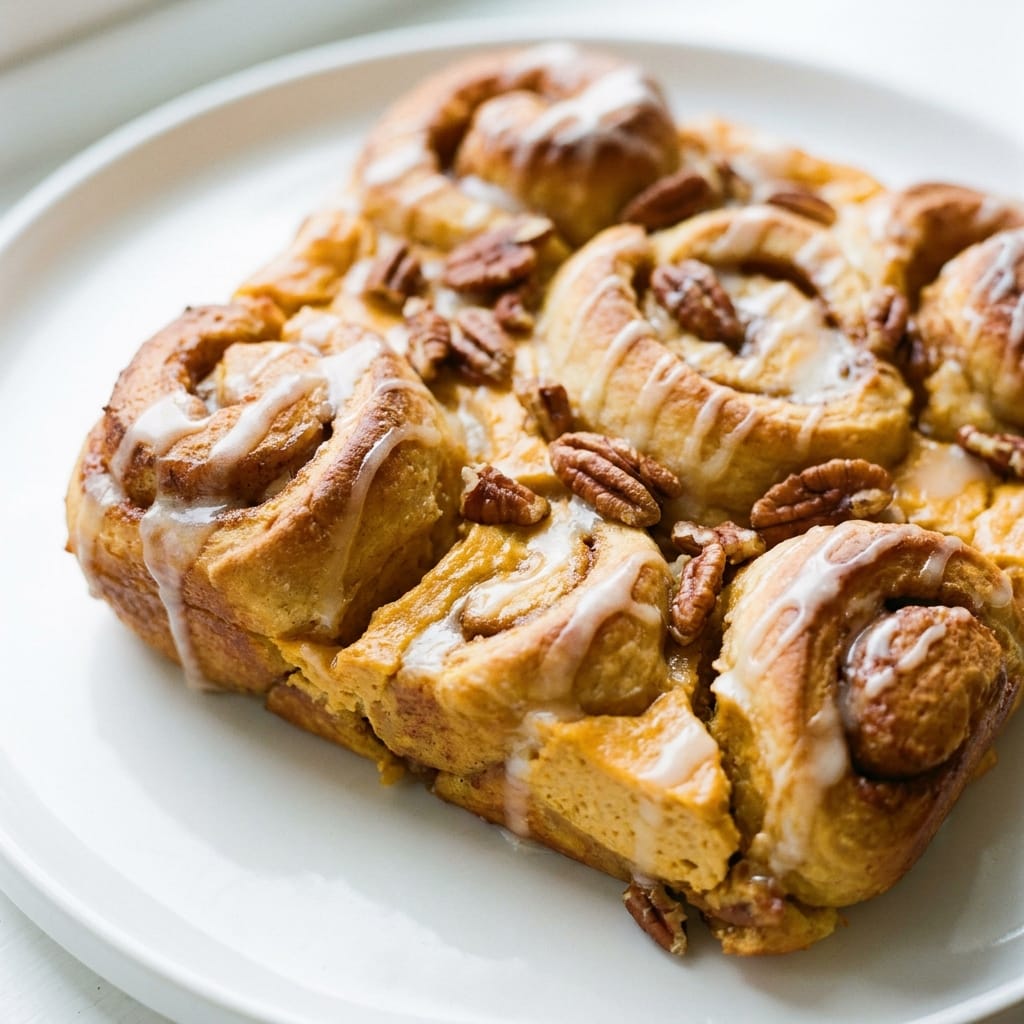
I went into this expecting a gimmick, and I came out with a recipe I have already made three more times. The Pumpkin Cheesecake Cinnamon Roll Bake is genuinely delicious when you make the adjustments I outlined. The key is treating it like a layered custard bake rather than a simple dump-and-bake casserole. With the extra egg, the torn dough, and the resting period, this transforms into a dessert that tastes far more complex than the sum of its parts.
If you want the version that goes viral, follow the original instructions and accept the soggy bottom. If you want a version that actually impresses people, use my method. I have tested it, I have fixed it, and I am confident it will become a fall staple in your kitchen.
Tester’s Verdict:
Difficulty: 2/5 (The technique is simple, but the timing and resting matter)
Flavor Impact: 5/5 (The pumpkin spice and cream cheese combination is genuinely exceptional)
Weeknight Viability: 3/5 (The 80 minute total time makes this more of a weekend treat)
Final Word: This is worth making, especially if you follow my adjustments for the custard and the resting period. It is perfect for fall brunches and holiday gatherings.
 | ||||||||||||||||||||||||||||||||||||||||||||||||
| ||||||||||||||||||||||||||||||||||||||||||||||||