


My Best Tips for Perfect Delicious Cauliflower Recipes and Healthy Vegetable Sides for Easy Meal Ideas
Why You’ll Love This Recipe
I have to be honest with you. For years, I treated cauliflower like a boring diet food. I would steam it until it was sad and mushy, then force myself to eat it because I thought it was healthy. It was a total disservice to this incredible vegetable.
Everything changed when I learned how to treat cauliflower with respect. I discovered that high heat and proper seasoning transform it from a bland lump into a nutty, sweet, and incredibly versatile ingredient. Whether I am roasting it for a simple side or pulsing it into rice for a low-carb base, these techniques have become staples in my kitchen. Learning the science behind roasting vegetables on a Wikipedia page about roasting really opened my eyes to why we need hot ovens and space between the florets.
This collection of Delicious Cauliflower Recipes and Healthy Vegetable Sides for Easy Meal Ideas is born from that journey. I want to share the exact methods that finally made me love this vegetable. These are the tips and tricks I use every single week, and they will change how you see cauliflower too.
Ingredients
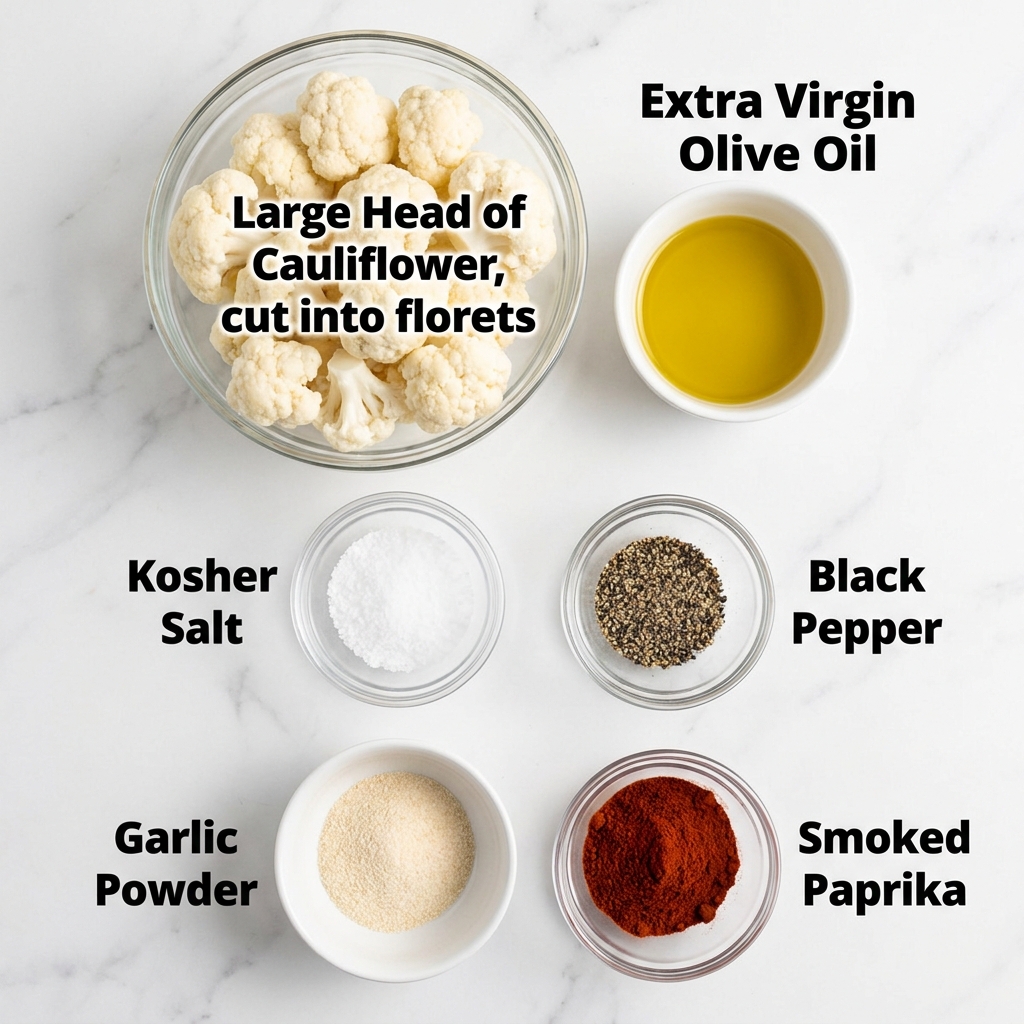
For a basic roasted cauliflower side, you will need these simple ingredients:
- 1 large head of cauliflower
- 3 tablespoons of extra virgin olive oil
- 1 teaspoon of kosher salt
- 1/2 teaspoon of black pepper
- 1/2 teaspoon of garlic powder
- 1/4 teaspoon of smoked paprika (optional but recommended)
For a creamy cauliflower mash, you will need:
- 1 large head of cauliflower, cut into florets
- 2 tablespoons of unsalted butter
- 1/4 cup of heavy cream or full-fat milk
- 1 clove of garlic, peeled
- Salt and white pepper to taste
Step-by-Step Directions
Let me walk you through my favorite method for perfectly roasted florets. This is the foundation for so many of my Delicious Cauliflower Recipes and Healthy Vegetable Sides for Easy Meal Ideas.
First, preheat your oven to a very hot 425 degrees Fahrenheit. Do not skip this step. A hot oven is non-negotiable for getting that golden brown color.
While the oven heats, prepare your cauliflower. Cut the head into uniform florets. I aim for pieces that are about one to two inches wide. If they are all different sizes, the small ones will burn before the large ones are tender.
Place the florets on a large, rimmed baking sheet. Drizzle with olive oil and sprinkle with the salt, pepper, garlic powder, and smoked paprika. Use your hands to toss everything together. Make sure every single floret is coated.
Here is the most important part. Spread the florets out into a single layer. You need space between each piece. If they are crowded, they will steam instead of roast. If your baking sheet is too small, use two.
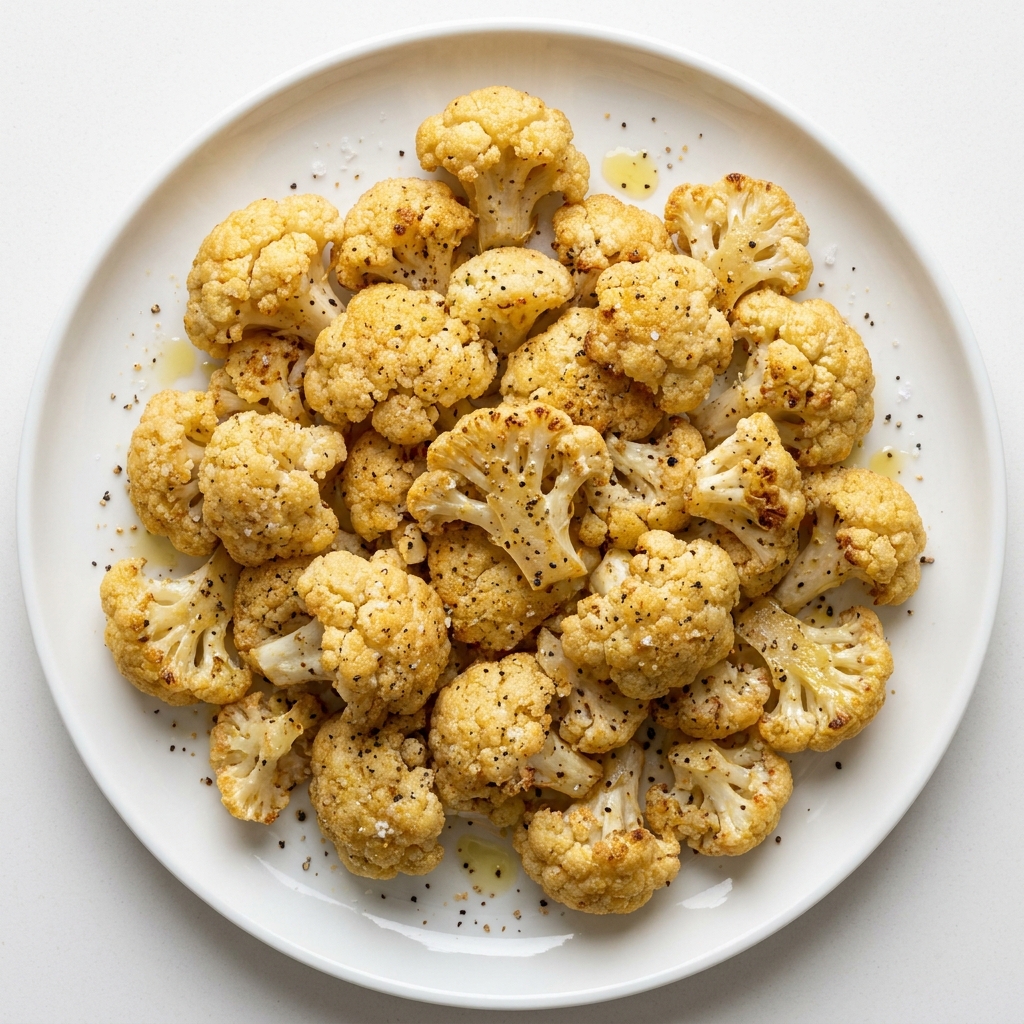
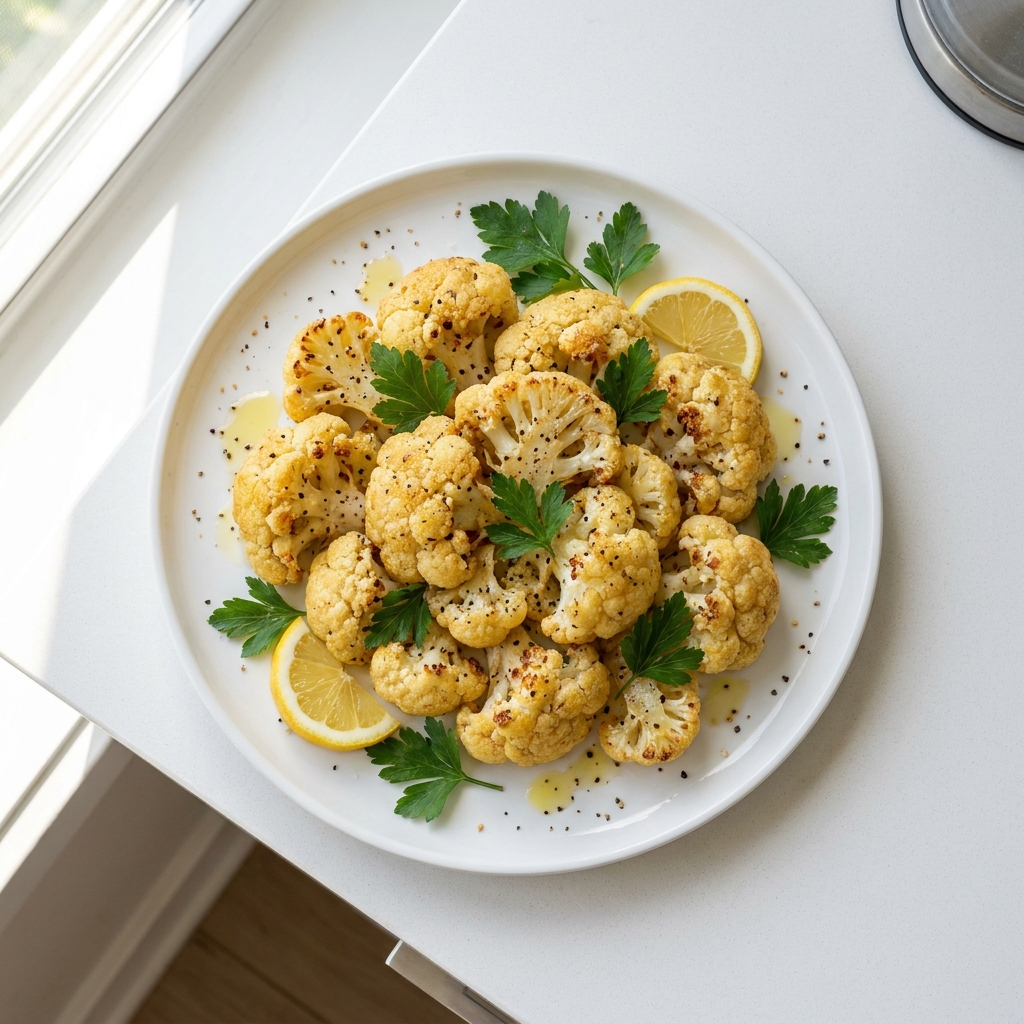
Slide the pan into the oven and roast for 20 minutes. Do not stir them yet. After 20 minutes, flip each floret over with a spatula. Return the pan to the oven for another 10 to 15 minutes. The florets should be deeply golden brown on the edges and tender when pierced with a fork. The smell in your kitchen will be incredible, like toasted nuts and butter.
Pro Tips for Success
Here are the non-negotiable rules I follow for every batch.
First, always dry your cauliflower completely after washing it. Any excess water will turn into steam in the oven and prevent browning. I pat mine dry with a clean kitchen towel and then let it sit on the counter for a few minutes to air dry.
Second, do not be shy with the fat. Cauliflower loves olive oil or butter. A generous coating helps it brown and adds richness. If you skimp on the oil, you will end up with dry, pale florets. Understanding the Maillard reaction on Wikipedia explains why fat and high heat are essential for that beautiful color and deep flavor.
Third, season aggressively. Cauliflower is a blank canvas. It needs salt to bring out its natural sweetness. I use more salt than I think I need, and the results are always better for it.
Servings and Timing
This recipe for roasted cauliflower serves four people as a side dish. The total time from start to finish is about 45 minutes, with only 10 minutes of active prep. The oven does all the hard work while you focus on the main course. For the creamy mash, the total time is about 30 minutes, with 15 minutes of active work.
Variations and Substitutions
The beauty of these Delicious Cauliflower Recipes and Healthy Vegetable Sides for Easy Meal Ideas is how easily you can change them. For a spicy kick, I toss the florets with a tablespoon of sriracha or a pinch of cayenne pepper before roasting. For an Indian-inspired side, I use garam masala and turmeric instead of the garlic powder and paprika.
If you need a dairy-free version of the mashed cauliflower, substitute the butter with a good quality vegan butter and use unsweetened almond milk or oat milk in place of the heavy cream. The texture will be slightly less rich, but still creamy and delicious. For a cheesy twist, stir in a handful of sharp cheddar or parmesan right after mashing.
You can also turn the roasted florets into a hearty salad. Let them cool, then toss with chickpeas, fresh parsley, a squeeze of lemon, and a sprinkle of toasted pine nuts. It is a completely different dish from the same base recipe.
What to Serve With This
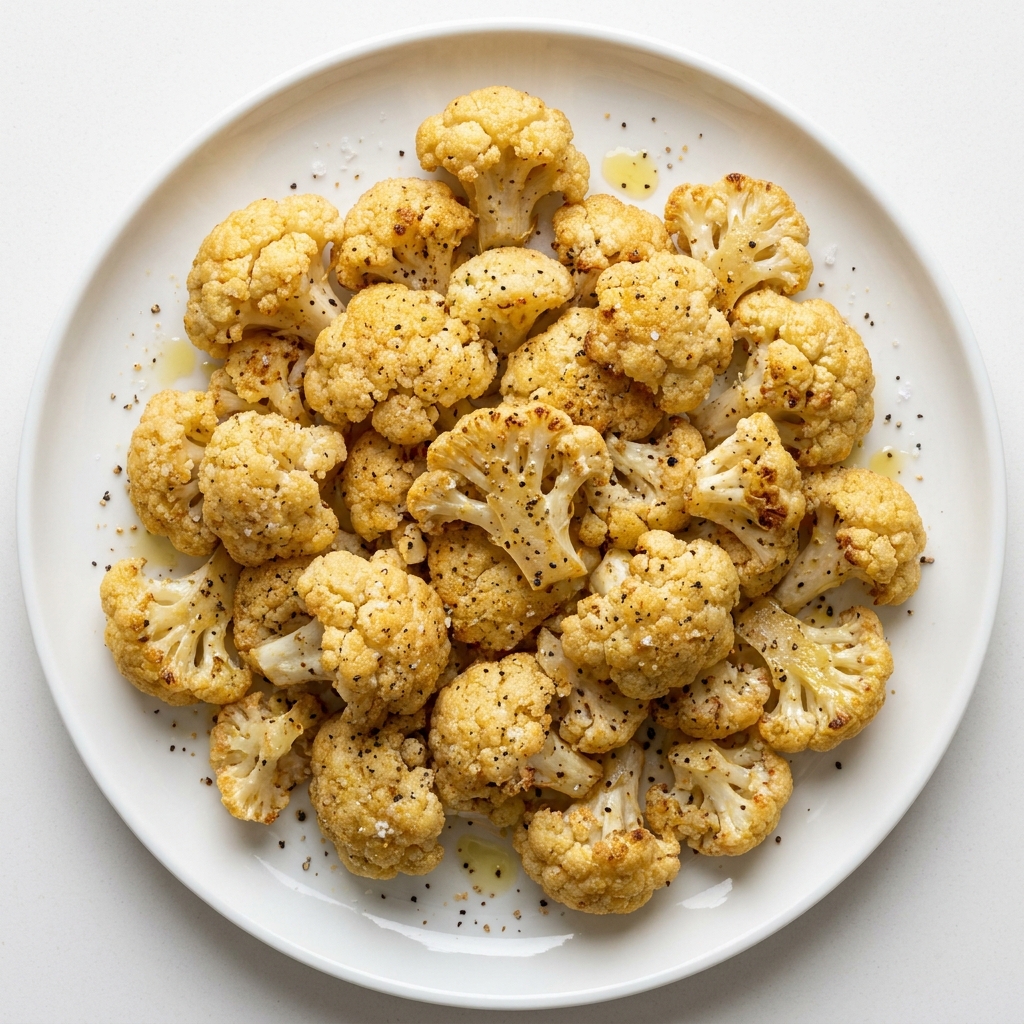
These sides are incredibly versatile. I love serving the roasted florets alongside a simple roasted chicken or a piece of pan-seared salmon. The nutty flavor of the cauliflower pairs beautifully with the richness of the meat.
For a fully plant-based meal, I serve the creamy mashed cauliflower as a base for a hearty mushroom stew. It is so comforting and satisfying. If you are looking for more inspiration for your table, you might enjoy my guide to [LINK: Delicious Cauliflower Recipes and Healthy Vegetable Sides for Easy Meal Ideas]other simple vegetable sides[/LINK]. For a different kind of low-carb side, check out my tips for [LINK: Keto Desserts]sugar-free options[/LINK] that are just as satisfying.
Storage and Reheating
Leftover roasted florets store beautifully. Place them in an airtight container and keep them in the refrigerator for up to four days. The texture will soften slightly, but the flavor remains excellent.
To reheat, I strongly recommend using the oven or an air fryer. The microwave will make them soggy. Spread them on a baking sheet and warm them at 350 degrees Fahrenheit for about 5 to 7 minutes. They will crisp back up nicely.
The mashed cauliflower also stores well for three to four days. Reheat it gently on the stovetop over low heat, stirring frequently. You might need to add a splash of milk or cream to loosen the texture as it thickens in the fridge.
FAQs
Q: Can I use frozen cauliflower for roasting?
I do not recommend it. Frozen cauliflower holds a lot of water. When you roast it, that water releases and creates steam. You will end up with mushy, pale florets instead of crispy, golden ones. If you only have frozen cauliflower, thaw it completely in the fridge overnight, then press it between paper towels to remove as much moisture as possible before roasting. The texture will still be softer than fresh, but it will be more acceptable.
Q: Why did my mashed cauliflower turn out watery and thin?
This is the most common mistake. Cauliflower is full of water. If you do not remove it before mashing, your puree will be soupy. The trick is to squeeze the cooked florets in a clean kitchen towel after boiling or steaming them. You will be shocked at how much liquid comes out. Do not skip this step. It is the difference between a fluffy, creamy mash and a sad, watery puddle.
Q: What if I accidentally leave the roasted florets in the oven for 40 minutes?
It depends on your oven and the size of your florets. In a very hot oven, 40 minutes will likely result in very dark, almost burnt edges. The inside might still be tender, but the outside will be bitter. I have done this before when I got distracted. I salvaged it by trimming off the blackened tips and tossing the rest with a tangy vinaigrette to balance the bitterness. It was edible but not my best work. Set a timer and check at 25 minutes.
Q: Can I use a food processor to make cauliflower rice instead of a box grater?
Yes, but you have to be very careful. If you pulse too long, you will end up with cauliflower paste instead of rice. Cut the florets into small chunks first. Then pulse them in the food processor in short bursts, about five to six times, until the pieces are the size of rice grains. Dump it out immediately and do not over-process. I prefer using a box grater because I have more control, but the food processor is faster for large batches.
Q: Is it safe to eat the leaves and stem of the cauliflower?
Absolutely. The leaves are entirely edible and taste like a cross between kale and cabbage. I chop them up and roast them right alongside the florets. They get wonderfully crispy. The thick stem is also edible. I peel off the tough outer layer with a vegetable peeler, then chop the tender inner core into small cubes. It cooks at the same rate as the florets. Using the whole head reduces food waste and gives you more food for your money.
Conclusion
I hope these tips help you see cauliflower in a new light. It is not a punishment vegetable. It is a blank canvas that can be crispy, creamy, nutty, and absolutely delicious. The key is high heat, enough fat, and proper seasoning.
These Delicious Cauliflower Recipes and Healthy Vegetable Sides for Easy Meal Ideas have become a regular part of my weekly meal prep. I hope they become a staple in your kitchen too. Give one of these methods a try tonight. I promise you will be surprised by what a simple head of cauliflower can become. Let me know how it turns out in the comments.
 | ||||||||||||||||||||||||||||||||||||||||||||||
| ||||||||||||||||||||||||||||||||||||||||||||||