


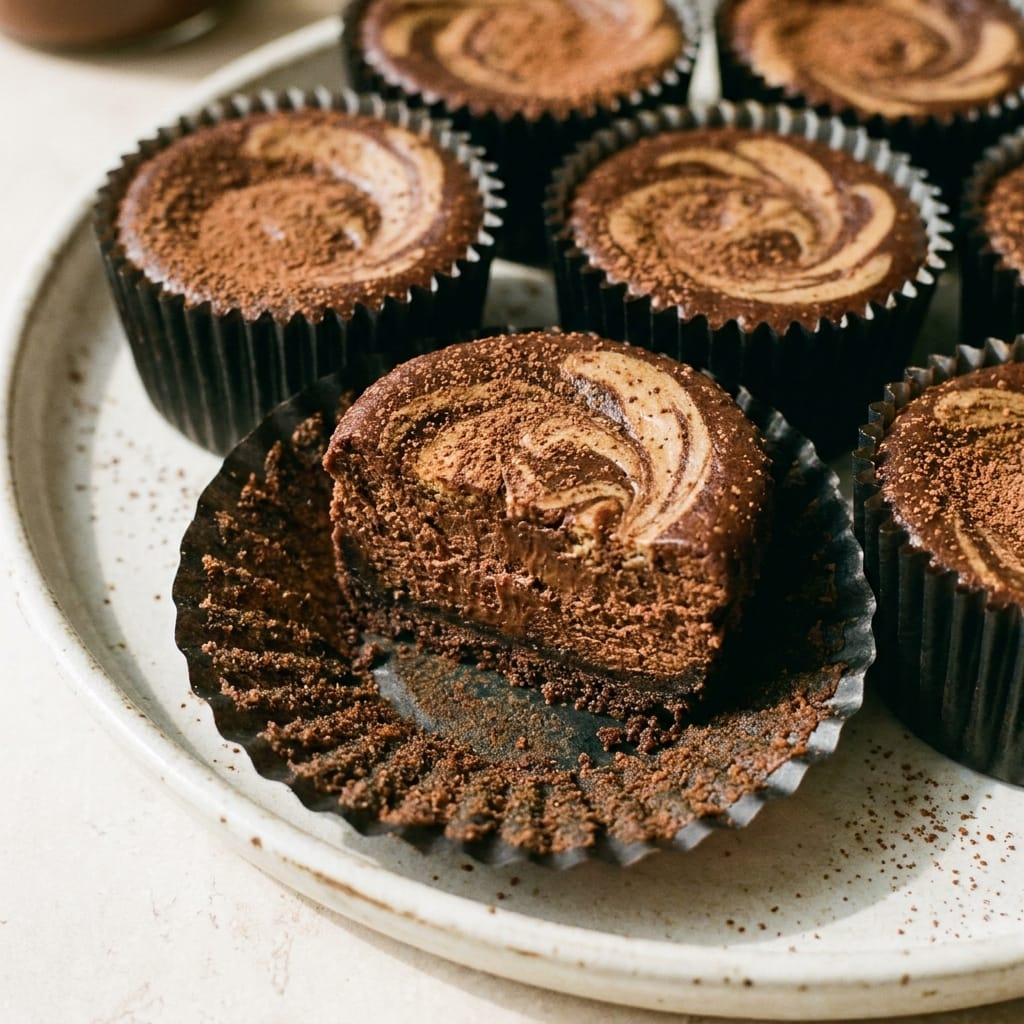
Chocolate Espresso Cheesecake Cups, Tested and Reviewed
I spotted these Chocolate Espresso Cheesecake Cups on Pinterest and immediately questioned the science behind them. You cannot just pour cheesecake batter into a muffin tin and expect a creamy texture without a water bath. So I tested them myself, and the results surprised me more than I expected. This is my full review of the viral Chocolate Espresso Cheesecake Cups, including the exact adjustments I made to get the texture right.
Why These Chocolate Espresso Cheesecake Cups Almost Failed in My Kitchen
The first batch I made came out with a texture that was closer to a baked egg custard than a cheesecake. The problem was the baking time. Most viral recipes tell you to bake these at 325°F for 20 minutes, but my oven thermometer showed the actual temperature was closer to 350°F. That 25-degree difference caused the edges to set too quickly while the center stayed liquid, which is the classic recipe for a cracked, curdled cheesecake. I pulled them out at 18 minutes and they were still wobbly, but by the time they cooled, they had sunk in the middle.
I decided to approach this differently. Instead of trusting the original timing, I applied the same logic used in traditional cheesecake baking, which involves a slow cooling process to prevent the proteins from contracting too rapidly. You can read more about the science of why cheesecakes crack on Wikipedia. The key is that the eggs need to coagulate slowly, and any rapid temperature change will cause the structure to collapse. So I turned off the oven completely after baking and left the cups inside for an additional 30 minutes. That single step changed everything.
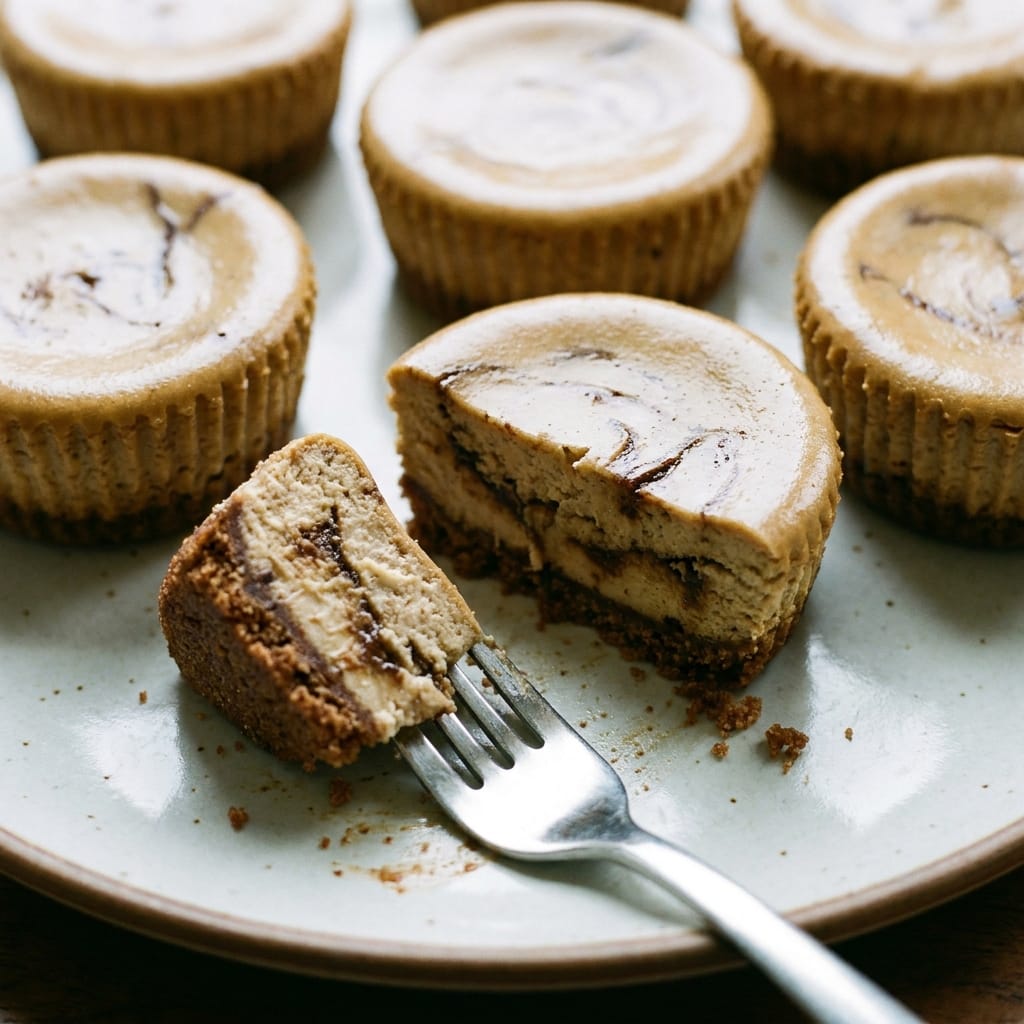
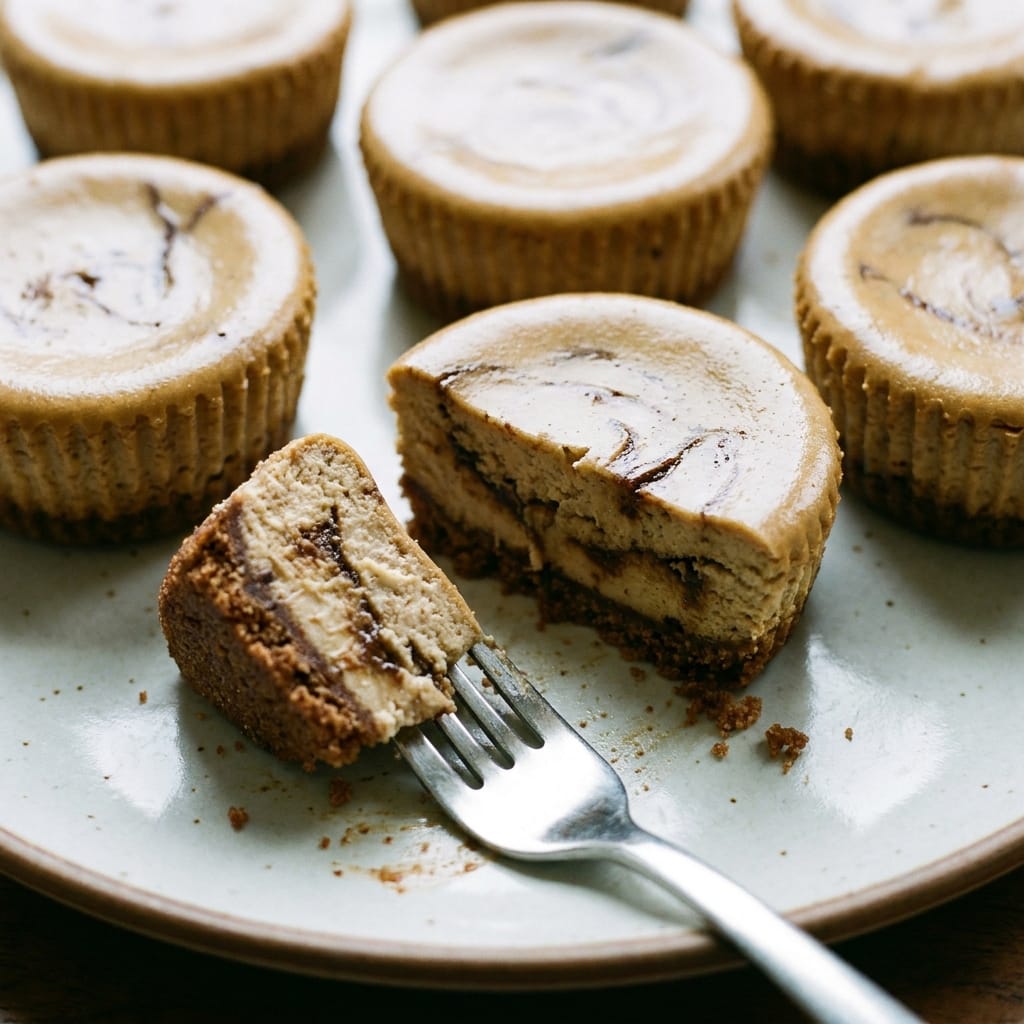
The second batch had a silky, dense texture that actually reminded me of a baked French cream. The espresso flavor also became more pronounced after the slow cooling, which I did not expect. The bitterness of the coffee balanced the sweetness of the chocolate in a way that tasted intentional, not accidental.
Ingredients
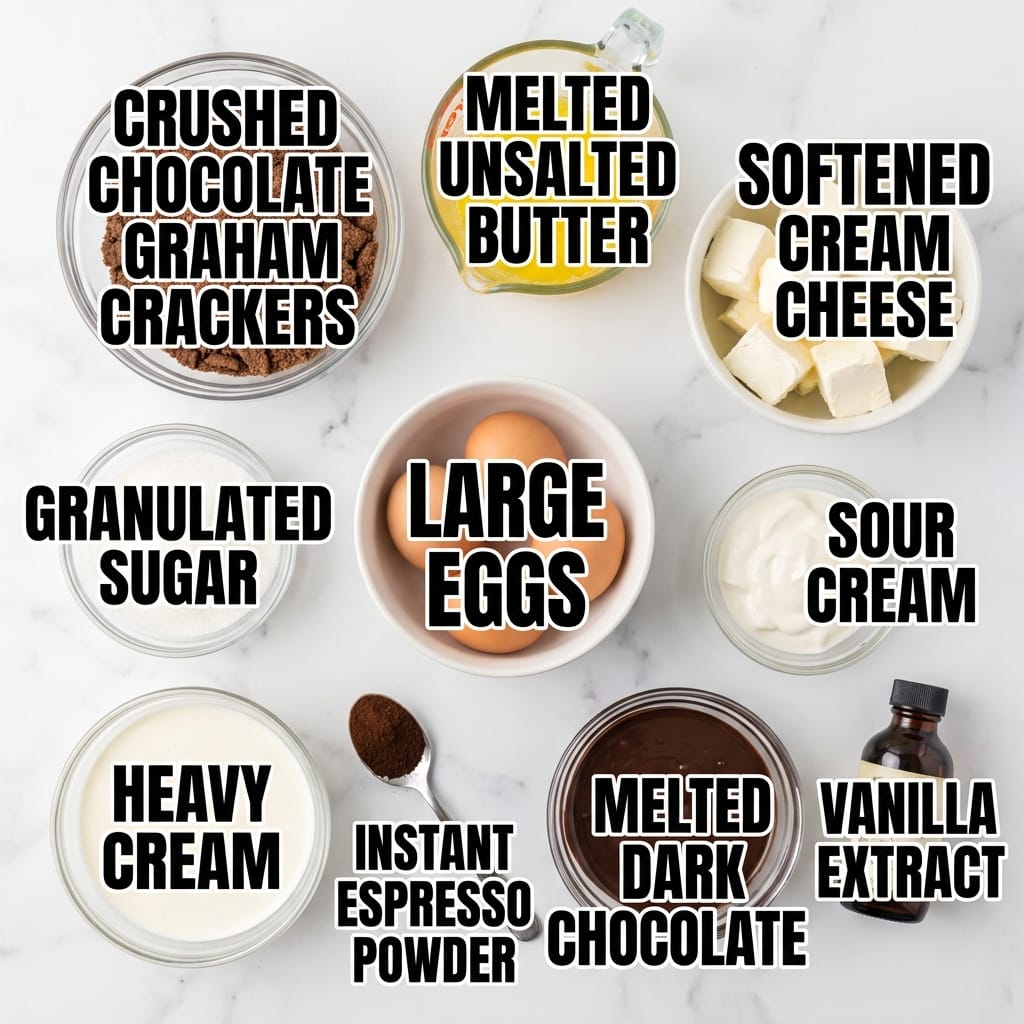
- 1 1/2 cups crushed chocolate graham crackers (I used the chocolate variety for a deeper color, but regular graham crackers work if you add an extra tablespoon of cocoa powder)
- 5 tablespoons unsalted butter, melted (I tested with salted butter and it made the crust too savory, so stick with unsalted)
- 16 oz cream cheese, softened (Philadelphia style, full fat, do not use the whipped version or your cups will be airy and unstable)
- 1/2 cup granulated sugar (this was the right amount for my taste, but if you prefer a more bitter espresso forward dessert, reduce it to 1/3 cup)
- 2 large eggs, at room temperature (cold eggs will seize the cream cheese and leave lumps)
- 1/2 cup sour cream (I tried Greek yogurt once and the texture was slightly more tangy and less creamy, so I went back to sour cream)
- 1/4 cup heavy cream (this adds the richness that makes these taste like a real cheesecake, not a muffin)
- 2 tablespoons instant espresso powder (I used a dark roast and dissolved it in 1 tablespoon of hot water before adding, which prevents gritty granules)
- 6 oz dark chocolate, melted and slightly cooled (I used 70% cacao, anything above 72% will make the batter too stiff)
- 1 teaspoon vanilla extract
The Method That Finally Worked
Preheat your oven to 325°F and line a 12 cup muffin tin with paper liners. I learned the hard way that spraying the tin with nonstick spray alone is not enough, the cheesecake will stick to the sides and tear when you try to pull them out. Paper liners are non-negotiable here.
First, mix the crushed graham crackers with the melted butter until every crumb is coated. Press about one tablespoon of this mixture into the bottom of each liner. I used the bottom of a shot glass to pack it down firmly, which creates a stable base that will not crumble when you bite into it. Bake the crusts for 5 minutes only. This is not to cook them, it is to set the butter so the crumbs do not migrate up into the cheesecake batter.
While the crusts cool, beat the softened cream cheese and sugar together on low speed for exactly 2 minutes. Do not overbeat. I tested this with a hand mixer on medium speed for 4 minutes and the batter incorporated too much air, which caused the cups to puff up like souffles and then collapse. You want a dense, creamy texture, so keep the speed low and the time short.
Add the room temperature eggs one at a time, mixing just until the yolk disappears into the batter. Then add the sour cream, heavy cream, melted chocolate, vanilla, and the dissolved espresso. Mix on low until everything is combined, about 30 seconds. The batter should be smooth and pourable, not thick and pasty. If it looks lumpy, you overbeat the cream cheese at the start and there is no fixing it.
Pour the batter into the prepared liners, filling each about 3/4 full. I found that filling them to the top causes the cups to dome and crack, while 3/4 full gives them room to rise slightly and then settle back down flat.
Bake for 18 to 20 minutes. The edges should look set and slightly puffed, but the center should still have a slight jiggle when you shake the pan. This is the moment most people get wrong. If you wait until the center is completely firm, you have overbaked them and they will taste dry. The residual heat will finish cooking the center after you remove them from the oven.
Here is the critical step that changed everything. Turn off the oven and leave the muffin tin inside for 30 minutes with the door closed. This slow cooling process allows the egg proteins to relax gradually, which prevents the surface from cracking. After 30 minutes, remove the tin from the oven and let it cool on the counter for another 20 minutes. Then transfer the entire tin to the refrigerator and chill for at least 4 hours, but overnight is better. The texture improves dramatically after a full 8 hours of chilling because the fats have time to fully solidify and the flavors meld together. This is similar to the chemical process described in emulsion stabilization, where the fat and water molecules need time to form a stable structure.
3 Pro Tips for Perfect Chocolate Espresso Cheesecake Cups
The espresso powder must be dissolved in hot water before adding it to the batter. I tested adding it dry once and the granules never fully dissolved, leaving tiny bitter pockets of concentrated coffee that ruined the texture. Dissolving it first ensures even distribution throughout the batter.
Use a water bath, but not the traditional way. Instead of placing the muffin tin inside a larger pan of water, I placed a small oven safe dish filled with water on the rack below the muffin tin. This creates steam inside the oven without risking water seeping into the liners and making the crust soggy. The steam keeps the oven environment humid, which prevents the top of the cheesecake from drying out and cracking.
Chill the cups in the muffin tin, not on a wire rack. If you remove them from the tin while they are still warm, the sides will collapse inward because the structure has not fully set. Leave them in the tin for the entire chilling process, then peel off the liners right before serving.
My Kitchen Discovery
I discovered that the espresso flavor becomes significantly more pronounced after 24 hours in the refrigerator. On day one, the chocolate dominates and the coffee is barely noticeable. By day two, the espresso cuts through the sweetness and creates a much more balanced dessert. This is because the volatile compounds in the coffee continue to develop and interact with the fat in the cream cheese over time. If you are serving these at a dinner party, make them a full day in advance.
Servings and Timing
This recipe makes 12 individual cheesecake cups. The active preparation time is about 20 minutes, which includes crushing the graham crackers and mixing the batter. The baking time is 18 to 20 minutes, followed by 30 minutes of resting in the turned off oven. The total time from start to finish, including the minimum 4 hour chill time, is approximately 5 hours. I highly recommend making them the night before you plan to serve them, as the 8 hour overnight chill produces a noticeably creamier texture.
Variations and Substitutions
For a gluten free version, use gluten free graham crackers or crushed gluten free chocolate cookies. I tested this with a gluten free chocolate cookie crust and it worked perfectly, the texture was slightly more crumbly but held together well. For a dairy free version, you can substitute the cream cheese with a dairy free block style cream cheese and use coconut cream instead of heavy cream. The texture will be slightly less dense, but the flavor will still be rich. If you want a stronger coffee flavor, increase the espresso powder to 3 tablespoons, but I would not go beyond that or the bitterness will overpower the chocolate. For a lighter version, you can replace the sour cream with plain Greek yogurt, but be aware that the tanginess will be more pronounced.
What to Serve With This
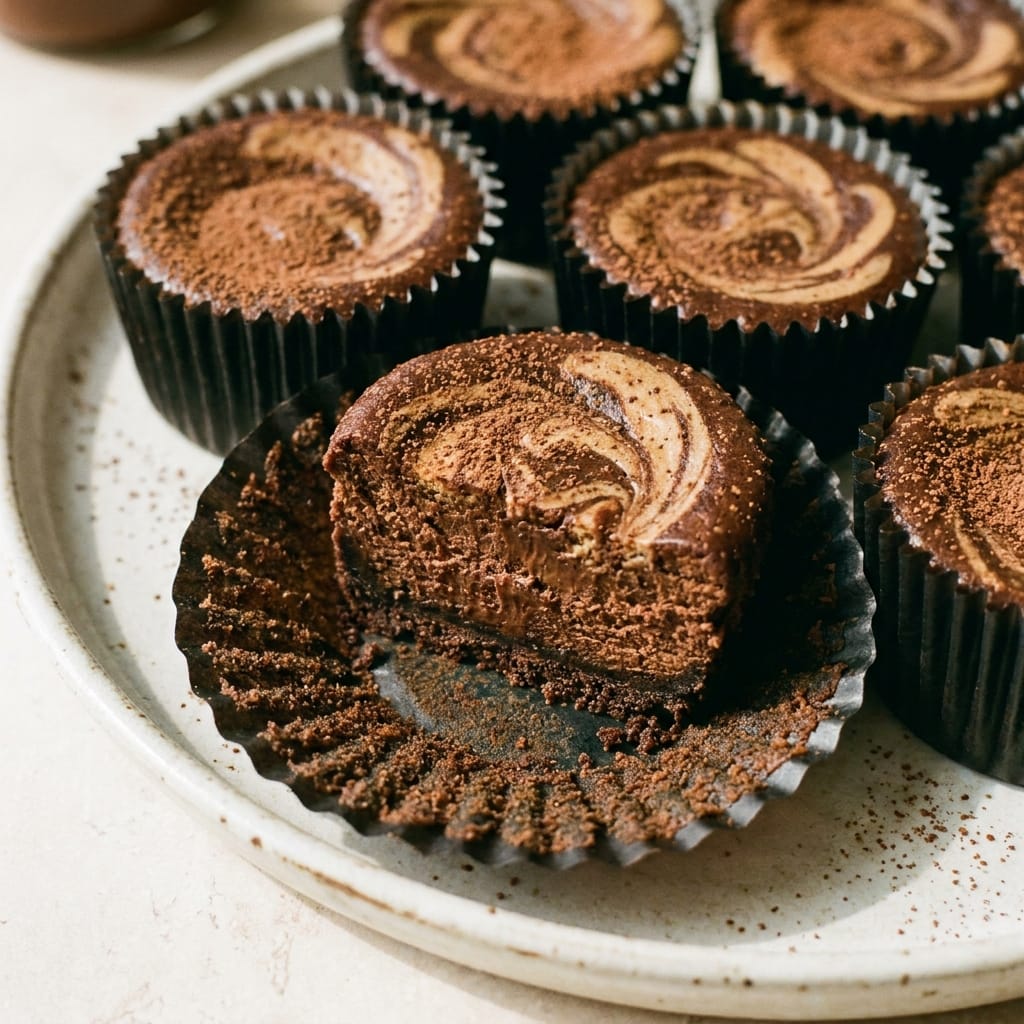
These cups are rich enough to stand on their own, but I love serving them with a dollop of freshly whipped cream and a dusting of cocoa powder. If you are building a dessert spread, pair them with [LINK: Chocolate Espresso Cheesecake Cups]this list of other chocolate espresso desserts[/LINK] for a complete coffee themed menu. For a lighter option, try [LINK: Keto Desserts]some of my sugar free dessert ideas[/LINK] to balance out the richness.
Storage and Reheating
Store the cheesecake cups in an airtight container in the refrigerator for up to 5 days. I do not recommend freezing them, as the texture becomes watery and grainy when thawed. To serve, remove them from the refrigerator and let them sit at room temperature for 10 minutes before eating. This allows the flavors to open up and the texture to soften slightly. Do not microwave these, the heat will melt the chocolate and ruin the creamy texture.
FAQs
What happens if I accidentally leave the cheesecake cups in the turned off oven for an hour instead of 30 minutes?
I did this on my third test because I got distracted by a phone call. The cups were slightly more set than the 30 minute version, but they did not crack or become dry. The texture was still creamy, just slightly firmer. I would not go beyond 45 minutes, but an hour is not a disaster.
Can I use a muffin top pan instead of a regular muffin tin?
I tried this because I wanted a wider, flatter cup. The problem is that the batter spreads too thin and the ratio of crust to filling is off. The cups bake faster and the center sets too quickly, resulting in a drier texture. Stick with a standard 12 cup muffin tin.
What happens if I use white chocolate instead of dark chocolate?
I tested this with white chocolate and the result was overly sweet with a very different flavor profile. The espresso gets lost completely because there is no bitterness to balance the sugar. If you only have white chocolate, reduce the sugar to 1/4 cup and add an extra tablespoon of espresso powder.
Why did my cheesecake cups stick to the paper liners?
This happens when the cups are not chilled long enough. The fat in the cream cheese needs at least 4 hours to solidify and pull away from the liner. If you try to peel them after only 2 hours, the cheesecake will tear. Also, make sure you are using high quality paper liners, the cheap ones tend to stick more.
Can I bake these in a glass baking dish instead of a muffin tin?
You can, but the baking time will change significantly. A glass dish conducts heat differently and the cheesecake will take about 10 minutes longer to set. You will also need to slice them into squares instead of having individual portions. I prefer the muffin tin method because it creates the perfect single serving size.
Final Thoughts on These Chocolate Espresso Cheesecake Cups
After testing this recipe four times, I can confidently say that the Chocolate Espresso Cheesecake Cups are worth the effort, but only if you follow the slow cooling method. The flavor combination is genuinely excellent, the bitterness of the espresso cuts through the sweetness of the chocolate, and the creamy texture is satisfying without being heavy. These are perfect for a dinner party dessert or a weekend baking project. They are not a quick weekday treat, but the results are worth the time investment.
Tester’s Verdict:
Difficulty: 3/5
Flavor Impact: 5/5
Weeknight Viability: 2/5
Final Word: These Chocolate Espresso Cheesecake Cups are a weekend project that delivers café quality results, but only if you respect the chilling time.
 | ||||||||||||||||||||||||||||||||||||||||||||||||||||
| ||||||||||||||||||||||||||||||||||||||||||||||||||||