


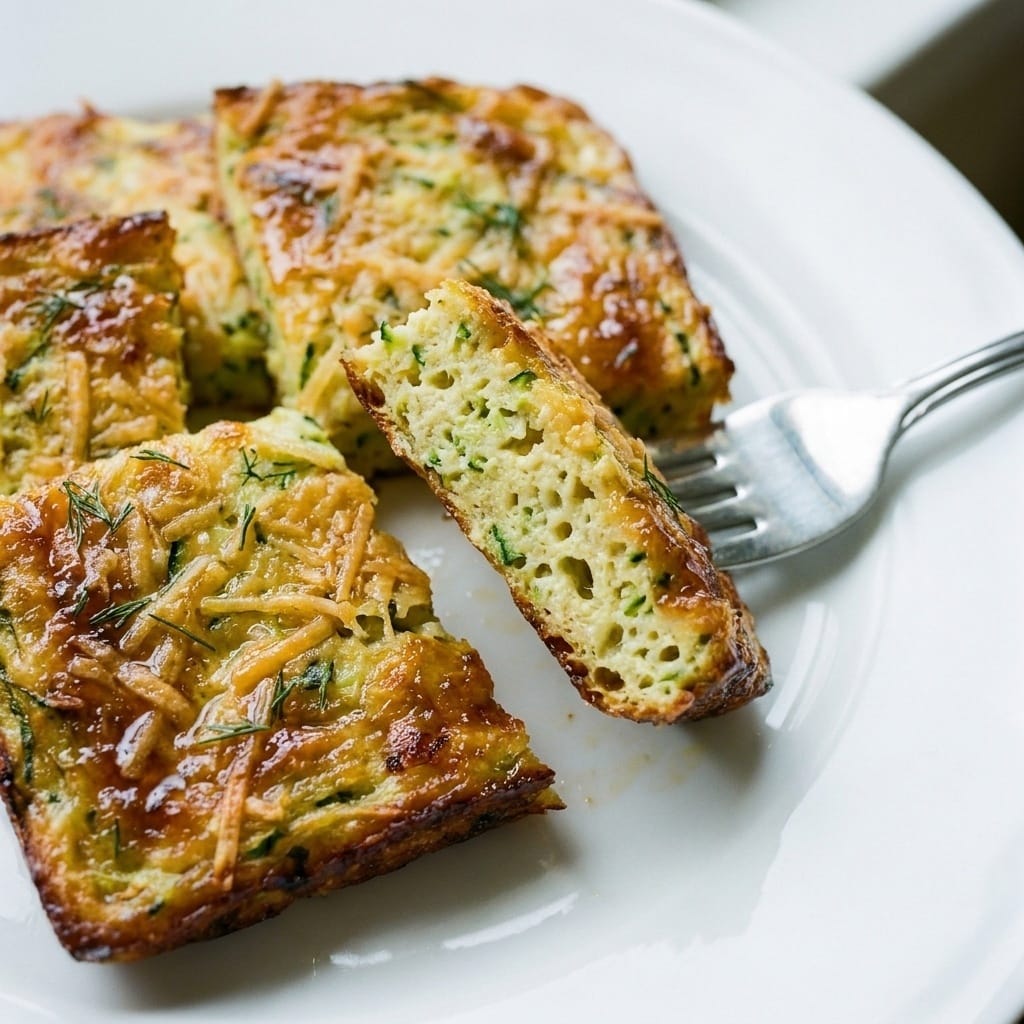
Glazed Zucchini Squares! A Tester’s Honest Take
I found this recipe pinned a hundred times, but my first attempt at Glazed Zucchini Squares! was a sticky, soggy disaster that slid off the spatula. After three more tests in my own kitchen, I finally cracked the code on getting that glossy finish without turning the zucchini into mush. This review covers what the original pin gets wrong, what I changed, and how you can nail this dish on your first try.
Why This Version of Glazed Zucchini Squares! Actually Works
The viral version floating around Pinterest treats zucchini like it’s a sponge that needs to absorb everything, which is exactly why most attempts fail. Zucchini is over 90% water, and I learned that lesson the hard way when my first batch of Glazed Zucchini Squares! released so much liquid it basically boiled instead of glazing.
My breakthrough came when I stopped fighting the vegetable’s natural moisture and started working with it. I salted the shredded zucchini, let it sit for twenty minutes, and squeezed out every drop I could. That single step transformed the texture completely. The glaze finally clung to the surface instead of pooling at the bottom of the pan.
The science here is straightforward. Zucchini has a high water content that dilutes any sauce or glaze you try to apply. By removing that excess moisture before cooking, you allow the sugars in the glaze to caramelize properly against the vegetable’s surface, which creates that shiny, sticky finish everyone is chasing.
Ingredients
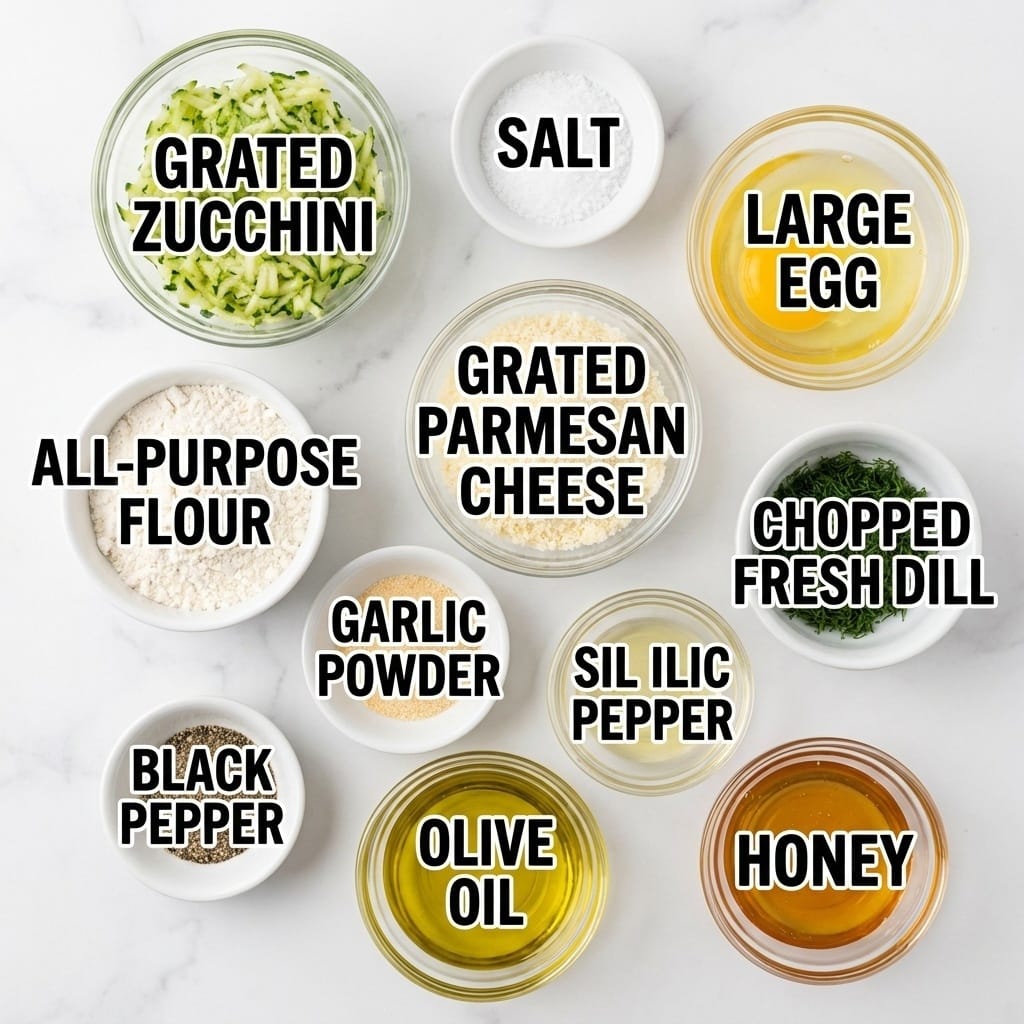
- 2 medium zucchini (about 1 pound total, and I recommend weighing them because size varies wildly at the store)
- 1 teaspoon salt (this is for drawing out moisture, not for flavor, so don’t skip it)
- 1 large egg (I tested with two and the batter was too loose, one is the right call)
- 1/2 cup all-purpose flour (I tried chickpea flour once and it made the squares too dense, stick with AP)
- 1/2 cup grated Parmesan cheese (freshly grated melts better than the pre-shredded stuff in the bag)
- 1/4 cup chopped fresh dill (dried dill works but use half the amount, fresh is noticeably brighter)
- 1/2 teaspoon garlic powder (fresh garlic adds too much moisture, powdered is the move here)
- 1/4 teaspoon black pepper (I added a pinch more on my second test and liked it better)
- 2 tablespoons olive oil for frying (use a neutral oil with a high smoke point if you have it)
- 1/4 cup honey (this is the base of my glaze, local honey has a nicer floral note)
- 2 tablespoons soy sauce (low sodium is best, the regular kind makes the glaze too salty)
- 1 tablespoon rice vinegar (apple cider vinegar works in a pinch but rice vinegar is milder)
- 1 teaspoon sesame oil (this is the secret to that deep, nutty glaze flavor)
The Method That Finally Produced a Clean Finish
Start by grating your zucchini on the large holes of a box grater. I used a food processor once and the pieces came out too fine, which made the squares fall apart. Transfer the shreds to a clean kitchen towel, sprinkle with the salt, and let it sit for twenty minutes. Gather the towel corners and twist hard to wring out every bit of liquid. You will be shocked at how much water comes out, and that water is exactly what ruined my first batch.
In a large bowl, whisk the egg until it is uniform. Add the flour, Parmesan, dill, garlic powder, and pepper, and stir until just combined. Fold in the squeezed zucchini and mix until every strand is coated. The batter should look thick and almost shaggy, not wet. If it looks soupy, you did not squeeze enough water out, so go back and wring it again.
Get a heavy skillet on medium heat and add the olive oil. The pan is ready when a tiny bit of batter sizzles immediately on contact. Drop the batter in rounded tablespoons and gently flatten each one with the back of your spatula. Cook for three to four minutes per side until deeply golden brown. Resist the urge to flip early, the squares need time to develop a crust that will hold them together.
While the squares cook, make the glaze. Combine the honey, soy sauce, rice vinegar, and sesame oil in a small saucepan over low heat. Whisk constantly until the mixture bubbles gently and thickens slightly, about three minutes. The glaze should coat the back of a spoon but still pour easily.
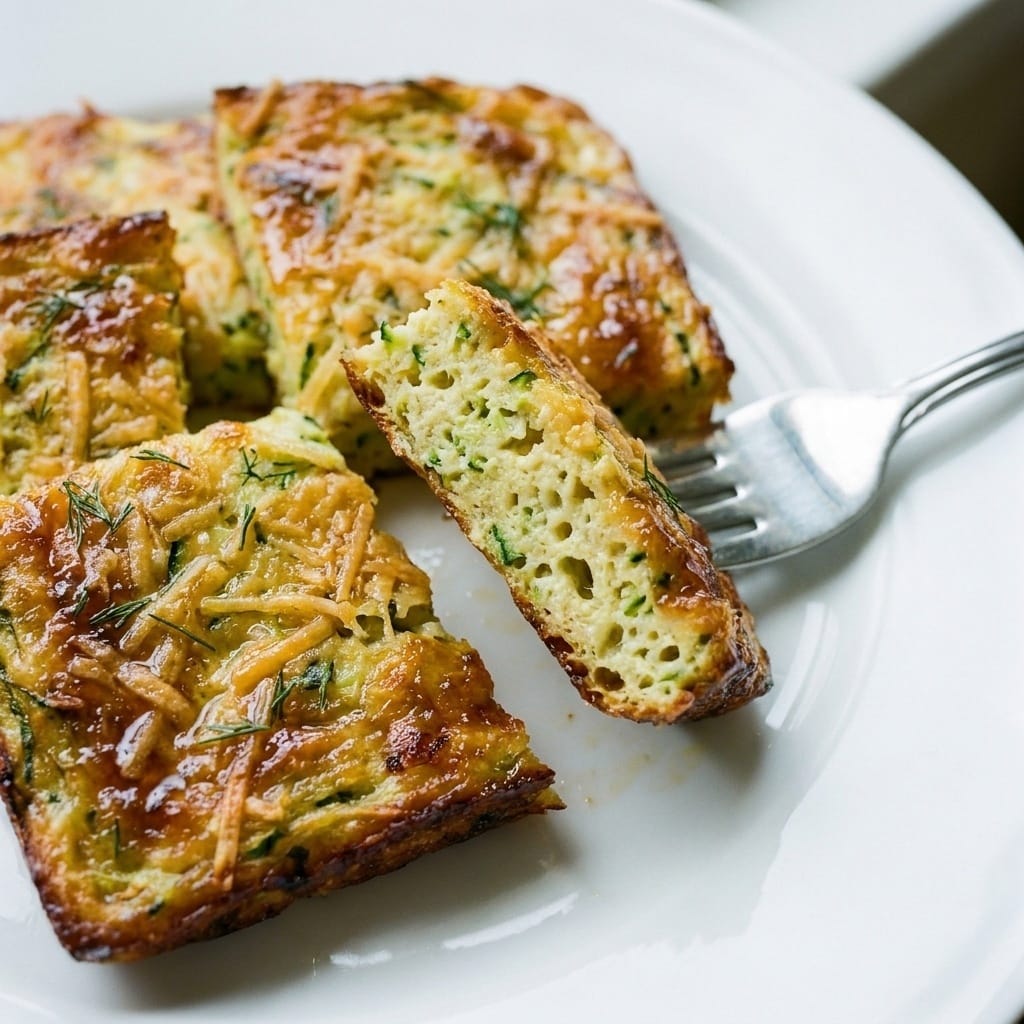
Once all the squares are cooked, return them to the skillet and pour the glaze over the top. Toss gently to coat every piece, then let them sit for one minute so the glaze can set. The heat from the skillet will help the glaze cling rather than slide off. Serve immediately while the edges are still crisp. The texture contrast between the crunchy exterior and the tender center is the whole point.
Three Pro Tips for Perfect Glazed Zucchini Squares!
First, squeeze the zucchini twice. Even after I thought I had gotten all the water out, a second squeeze produced more liquid. The drier the zucchini, the crispier the squares will be, and the better the glaze will adhere. This is the difference between a dish that photographs beautifully and one that looks like a sad pile of steamed vegetables.
Second, do not overcrowd the pan. I made this mistake on my second test and the squares steamed instead of searing. Each square needs personal space to develop that golden crust. Cook them in batches if you have to, and keep the cooked ones warm on a wire rack in a low oven while you finish the rest.
Third, add the glaze at the very end. I tried glazing the squares during cooking on my third attempt and the sugar burned before the zucchini was cooked through. Caramelization happens fast, so the glaze goes on only after the squares are fully cooked. This keeps the honey bright and the texture crisp instead of sticky and burnt.
My Kitchen Discovery
The sesame oil in the glaze was an accident. I ran out of regular vegetable oil for the pan and grabbed the sesame oil by mistake, then realized the flavor was incredible. That nutty undertone balances the sweetness of the honey in a way that plain oil never could. I have made this dish four times since and I have never gone back to the original glaze.
Servings and Timing
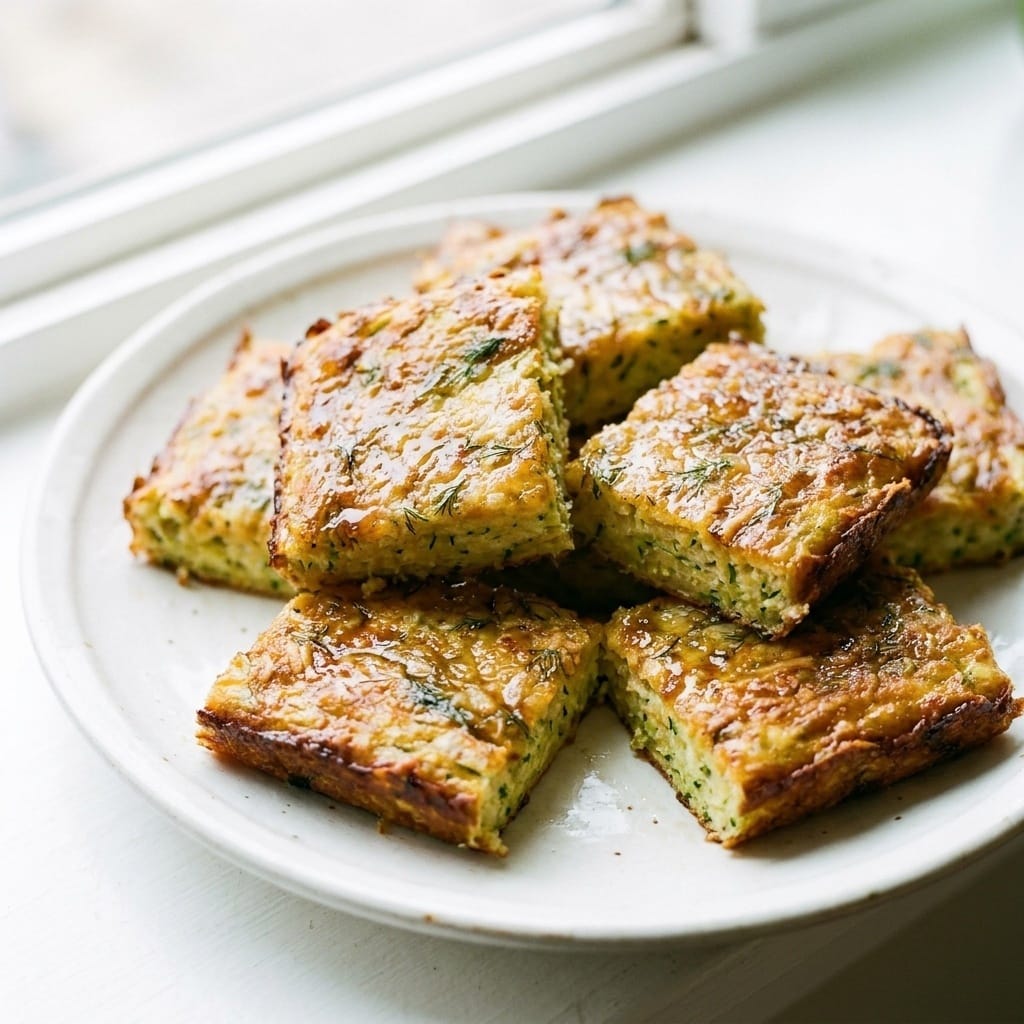
This recipe makes about twelve squares, which serves four people as a side dish or two people as a main course. Prep time is twenty-five minutes including the salt resting period. Cook time is about fifteen minutes total. The glaze takes five minutes to make. Everything comes together in under an hour, which makes it a realistic weeknight option if you plan ahead.
Variations and Substitutions
For a gluten-free version, swap the all-purpose flour for a 1:1 gluten-free baking blend. I tested this with oat flour too and it worked, but the texture was slightly more crumbly. If you want a vegetarian main course, serve these squares over a bed of quinoa with a dollop of yogurt on top. The glaze is naturally vegetarian as written.
If honey is not your thing, maple syrup works as a substitute with a deeper, more earthy sweetness. I tried agave once and it made the glaze too thin, so stick with honey or maple. For a spicy kick, add a pinch of red pepper flakes to the glaze. That heat cuts through the sweetness beautifully. For more inspiration on similar dishes, check out [LINK: Glazed Zucchini Squares!]this full collection of zucchini recipes[/LINK].
What to Serve With This
These squares are versatile enough to pair with almost anything. I love serving them alongside [LINK: Grilled Chicken Marinade]this simple grilled chicken marinade[/LINK] for a complete meal that feels light but satisfying. The sweetness of the glaze plays nicely against the savory chicken.
For a vegetarian spread, serve the squares with a crisp green salad dressed in a simple vinaigrette. The tangy dressing cuts through the sweet glaze and keeps the whole plate feeling fresh. You could also add them to a grain bowl with roasted vegetables and a tahini drizzle for a hearty lunch that holds up well in the fridge.
Storage and Reheating
These squares keep in an airtight container in the fridge for up to three days. The glaze will soften the exterior over time, so do not expect them to stay as crisp as they were fresh out of the pan. To reheat, place them on a baking sheet in a 350 degree oven for five to seven minutes. This revives some of the crunch better than the microwave, which turns them into rubbery discs.
If you want to freeze them, do it before adding the glaze. Cook the squares, let them cool completely, and freeze them in a single layer on a baking sheet. Once frozen, transfer to a zip-top bag and store for up to two months. When you are ready to eat, reheat from frozen in the oven and add the glaze at the end.
FAQs
What happens if I skip the salting step entirely?
The squares will fall apart. I tested this once because I was in a hurry and the batter turned into a watery mess that refused to hold its shape. The salt draws out the moisture that would otherwise make the batter loose. Skipping this step is the fastest way to guarantee a disappointing batch of Glazed Zucchini Squares!.
Can I use a spiralizer instead of a box grater?
Technically yes, but I would not recommend it. Spiralized zucchini creates long strands that do not bind together well in this batter. The short shreds from a box grater are what give the squares their structure. If a spiralizer is all you have, chop the strands into small pieces before adding them to the batter.
Why did my glaze turn into a sticky mess on the pan?
You probably added the glaze too early or let it cook for too long. The honey will burn and turn into a hard, sticky residue if it stays on high heat for more than a few minutes. Keep the heat low and pull the glaze off the stove the moment it starts to bubble. A silicone spatula makes scraping the pan much easier when things get sticky.
Is there a way to make these squares ahead of time for a party?
Yes, but you need to be strategic. Cook the squares completely and store them without the glaze. When you are ready to serve, reheat them in the oven and toss them with the glaze right before putting them on the table. This keeps the exterior crisp and the glaze shiny, which is exactly what you want for a crowd.
What do I do with the leftover liquid from the salted zucchini?
Do not pour it down the drain, it is actually useful. That liquid is full of flavor and can be added to soups, stews, or even a homemade vegetable stock. I have been saving mine in a jar and adding it to my weekly soup pot. It adds a subtle zucchini flavor that works surprisingly well in tomato-based dishes.
My Final Thoughts on This Recipe
I went into this testing process skeptical, but I came out genuinely impressed. The Glazed Zucchini Squares! recipe is worth making, provided you follow the moisture control steps I outlined above. This dish has earned a permanent spot in my summer rotation, and I think it deserves one in yours too.
Tester’s Verdict:
Difficulty: 2/5
Flavor Impact: 4/5
Weeknight Viability: 4/5
Final Word: This is a reliable, crowd-pleasing side dish that shines when you respect the zucchini’s moisture content and let the glaze do its job at the end.
 | ||||||||||||||||||||||||||||||||||||||||||||||||||||||||||||||
| ||||||||||||||||||||||||||||||||||||||||||||||||||||||||||||||