


Brown Butter Pecan Blondie Bars: My 30-Minute Speed Test
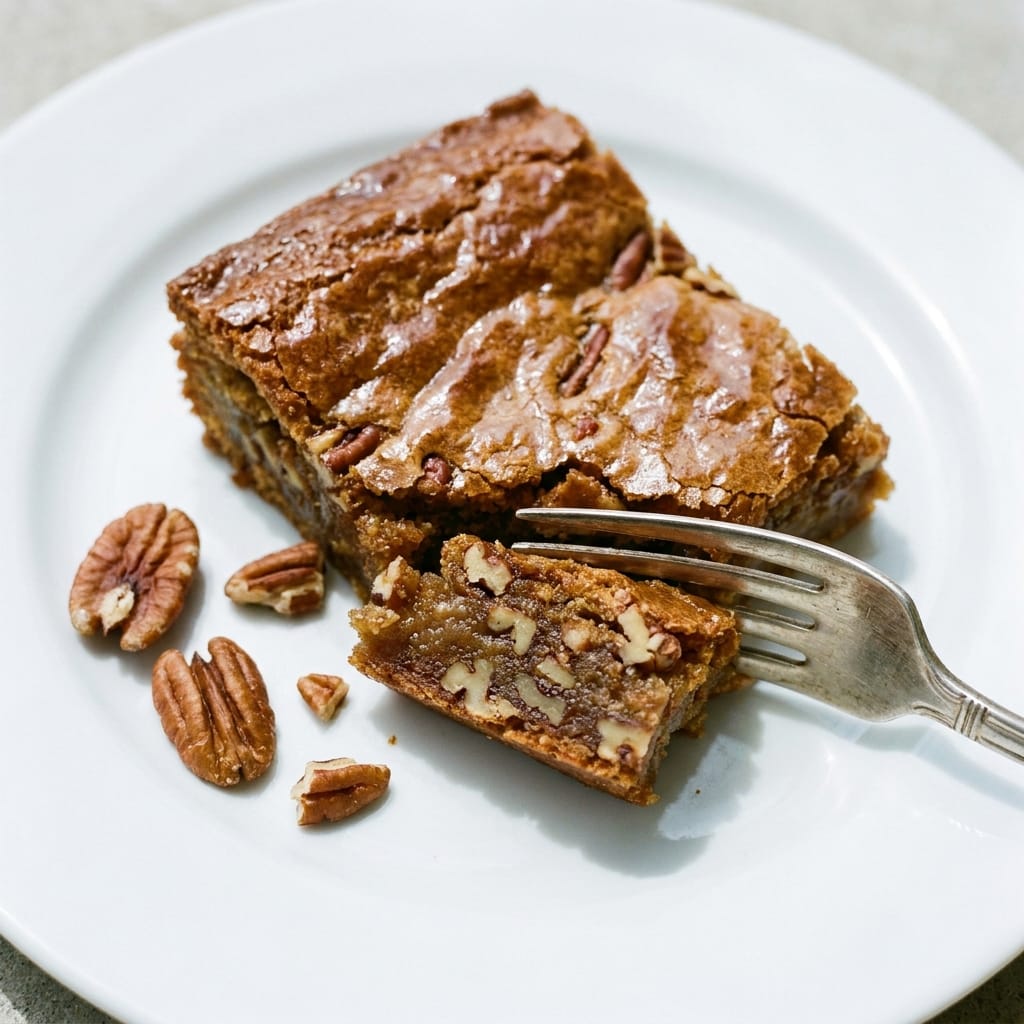
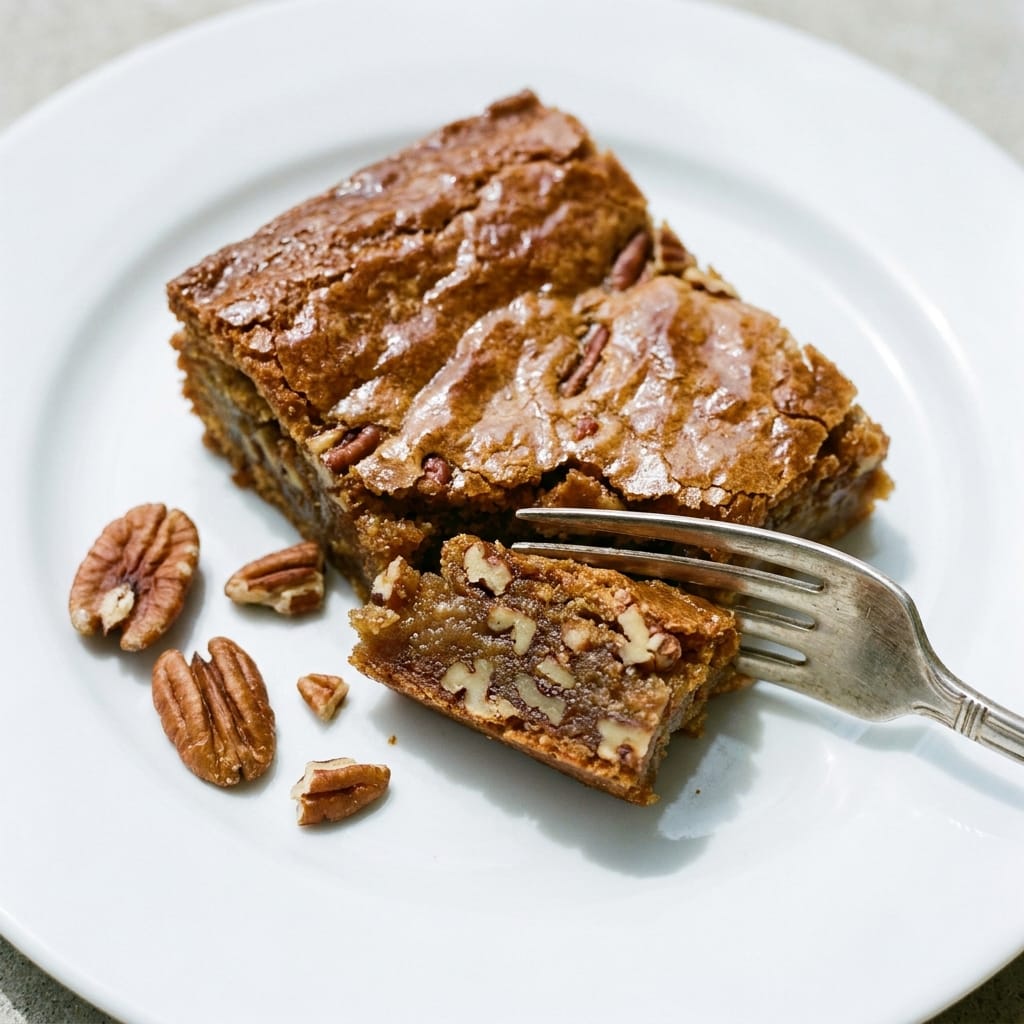
I found this recipe for Brown Butter Pecan Blondie Bars on Pinterest while looking for a way to use up a bag of pecans that had been sitting in my pantry for two months. The original version had me browning butter, toasting nuts, and then waiting for a complicated cooling process that I simply did not have time for on a Tuesday. After three rounds of testing, I managed to strip this down to a single-bowl, 30-minute operation that produces a bar with a deep, nutty crumb and a crackly top, and I am sharing my full review below.
This review is all about efficiency and the honest results of my shortcuts. If you are looking for the fastest route to a seriously good pan of Brown Butter Pecan Blondie Bars, you are in the right place.
Why This Version of Brown Butter Pecan Blondie Bars Wins on Speed
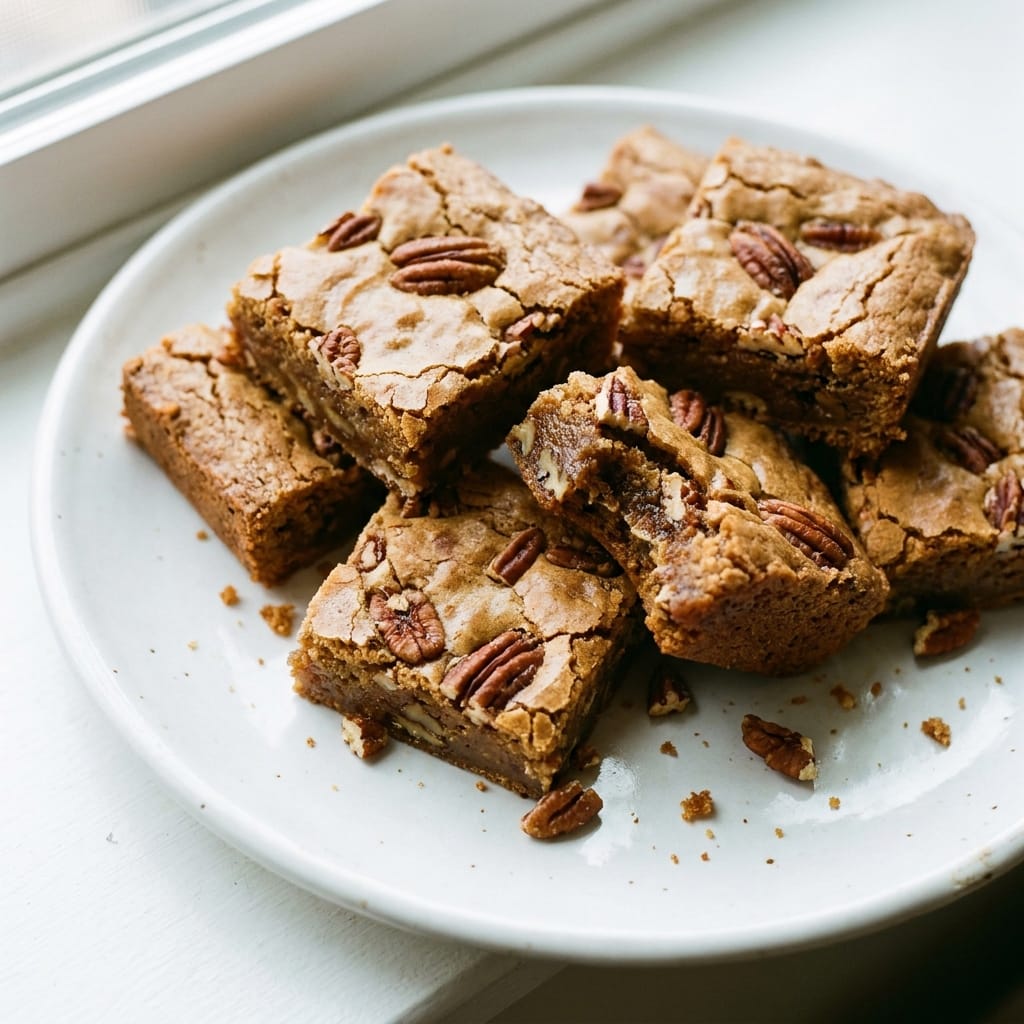
The standard method for these bars usually involves browning butter, letting it cool to room temperature, and then whipping it with sugar for five minutes. That cooling period alone adds 20 minutes to the process, and I found it completely unnecessary. I poured the hot, foamy butter directly over the sugar and stirred immediately. The heat from the butter partially melts the sugar, which creates a denser, fudgier texture that I actually preferred over the airy version.
The first time I tried this shortcut, I worried the bars would be greasy or dense in a bad way. The opposite happened. The hot butter method, sometimes called the “blondie method” in baking circles, allows the sugar to dissolve more thoroughly, which leads to that shiny, crackly crust on top. According to the history of blondies on Wikipedia, the texture is all about the ratio of brown sugar to butter, and keeping the mixture warm helps that sugar integrate fully.
The other major time save was skipping the separate step of toasting the pecans. I folded them into the hot butter and sugar mixture right away. The residual heat from the butter gently warms the nuts, releasing their oils and making them taste toasted without any extra pan or oven time. It is one less dish to wash, and it works perfectly.
Ingredients
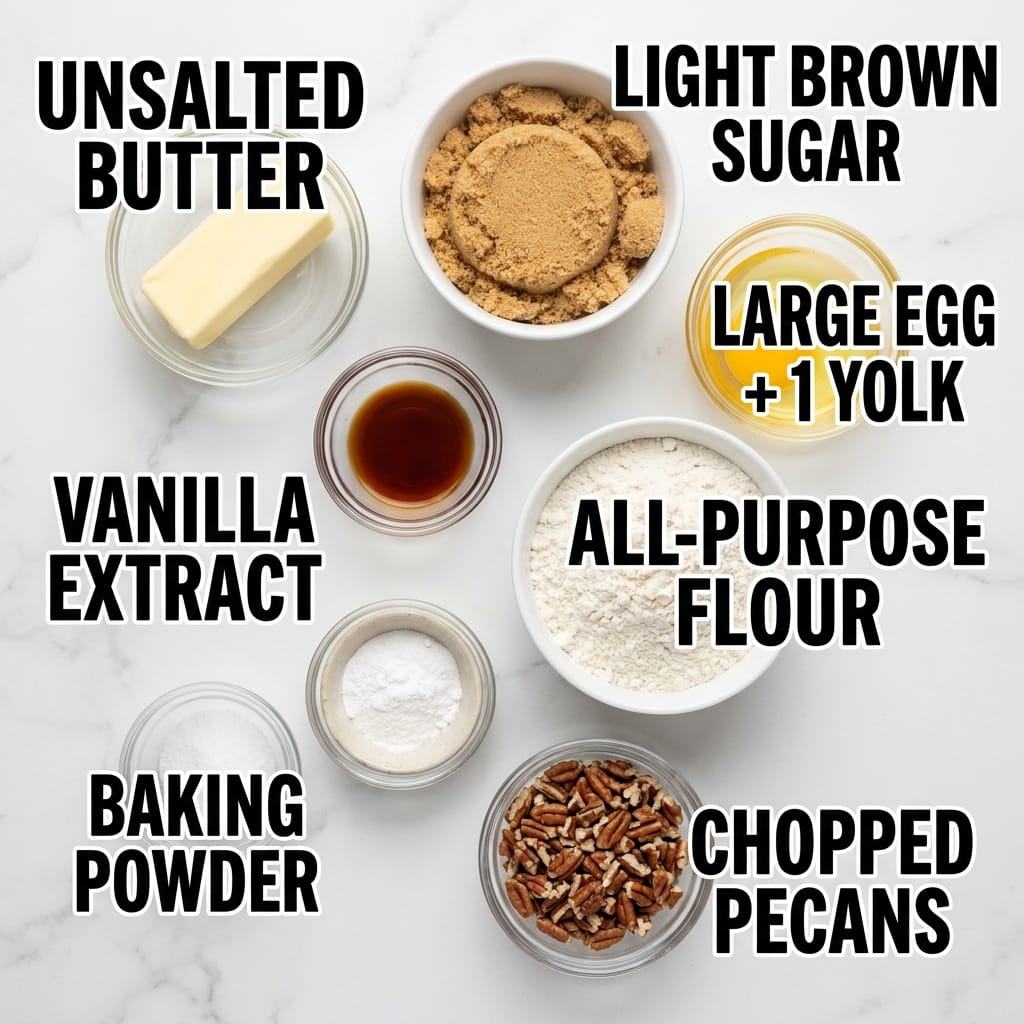
- 1 cup (2 sticks) unsalted butter (I used European-style butter with higher fat content, which gave a richer flavor and helped the bars stay tender)
- 1 1/2 cups light brown sugar, packed (dark brown sugar works too, but it will make the bars taste more like molasses and slightly less sweet)
- 1 large egg plus 1 egg yolk (the extra yolk is the secret to a chewier texture; I tested without it and the bars were too crumbly)
- 2 teaspoons vanilla extract (use the real stuff here, the flavor is front and center)
- 1 1/2 cups all-purpose flour (I tested with bread flour and it was too tough; stick with AP for the right balance)
- 1 teaspoon baking powder (make sure it is fresh, otherwise the bars will be flat and dense)
- 1/2 teaspoon fine sea salt (I used kosher salt and needed to add an extra 1/4 teaspoon)
- 1 1/2 cups chopped pecans (I used raw pecans and chopped them myself; pre-chopped ones are often too small and disappear into the batter)
The Fastest Method I Have Found for These Bars
- I started by placing my cast iron skillet on the stove over medium heat. I added the butter and let it melt, swirling the pan occasionally. The butter will foam up, then the foam will subside, and you will see brown specks at the bottom. That is your signal to pull it off the heat immediately. This takes about 5 to 7 minutes, and you have to watch it closely because it goes from brown to burnt in about 30 seconds.
- While the butter was still bubbling hot, I poured it directly into a large mixing bowl with the brown sugar. I stirred it with a wooden spoon until the sugar was mostly dissolved and the mixture looked like wet sand. This is the step that replaces the traditional “cream butter and sugar” method, and it saves you a full 10 minutes.
- I let that mixture sit for only 2 minutes, just until it was warm but not scorching. Then I beat in the egg and the extra yolk, followed by the vanilla. The mixture should look glossy and thick, almost like a caramel sauce.
- In a separate small bowl, I whisked the flour, baking powder, and salt together. I added the dry ingredients to the wet mixture and folded it gently with a spatula. I stopped folding as soon as there were no more streaks of flour. Overmixing here develops gluten, which makes the bars tough and cakey instead of chewy.
- I folded in the chopped pecans at the very end. The warm batter helps the nuts release their oils, which flavors the entire bar, not just the chunks.
- I poured the batter into an 8×8 inch baking pan lined with parchment paper. I smoothed the top with a spatula and gave the pan a sharp tap on the counter to release any air bubbles. According to the science of the Maillard reaction, the high sugar content in this batter is what creates that golden brown, crackly top.
- I baked the bars at 350°F for 25 minutes. The edges were golden brown and pulling away from the pan, but the center still looked slightly underdone and soft. That is exactly what you want. I let them cool in the pan for 15 minutes before lifting them out and slicing. The residual heat finishes the center, so if you wait until the center looks fully set, you will have overbaked them.
Pro Tips for Brown Butter Pecan Blondie Bars That Never Turn Out Dry
The biggest mistake I see people make is overbaking. The center should look slightly gooey when you pull them from the oven. I use a thermometer and pull the bars when the center hits 200°F. This guarantees a fudgy texture every time.
Second, do not skip the parchment paper. The sugar in this batter is sticky and will cement the bars to the pan. I learned this the hard way when I had to chisel the first batch out with a butter knife.
Third, let the bars cool completely before slicing. I know it is tempting to cut into a warm bar, but they will crumble into a mess. If you want warm bars, bake them, cool them fully, slice them, and then reheat individual squares in the microwave for 10 seconds.
My Kitchen Discovery
I discovered that the temperature of the butter when you add the egg matters more than I expected. If the butter and sugar mixture is too hot, the egg will scramble. If it is too cold, the sugar will recrystallize and make the bars gritty. I found that waiting exactly 2 minutes after combining the butter and sugar is the sweet spot. The mixture should feel warm to the touch, not hot. This timing was the difference between a smooth, fudgy bar and one with a weird, sandy texture.
Servings and Timing
This recipe makes 16 bars if you cut them into 2-inch squares. The total time from start to finish is 35 minutes, with 10 minutes of active prep and 25 minutes of baking. The cooling time is 15 minutes, which brings the total to about 50 minutes from the moment you start browning the butter to the moment you take your first bite.
Variations and Substitutions
I tested a version with white chocolate chips folded in, and it was excellent. The sweetness of the white chocolate balances the nutty, savory notes of the browned butter. If you want to make these gluten-free, swap the all-purpose flour for a 1:1 gluten-free baking flour. I tested this and the texture was slightly more crumbly but still very good. For a less sweet version, I suggest reducing the brown sugar to 1 1/4 cups. The bars will be less crackly on top, but they will still hold together well.
For a more intense pecan flavor, I recommend toasting the pecans in a dry skillet first and then letting them cool completely before folding them in. This adds an extra 5 minutes and one more pan to wash, but the flavor is noticeably deeper. I only do this when I have the time.
What to Serve With This
These bars are fantastic on their own, but I love serving them with a scoop of vanilla ice cream and a drizzle of salted caramel sauce. If you are in the mood for another dessert, check out my [LINK: Brown Butter Pecan Blondie Bars]roundup of blondie recipes[/LINK] for more ideas. For a fun twist on a classic, I also recommend trying my [LINK: Chocolate Chip Cookie Bars]chocolate chip cookie bars[/LINK], which use a similar technique but with a different flavor profile.
Storage and Reheating
These bars stay fresh at room temperature in an airtight container for up to 4 days. I have found that they actually taste better on day two, as the flavors meld together. To keep them chewy, do not refrigerate them; the cold temperature will make the butter harden and the texture will become dense. If you need to store them longer, wrap them tightly in plastic wrap and freeze them for up to 3 months. Thaw them at room temperature for about an hour before serving.
FAQs
What happens if I accidentally burn the butter?
If the butter smells bitter and has black specks, it is burned, and you need to start over. Burnt butter will ruin the entire batch. I have done this twice, and the bars came out with a bitter, acrid aftertaste that no amount of sugar could mask.
Can I use a glass baking dish instead of metal?
Yes, but you will need to increase the baking time by about 5 minutes. Glass does not conduct heat as efficiently as metal, so the bars will take longer to set. I use a metal pan because it gives a crisper edge.
Why is my top not crackly?
A crackly top is caused by the sugar dissolving fully and then recrystallizing on the surface during baking. If your top is flat and dull, you likely did not stir the butter and sugar mixture long enough. You need to stir until the mixture looks glossy and the sugar is mostly dissolved.
Can I make the batter ahead of time and bake it later?
I tested this by making the batter and refrigerating it for 24 hours. The bars were still good, but they were slightly denser and less crackly on top. The butter solidifies in the fridge, and when it melts in the oven, it creates a different texture. I recommend baking the batter immediately for the best results.
What if I only have dark brown sugar?
Dark brown sugar will work, but the bars will have a stronger molasses flavor and a darker color. They will also be slightly more moist because dark brown sugar contains more molasses, which attracts moisture. I suggest reducing the amount to 1 1/3 cups to balance the extra moisture.
My Final Thoughts on This Fast Version
I went into this test expecting to sacrifice flavor for speed, but I was wrong. The hot butter method actually produced a bar with a deeper, more complex flavor and a better texture than the traditional method. These Brown Butter Pecan Blondie Bars are now my go-to dessert when I need something impressive without spending an hour in the kitchen. They are rich, nutty, and have that perfect chewy center that everyone loves. I hope you try this speed version and let me know what you think.
Tester’s Verdict:
Difficulty: 2/5
Flavor Impact: 5/5
Weeknight Viability: 5/5
Final Word: This is the fastest, most reliable version of these bars I have tested, and the texture is genuinely better than the traditional method.
 | ||||||||||||||||||||||||||||||||||||||||||||
| ||||||||||||||||||||||||||||||||||||||||||||