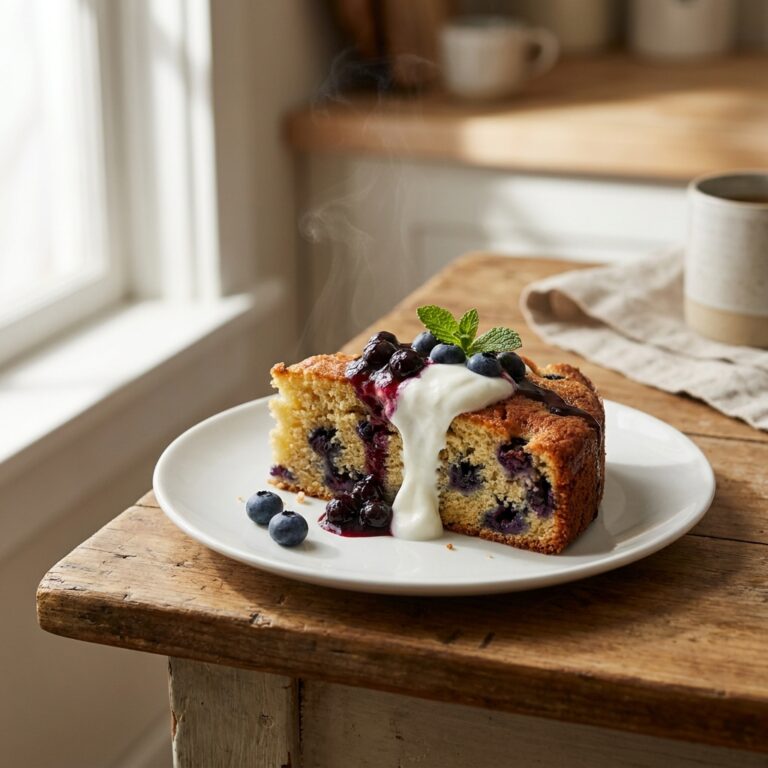
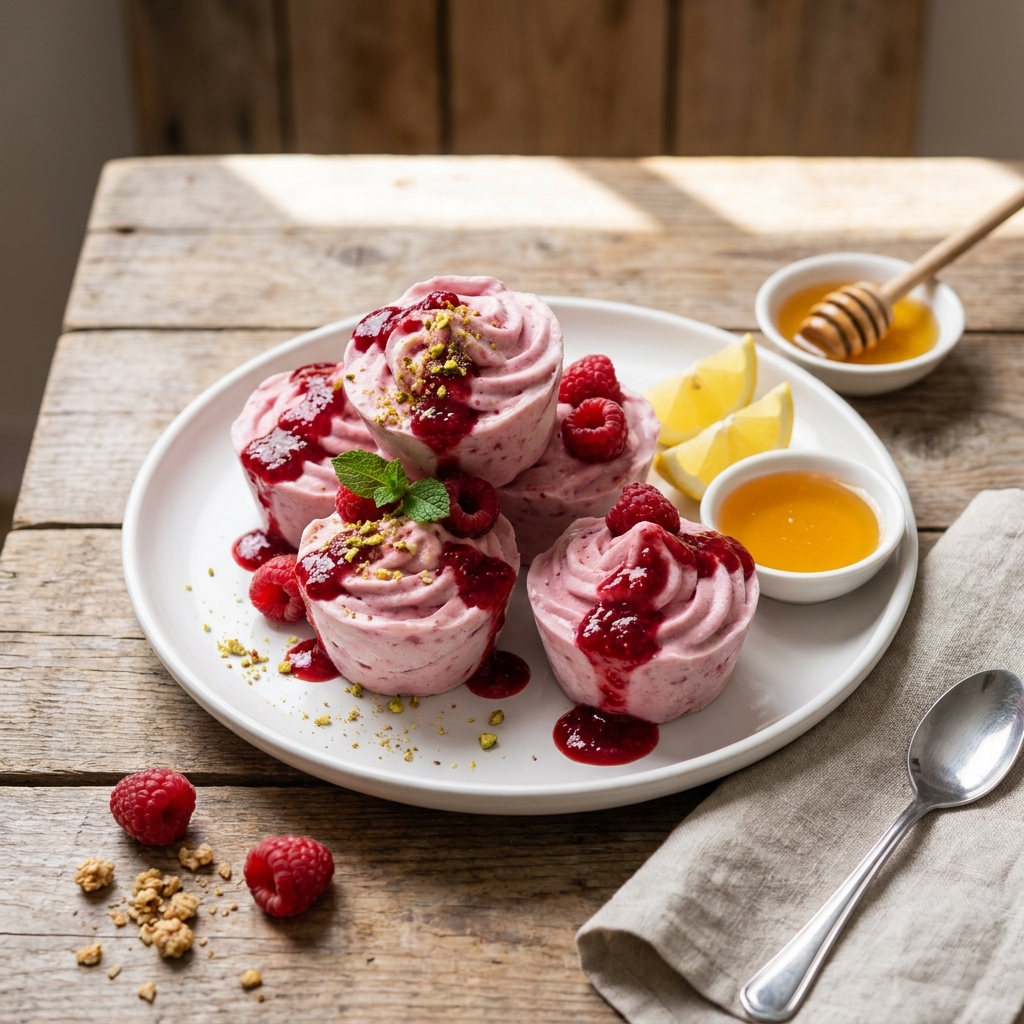
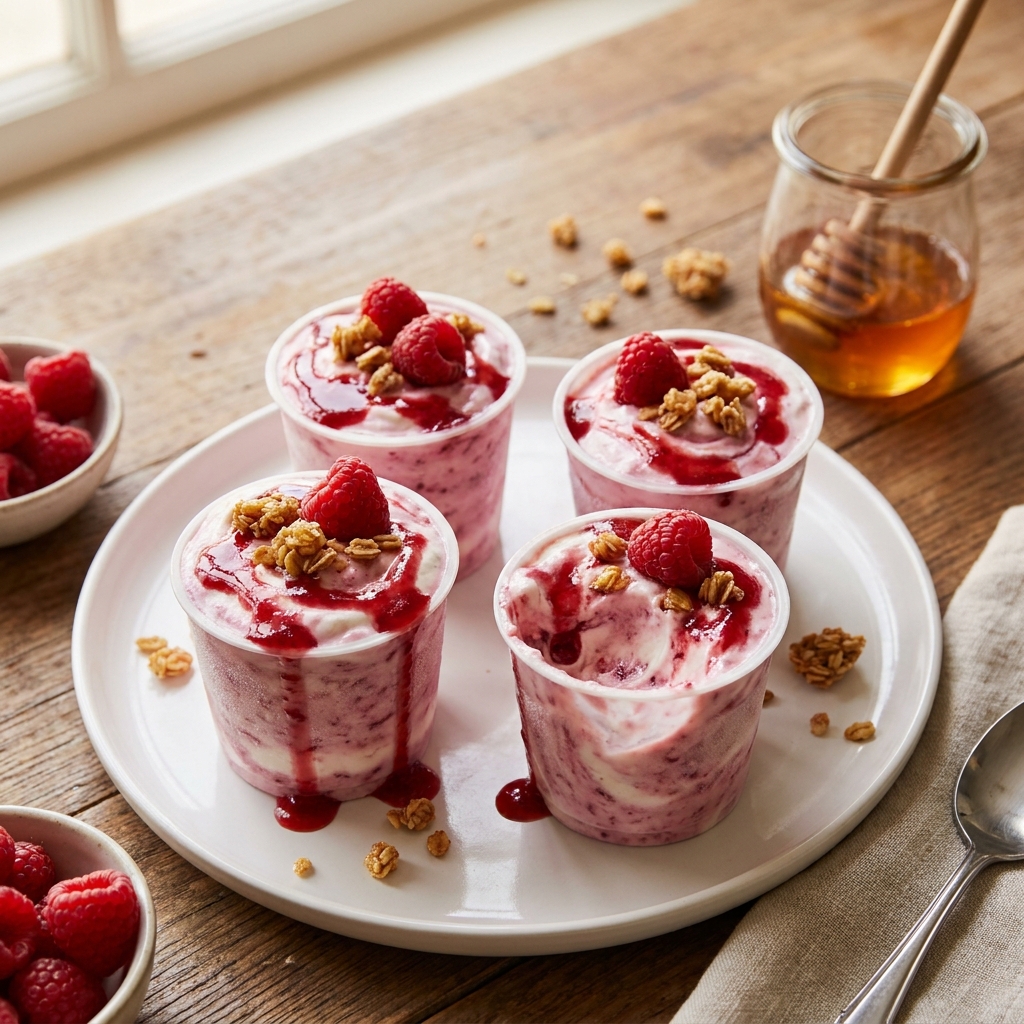
The Best Whipped Raspberry Frozen Yogurt Cups
Why You’ll Love This Recipe
I have a deep love for frozen yogurt, but I always found the store-bought stuff to be either too icy or too sweet. I wanted something that felt like a real indulgence, something creamy and light that I could feel good about eating. That is how these Whipped Raspberry Frozen Yogurt Cups came to be.
The first time I tried to make them, I made a classic mistake. I just mixed yogurt and fruit and froze it. The result was a solid, icy block that was impossible to scoop. I was so frustrated. Then I remembered a trick I learned from a pastry chef friend about whipping cream to add air. I tried it with the yogurt mixture, and the texture was completely different. It was light, fluffy, and scooped perfectly straight from the freezer. The secret is all in the whipping. You can read more about the science of whipped cream if you want to understand the process better. These cups solve the problem of wanting a quick, healthy, yet decadent dessert that doesn’t require an ice cream maker.
Ingredients
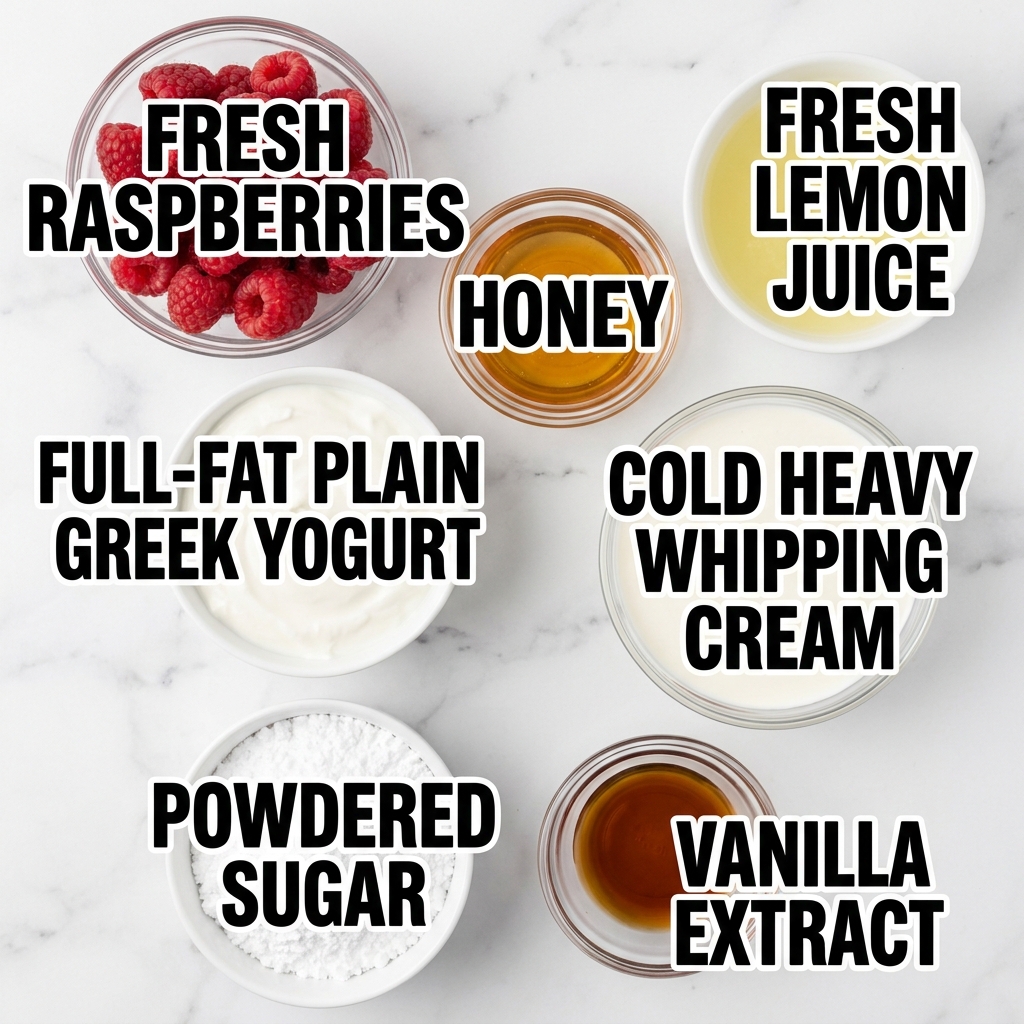
- 2 cups fresh raspberries
- 1/4 cup honey
- 1 tablespoon fresh lemon juice
- 1 1/2 cups full-fat plain Greek yogurt
- 1 cup cold heavy whipping cream
- 1/4 cup powdered sugar
- 1 teaspoon vanilla extract
Step-by-Step Directions
- Start by making the raspberry swirl. Put your fresh raspberries, honey, and lemon juice in a small saucepan. Place it over medium heat and let it come to a gentle bubble. You will smell the berries releasing their sweet, floral aroma. Let it cook for about 5 minutes, stirring occasionally, until the berries break down and the mixture thickens slightly. Take it off the heat and let it cool down completely. This is important because hot sauce will melt your cream later.
- While the raspberry sauce cools, get your mixing bowl and beaters. I always pop my metal bowl and the whisk attachment into the freezer for about 10 minutes first. Cold tools make for fluffier cream. Pour the cold heavy cream, powdered sugar, and vanilla extract into the cold bowl. Start beating on low speed so you don’t get splattered with cream, then gradually increase to high speed. Whip it until stiff peaks form. You will know it is ready when you lift the whisk and the cream stands up straight without flopping over.
- In a separate large bowl, take your full-fat Greek yogurt and give it a good stir to loosen it up. Now, take about one-third of your beautiful whipped cream and fold it into the yogurt. Do not stir it like a maniac. Use a gentle, sweeping motion with a rubber spatula to lighten the yogurt. Once it is combined, add the rest of the whipped cream and fold it in gently until you have a uniform, airy mixture. It should look like a very thick, fluffy cloud.
- Now for the fun part. Take a 12-cup muffin tin and line it with paper liners. Spoon a small dollop of the creamy yogurt mixture into the bottom of each cup. Then, add a small spoonful of your cooled raspberry sauce. Use a toothpick to gently swirl the sauce into the cream. Repeat with another layer of the yogurt mixture and another layer of sauce. Finish with a final swirl on top.
- Place the muffin tin carefully in the freezer. Let the Whipped Raspberry Frozen Yogurt Cups freeze for at least 4 hours, but overnight is best. They need to be completely solid. Once frozen, you can pop them out of the tin and store them in a freezer bag.
Pro Tips for Success
My biggest tip is to never skip the step of cooling the raspberry sauce. If you add warm sauce to your whipped cream and yogurt, the whole mixture will deflate and become runny. You will end up with icy, flat cups instead of fluffy ones. Patience is key here.
Another crucial tip is to use full-fat Greek yogurt. The low-fat or non-fat versions have too much water in them. That extra water turns into ice crystals as it freezes, ruining the creamy texture you are working so hard to achieve. For the best results, look for yogurt that has a high fat content. You can also read about the differences between Greek yogurt and regular yogurt to understand why it works better here.
Finally, do not overfill the muffin cups. The mixture will expand slightly as it freezes. I fill mine about three-quarters full. This gives you a perfect portion that is easy to handle and eat.
Servings and Timing
This recipe makes exactly 12 Whipped Raspberry Frozen Yogurt Cups, which is perfect for a week of treats. The total active prep time is only about 15 minutes, but you need to factor in at least 4 hours of freezing time. I always make these the night before I plan to serve them.
Variations and Substitutions
You can easily change the flavor of these cups. If you do not have raspberries, try using strawberries, blueberries, or even chopped mango. Just follow the same process for making the sauce. For a different twist, you could use a different type of honey or swap the vanilla extract for almond extract. The almond flavor pairs beautifully with the raspberry.
If you are strictly dairy-free, this recipe is a bit tricky because the cream is essential for the texture. You could try using a full-fat canned coconut cream that has been chilled overnight, but the result will be a bit different. It will have a slight coconut flavor, which is actually delicious with the raspberry.
What to Serve With This
These little cups are wonderful on their own, but they also make a fantastic base for a dessert bar. You can serve them alongside some fresh fruit or a drizzle of extra sauce. For a fun summer party, I love to serve them with [LINK: The Best 10-Minute Peach Cheesecake Cups]my super quick peach cheesecake cups[/LINK] for a variety of cold treats. You can also crumble them over a bowl of [LINK: 5 Ingredient Raspberry Shortbread Bars]raspberry shortbread bars[/LINK] for an extra special dessert.
Storage and Reheating
These are meant to be eaten frozen, so there is no reheating involved. The best way to store them is to freeze them solid in the muffin tin, then pop them out and transfer them to a zip-top freezer bag. This prevents them from absorbing any weird smells from your freezer. They will keep perfectly for up to two months. When you are ready to eat one, just take it out of the bag and let it sit on the counter for about 5 minutes to soften slightly before eating.
FAQs
Q: Can I use frozen raspberries to make the sauce?
Yes, you absolutely can. I have done it many times when fresh berries are not in season. Just use the same amount of frozen raspberries. You might need to cook them for an extra minute or two because they release more water. Just let it simmer a little longer until it thickens to the same consistency as the fresh berry sauce.
Q: What happens if I accidentally over-whip the cream?
If you over-whip the cream, it will start to look grainy and will eventually turn into butter. If you catch it just as it starts to look a little lumpy, you can try to save it by adding a tablespoon of cold cream and folding it in gently. If it has already turned into butter, you will need to start over with a new batch of cream. This is why I always recommend whipping on medium speed and watching it closely.
Q: Can I skip the honey and use a different sweetener?
You can substitute the honey with maple syrup or agave nectar. Keep in mind that maple syrup has a very distinct flavor that will change the taste of the cups. If you want to use a granulated sweetener like sugar, you will need to dissolve it in the raspberry sauce first because it will not dissolve well in the cold cream mixture.
Q: Why did my Whipped Raspberry Frozen Yogurt Cups turn out icy?
The most common reason for icy cups is using low-fat yogurt. The fat in the yogurt and cream is what prevents large ice crystals from forming. Another reason could be that your raspberry sauce was not cool enough when you added it to the cream. Warm sauce will melt the air bubbles in the cream, leading to a denser, icier texture.
Q: Can I make these in silicone molds instead of a muffin tin?
Yes, silicone molds work wonderfully for this recipe. They are actually easier because you can just pop the frozen cups right out without using paper liners. I like to use fun shapes like stars or hearts for kids’ parties. Just be sure to place the silicone mold on a flat baking sheet before filling it so you can move it to the freezer without spilling.

Conclusion
I hope you give these Whipped Raspberry Frozen Yogurt Cups a try. They have become a staple in my freezer, and I think they will be in yours too. They are so much better than anything you can buy, and you control exactly what goes into them. Please let me know if you make them and how they turn out for you. I love hearing about your kitchen adventures.
 | ||||||||||||||||||||||||||||||||||||||||||