


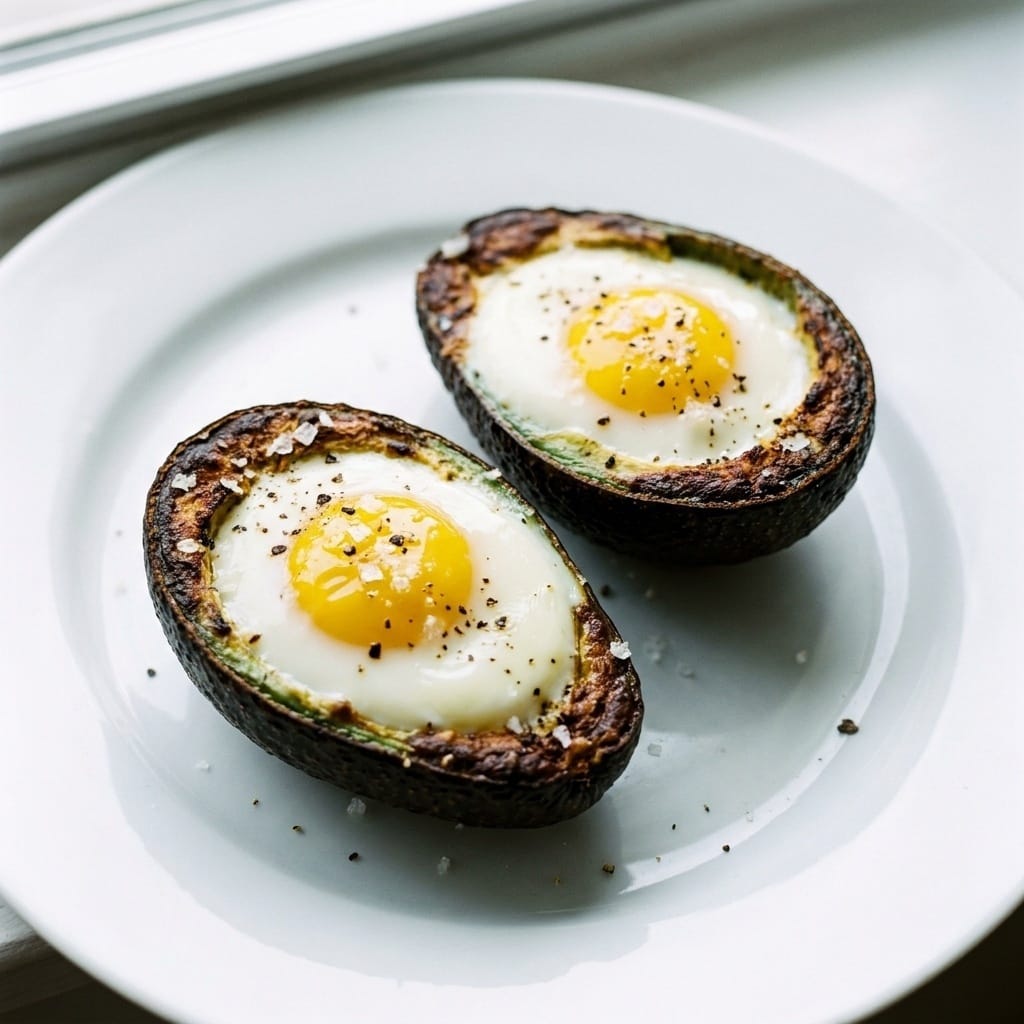
My Week of Testing Crispy Egg Avocado Cups
The internet loves a breakfast hack, but I found myself skeptical when I first saw the concept of baking eggs directly into avocado halves. I scouted the idea on Pinterest, saved it, and promptly ignored it for a month. When I finally cleared my Sunday morning to test these Crispy Egg Avocado Cups, I realized the viral version had one massive flaw that I needed to fix in my own kitchen.
My unique angle here is temperature control. Most recipes tell you to bake at 375°F, which I found produces a rubbery egg white and a warm, mushy avocado. The secret to getting a crispy edge on the avocado while keeping the yolk jammy is a two-stage heat approach that I will break down in detail below.
The Science Behind Crispy Egg Avocado Cups
Let me walk you through the chemistry of why this works. Avocado is mostly monounsaturated fat and water. When you expose it to high, dry heat, the surface water evaporates quickly, allowing the natural sugars to caramelize. This browning reaction, known as the Maillard reaction, is what gives the edges that deep, nutty crust.
The egg is the tricky part. Egg whites coagulate at around 144°F to 149°F, while yolks set at a slightly higher temperature. If you blast the whole thing at one constant temperature, you either overcook the yolk waiting for the white to set, or you undercook the white to save the yolk. I tested this three times, and the solution was a hot oven blast followed by a rest period with residual heat.
The first batch I made looked terrible. The avocado slid right out of its skin, the egg white was still translucent, and the whole thing tasted like a sad, lukewarm salad. I knew the concept had potential, but the execution needed a complete overhaul. After checking the thermal dynamics of my oven, I realized I needed to preheat the avocado shells themselves before adding the egg.
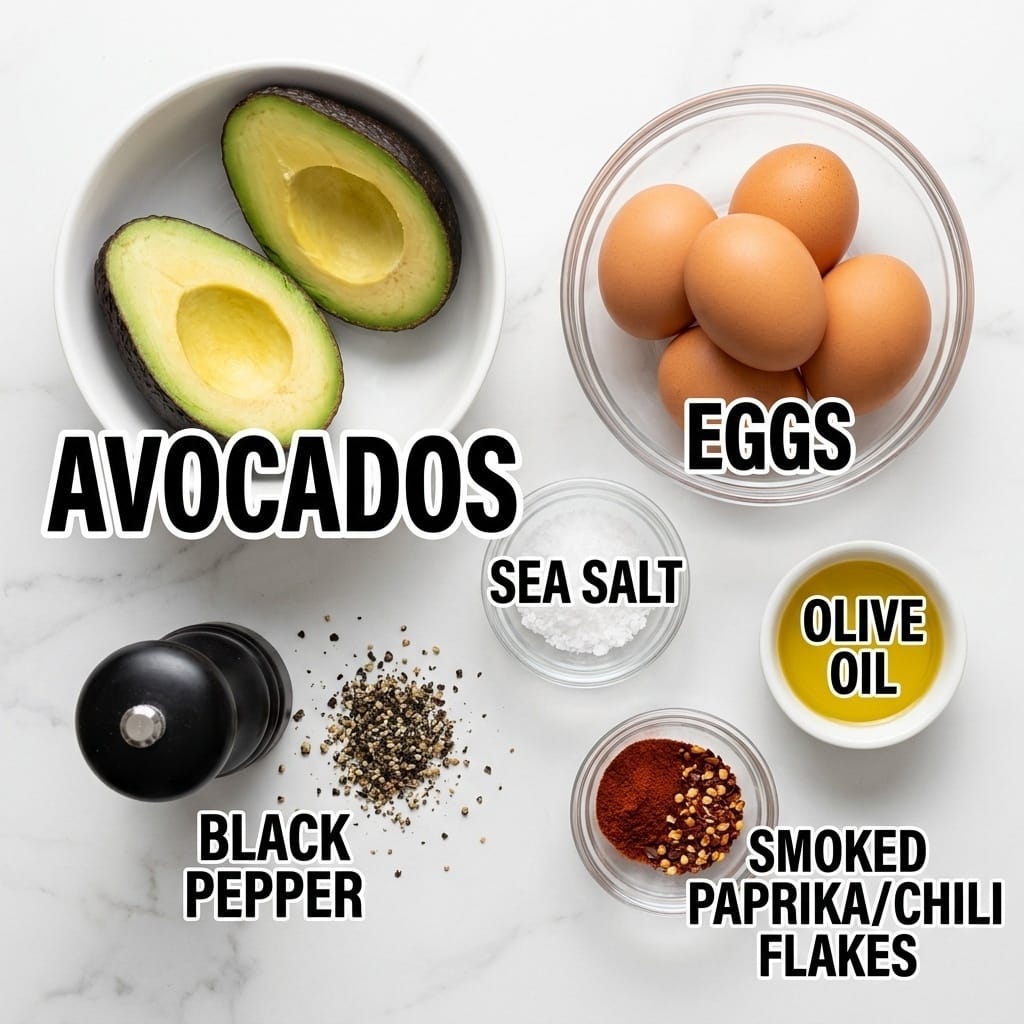
Ingredients
- 2 ripe but firm avocados (I used Hass, and the firmness matters more than you think)
- 4 large eggs (cold from the fridge is fine, but room temperature yields a more even set)
- 1/4 teaspoon sea salt (I found flaky salt works best for texture)
- 1/4 teaspoon black pepper (freshly cracked, not the pre-ground stuff)
- 1 teaspoon olive oil (just for brushing the cut edges)
- Optional: smoked paprika or chili flakes for a kick
The Method That Finally Worked
- First, I preheated my oven to 425°F with the rack positioned in the upper third. This is hotter than any recipe I saw online, and it is the key to getting that crust.
- I cut the avocados in half and removed the pits. Instead of scooping out extra flesh to make a bigger hole, I left the cavity natural. This ensures the egg sits flush with the top edge.
- I brushed the exposed avocado flesh with olive oil. This is not for flavor, it is for heat transfer. The oil helps conduct heat evenly across the surface, promoting that golden brown crust.
- Here is the step that changed everything. I placed the empty avocado halves cut-side down on a baking sheet and let them roast for 5 minutes. This dries out the surface and starts the caramelization process before the egg even goes in.
- After 5 minutes, I pulled the tray out, flipped the avocados cut-side up, and carefully cracked one egg into each cavity. I used a fork to gently tuck any runaway egg whites back into the shell.
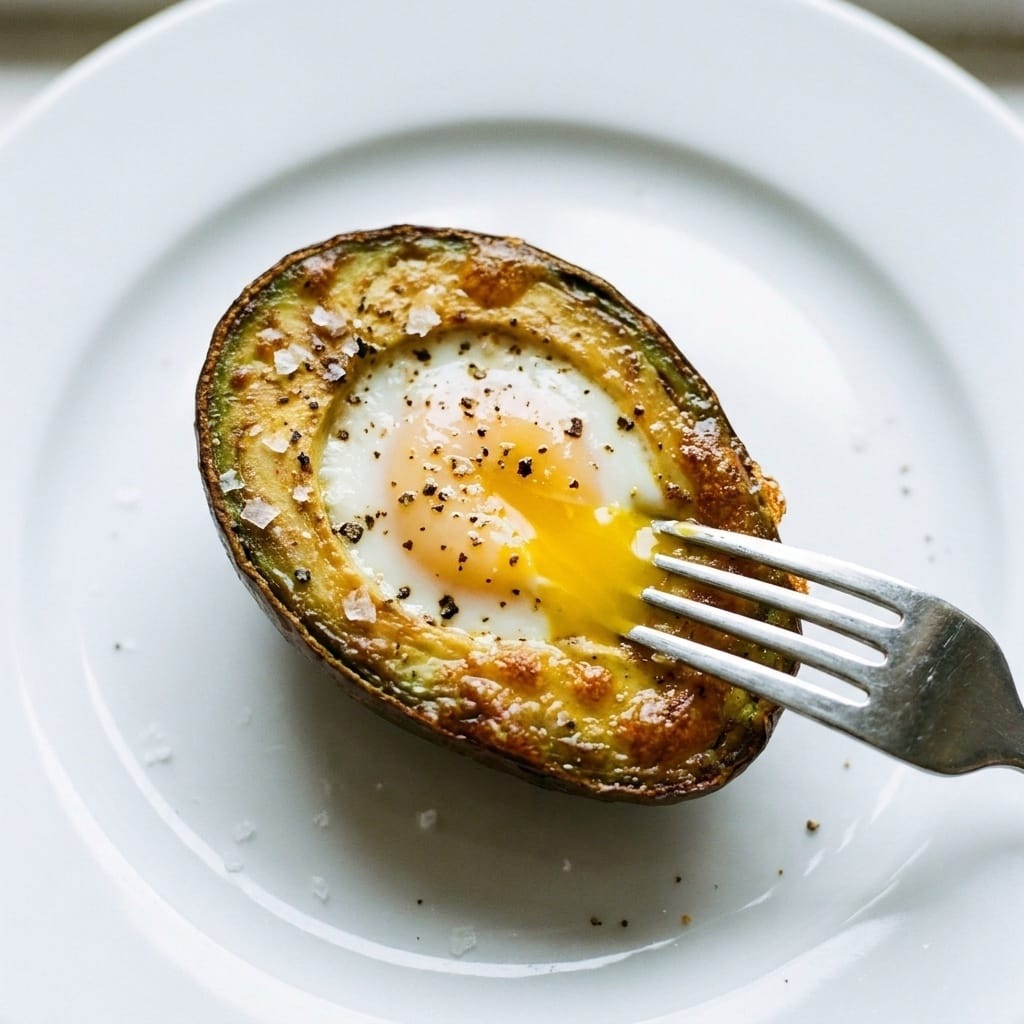
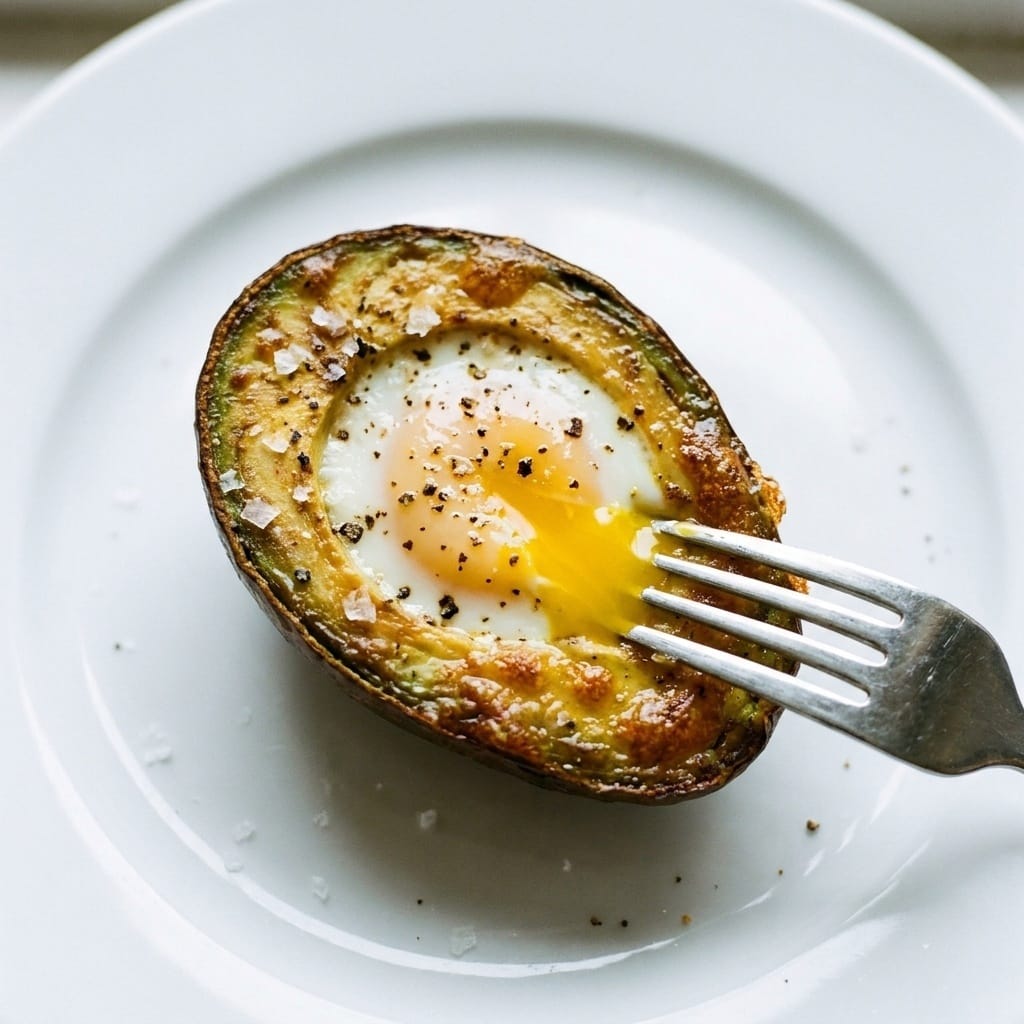
- I returned the tray to the oven and baked for exactly 11 minutes. The whites were set, the yolks were still slightly runny, and the avocado edges had developed a beautiful brown crust.
- I let them rest on the baking sheet for 2 full minutes before serving. This carryover cooking is essential. The residual heat finishes the yolk without overcooking the avocado.
The texture contrast is what sold me. The crispy, almost fried exterior of the avocado gives way to a creamy, buttery interior, and the egg yolk acts as a rich sauce. If you want to understand more about the coagulation process, I recommend reading about egg protein structure on Wikipedia.
Pro Tips for Perfect Crispy Egg Avocado Cups
- Do not use overripe avocados. If the flesh gives too easily when you press it, it will turn to mush in the oven. The avocado needs to hold its shape against the heat.
- The 5-minute pre-roast is non-negotiable. Skipping this step means you will get a raw, soggy bottom instead of a crispy edge.
- If you want a fully cooked yolk, add 3 minutes to the final bake time. But I personally prefer the jammy center, it pairs better with the creamy avocado.
- Use a muffin tin instead of a baking sheet if you are worried about the avocados tipping over. The cups hold the shells upright and prevent any egg spillage.
My Kitchen Discovery
I accidentally discovered that a sprinkle of grated parmesan on top of the avocado before baking creates an incredible crispy cheese crust. I did not plan this, I just had some leftover cheese in the fridge and thought it might work. The saltiness of the cheese cuts through the richness of the avocado and egg perfectly. I have made this version three times since, and it is now my default.
Servings and Timing
This recipe takes about 5 minutes of active prep time and 18 minutes of total oven time. It serves 2 people if you use one whole avocado per person, or 4 people as a lighter appetizer. The prep is minimal, but the timing is precise, so do not walk away from the oven during the final bake.
Variations and Substitutions
For a vegetarian version, this recipe is already perfect. If you want to add more protein, you can top the finished cups with some crumbled feta or a sprinkle of hemp seeds. I have also tested this with a dash of hot sauce mixed into the egg white before baking, which adds a nice tangy heat. If you are avoiding dairy, just skip the parmesan and add a pinch of smoked salt instead.
What to Serve With This
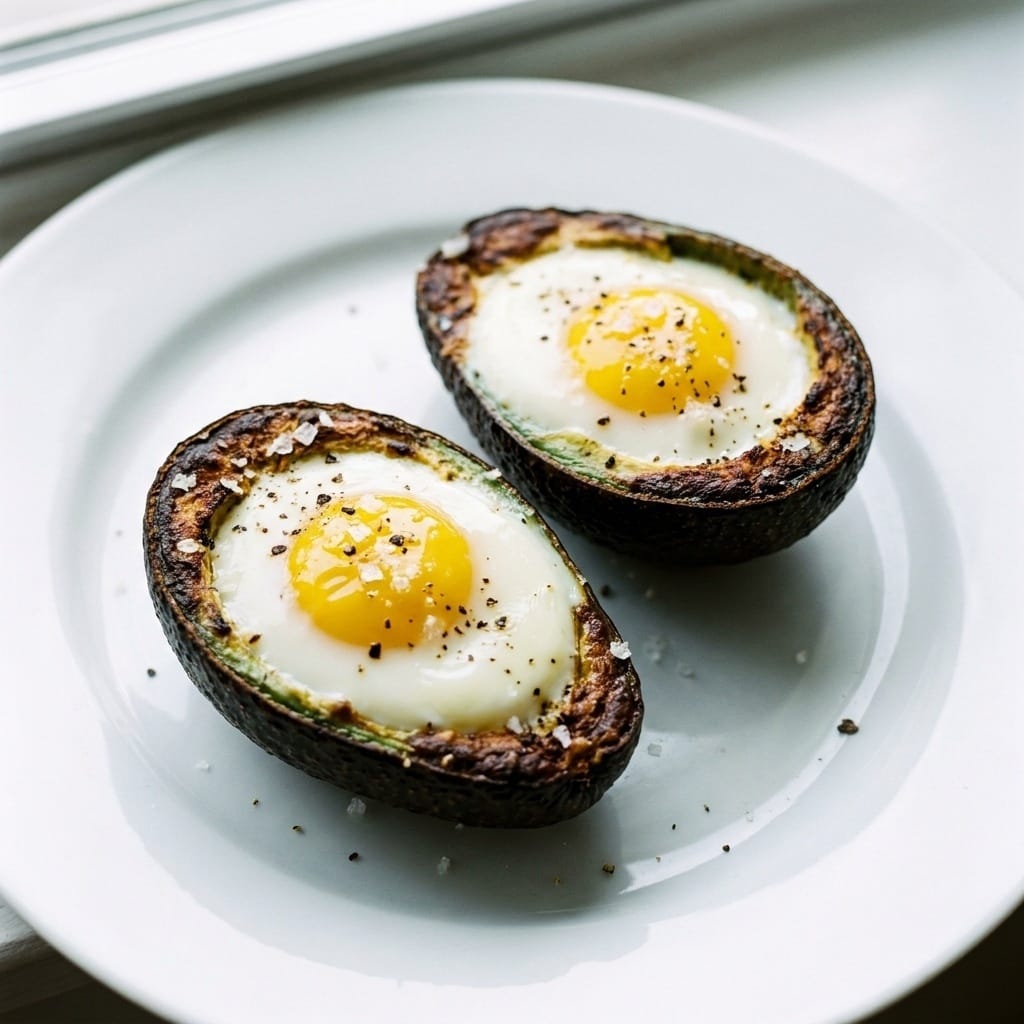
These cups are surprisingly filling on their own, but they pair beautifully with a side of roasted potatoes. If you are looking for a full breakfast spread, I recommend checking out my [LINK: Keto Breakfast Recipes]keto friendly breakfast ideas[/LINK] for more inspiration. You can also serve these alongside a simple green salad for a light lunch, similar to the approach in my [LINK: Avocado Salad Guide]avocado salad guide[/LINK].
Storage and Reheating
Honestly, these are best eaten fresh out of the oven. The avocado will oxidize and turn brown within a few hours, and reheating will make the texture mushy. If you absolutely must store them, keep them in an airtight container in the fridge for up to 24 hours. To reheat, I recommend a hot skillet with a tiny bit of oil, just to crisp up the outside again. A microwave will ruin the texture completely.
FAQs
What happens if I use a frozen avocado?
I tried this once because I had no ripe avocados on hand. The result was a watery, sad mess. The ice crystals rupture the cell walls, so the avocado turns to paste when heated. Do not do this. Just wait for your avocado to ripen.
Can I cook these on a grill instead of an oven?
I tested this on a gas grill with a cast iron skillet. It works, but you need to maintain a steady 400°F and use indirect heat. The direct flame will scorch the avocado before the egg sets. The smoky flavor is actually a nice addition, but the texture is slightly less crispy.
Why did my egg white bubble up and overflow?
This happens when the avocado cavity is too small for the egg. I recommend using medium eggs instead of large, or scooping out a tiny bit of avocado flesh to make room. I learned this the hard way when my oven filled with smoke.
Is it safe to eat the avocado skin?
The skin is technically edible but very bitter and tough. I always scoop the flesh out with a spoon when eating. The skin does help hold the shape during baking, so I do not recommend removing it before cooking.
Can I prep the avocado halves the night before?
You can, but you must brush the cut surface with lemon juice to prevent browning. Keep them in an airtight container in the fridge. I found that the texture is slightly less creamy the next day, but it is a decent time saver for busy mornings.
Final Thoughts on This Breakfast Experiment
I went into this testing process expecting to hate the texture combination, but I was genuinely surprised. The crispy edges, the creamy center, and the rich yolk create a breakfast that feels far more indulgent than the ingredient list suggests. These Crispy Egg Avocado Cups have officially replaced my standard omelet routine. They are not the fastest breakfast, but the payoff is worth the extra 10 minutes.
Tester’s Verdict:
Difficulty: 2/5
Flavor Impact: 4/5
Weeknight Viability: 3/5
Final Word: This is a weekend breakfast worth mastering, the crispy texture is a genuine upgrade over any other avocado egg recipe I have tried.
 | ||||||||||||||||||||||||||||||||||||||||||||
| ||||||||||||||||||||||||||||||||||||||||||||