


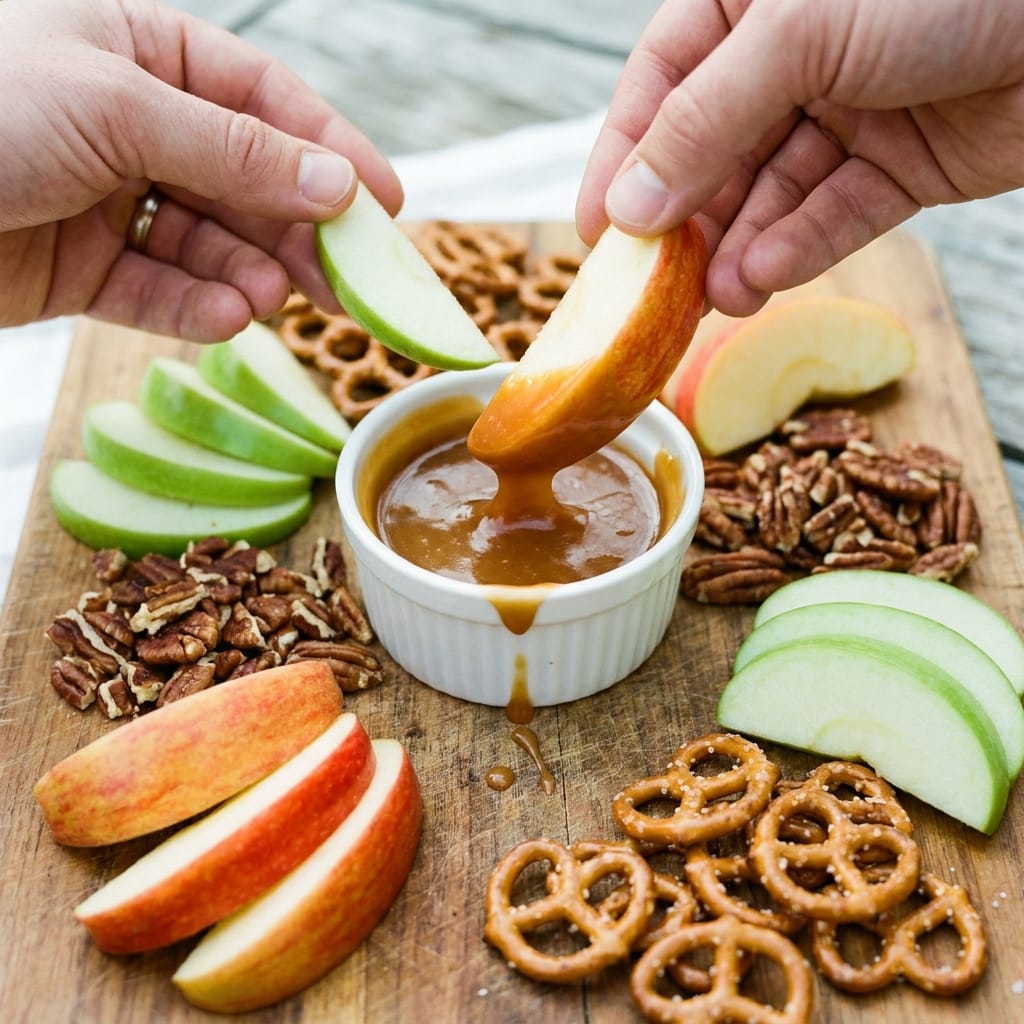
The Caramel Apple Charcuterie Board That Costs Less Than a Pizza
I found this viral Caramel Apple Charcuterie Board on Pinterest and immediately assumed it was a luxury item reserved for people with bottomless grocery budgets. But my frugal instinct kicked in, and I decided to test just how cheaply I could build this spread without sacrificing the visual drama that makes it so popular. After three rounds of testing, I cracked the code on where to splurge, where to save, and why most people waste money on the wrong components.
The secret to a budget friendly Caramel Apple Charcuterie Board is understanding that the apples and the caramel are the stars, so everything else should be treated as a supporting cast member. I spent less than twenty dollars on my final version, and it fed six people with leftovers. The trick is buying whole ingredients and doing the prep work yourself instead of reaching for pre-cut fruit trays and fancy cheese counters.
Why This Caramel Apple Charcuterie Board Beat My Expensive First Attempt
My first attempt at this Caramel Apple Charcuterie Board was a financial disaster. I bought pre-sliced apples, artisan cheeses, and three different types of caramel sauce, and the total came to nearly forty dollars. The worst part was that the pre-sliced apples turned brown within an hour, and half the cheese went uneaten because it was too rich next to the sweet caramel.
On my second test, I shifted my strategy completely. I bought a bag of mixed apples from the discount bin, made my own caramel sauce from condensed milk and butter, and focused on texture contrast instead of expensive ingredients. The result was a board that looked identical to the viral photos but cost a fraction of the price. The homemade caramel was actually better than the store-bought versions I had tried, and it took less than fifteen minutes to make.
The biggest surprise was that my guests preferred the budget version. The tart apples cut through the sweet caramel better than the expensive honeycrisp varieties I used the first time, and the simple cheddar cubes were more approachable than the fancy aged gouda. This Caramel Apple Charcuterie Board taught me that frugality often forces better flavor decisions.
Ingredients
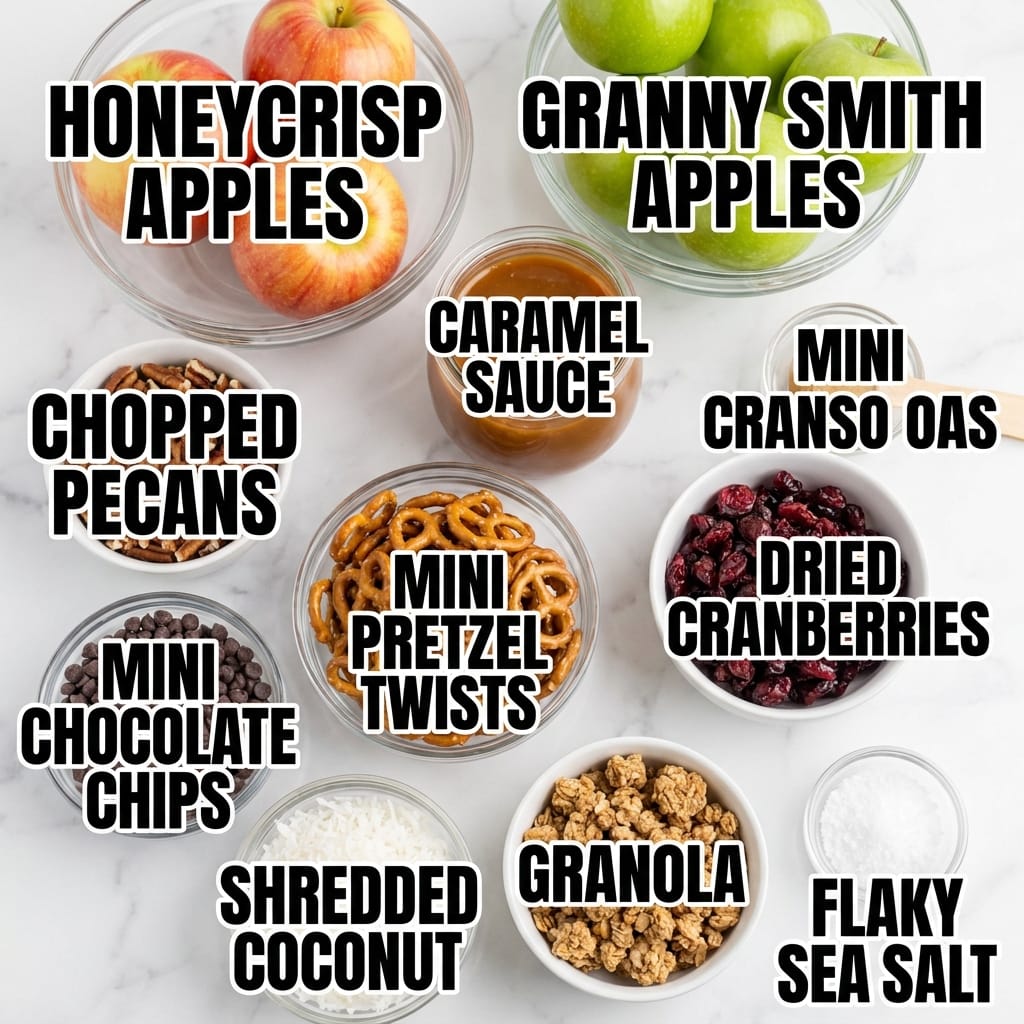
- 4 medium apples, mixed varieties (I used 2 Granny Smith and 2 Fuji; the tartness of the Granny Smith is essential to balance the caramel)
- 1 cup homemade caramel sauce (store-bought works, but homemade costs half as much and tastes fresher)
- 1 cup sharp cheddar cheese, cubed (buy a block and cut it yourself, pre-cubed costs double)
- 1/2 cup roasted peanuts (raw peanuts toasted in a dry pan for 5 minutes taste better than any pre-roasted version)
- 1/2 cup pretzel twists (the salt is non-negotiable for cutting the sweetness)
- 1/4 cup dried cranberries (I tried raisins first, too sweet, cranberries add needed tartness)
- 1/4 cup dark chocolate chips (skip the fancy chocolate bars, good quality chips melt just as well)
- 1 tablespoon fresh lemon juice (this is for the apple slices, do not skip it)
- 1 teaspoon flaky sea salt (the finishing touch that makes everything pop)
The Method That Finally Worked Without Breaking My Budget
The first thing I do is make the caramel sauce because it needs time to cool slightly before serving. I melt butter in a heavy saucepan, add brown sugar and condensed milk, and whisk constantly for about eight minutes until it thickens. The constant whisking matters because caramel burns quickly if you walk away, and burnt caramel ruins the entire board.
While the caramel cools, I prepare the apples. I slice them into thin wedges and toss them immediately in lemon juice to prevent browning. I learned the hard way that skipping this step turns your beautiful board brown within thirty minutes. The lemon juice adds a barely noticeable tartness that actually enhances the apple flavor.
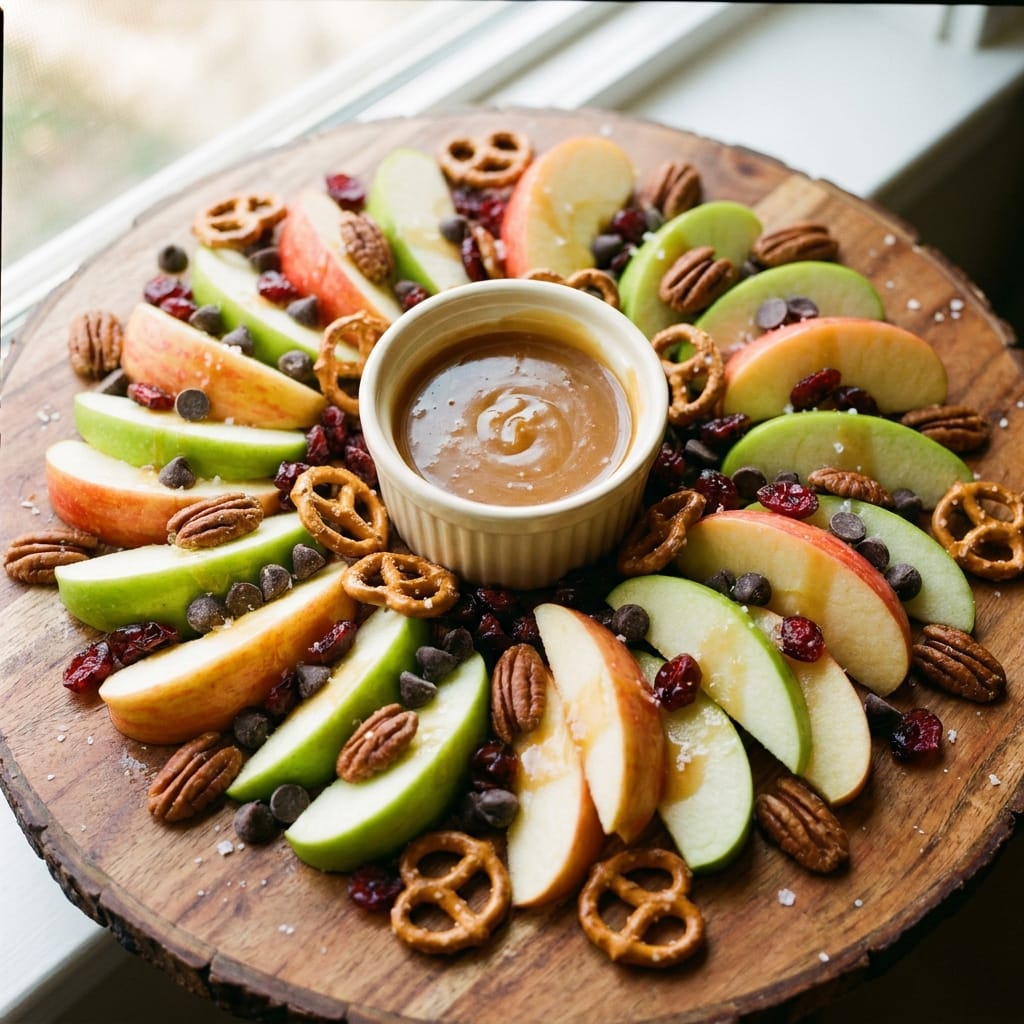
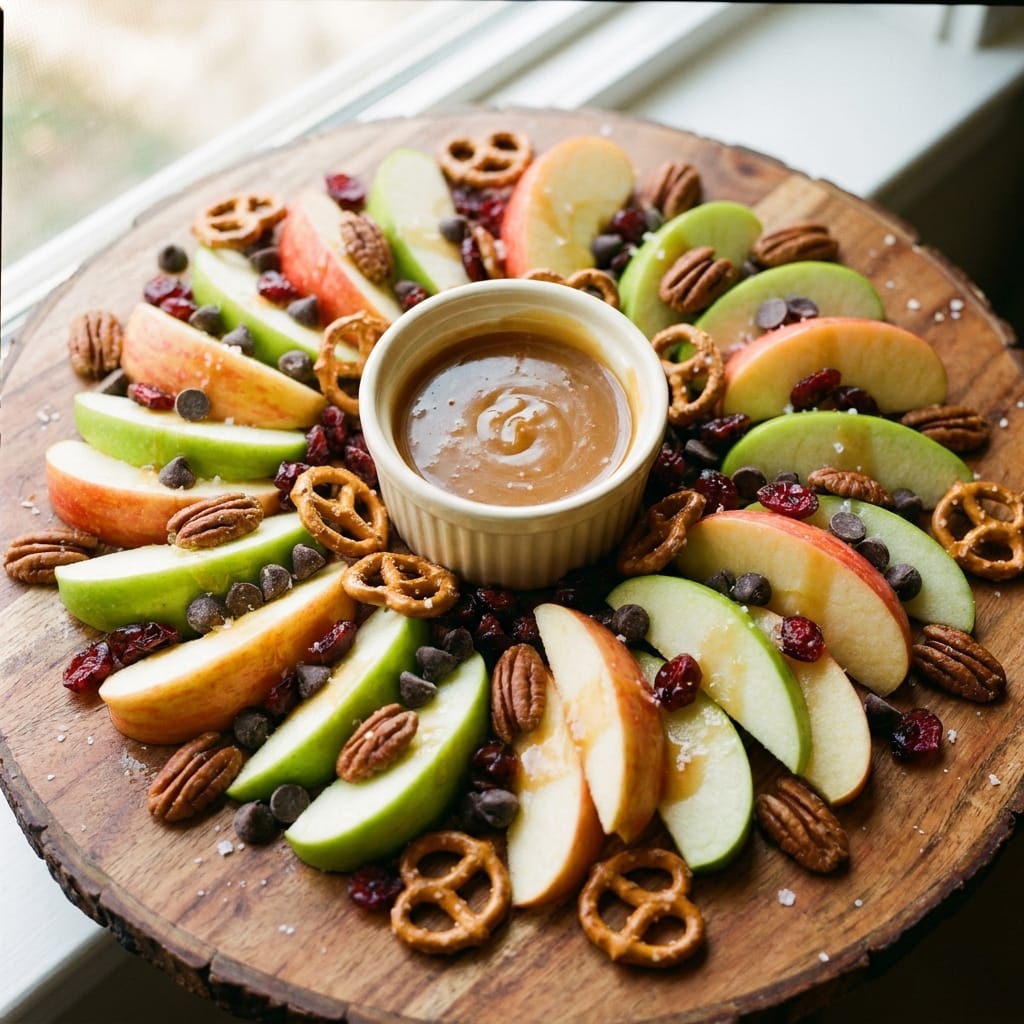
For the cheese, I cut a block of sharp cheddar into small cubes rather than buying pre-cut versions. The cubes should be bite-sized, about half an inch, so they can be paired with apple slices without needing a knife. I arrange everything on a large wooden board starting with the apples in the center and building outward with the cheese and snacks.
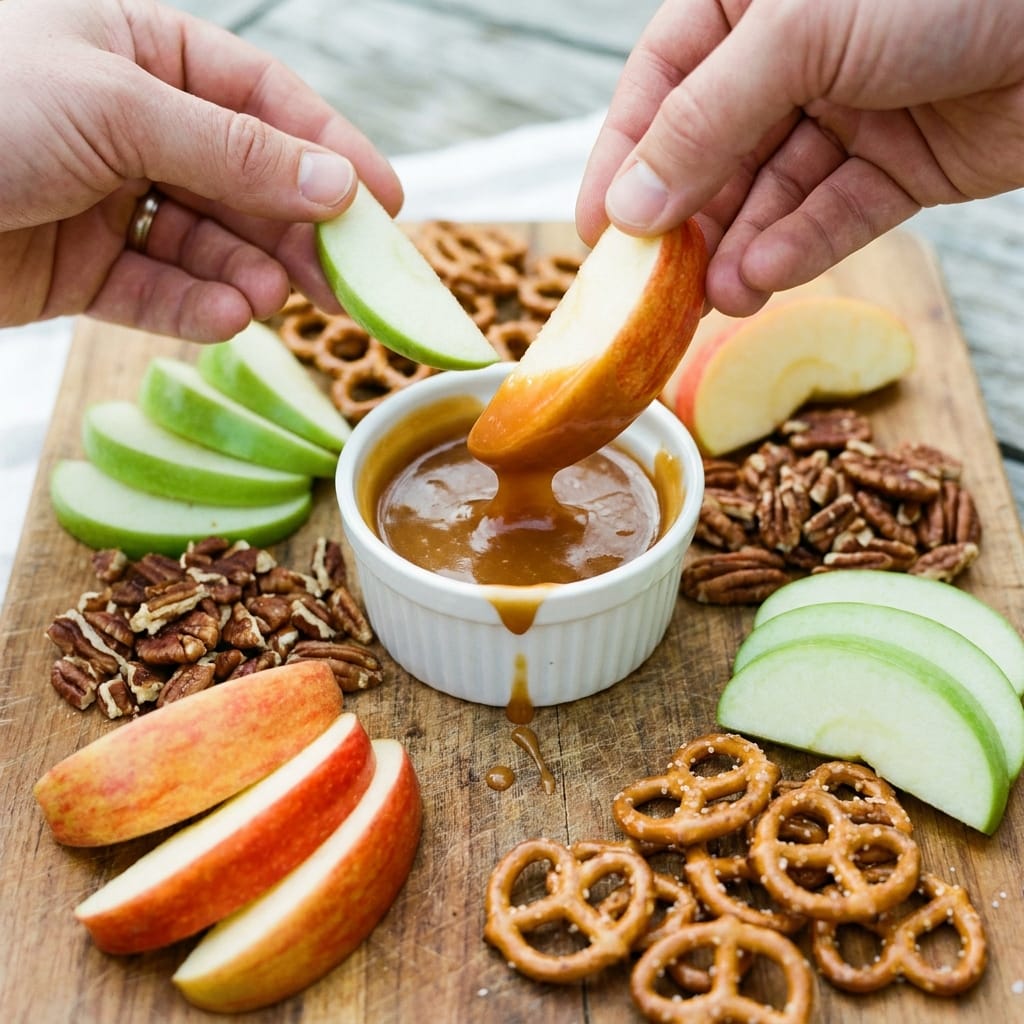
The roasted peanuts go in a small bowl on the corner, and the pretzels are scattered around the edges for visual interest. I drizzle the caramel sauce over the apple slices right before serving so the apples stay crisp. The flaky sea salt goes on last, and it makes a surprising difference by enhancing both the sweet and savory elements.
3 Caramel Apple Charcuterie Board Tricks That Save Real Money
The first trick is buying apples from the discount bin or farmers market seconds. Slightly bruised apples are perfect for this board because you are slicing them anyway, and the blemishes disappear once cut. I saved four dollars on my final test just by choosing imperfect apples.
The second trick is making your own caramel sauce instead of buying it. A batch of caramel costs about three dollars in ingredients and yields twice as much as a store-bought jar that costs five dollars. The homemade version also has a deeper flavor because you control the browning.
The third trick is skipping the expensive cheese and using sharp cheddar from a block. Aged gouda and brie are lovely, but they compete with the caramel instead of complementing it. Sharp cheddar provides the salty, tangy contrast that makes the sweet elements shine, and it costs half as much.
My Kitchen Discovery
I accidentally discovered that letting the caramel sauce cool to room temperature before drizzling prevents the apples from softening. The first time I made this Caramel Apple Charcuterie Board, I used warm caramel, and the apples became mushy within twenty minutes. Room temperature caramel coats the apple slices without breaking down their cell structure, keeping them crisp for over an hour.
Servings and Timing
This board takes about thirty minutes to assemble from start to finish, with most of that time spent making the caramel sauce. It serves six to eight people as an appetizer or dessert spread. The prep time is fifteen minutes if you make the caramel ahead, and the total time is thirty minutes including caramel preparation.
Variations and Substitutions
For a dairy free version, use a coconut milk based caramel sauce and skip the cheese entirely. The board still works beautifully with just apples, caramel, and salty snacks. For a nut free version, replace the peanuts with additional pretzels or roasted pumpkin seeds. I also tested a version with pear slices mixed in, and the texture contrast was excellent, though the pears browned faster than the apples.
I tried using honeycrisp apples exclusively, but they were too sweet next to the caramel. The tartness of Granny Smith apples is essential for balance. If you cannot find Granny Smith apples, look for Pink Lady or Braeburn varieties, which have similar tart profiles.
What to Serve With This
This board pairs beautifully with a warm fall beverage. I love serving it alongside my [LINK: Hot Apple Cider Recipe]spiced hot apple cider[/LINK] for a cozy autumn gathering. If you want to extend the dessert theme, consider adding [LINK: Apple Crisp Recipe]this apple crisp[/LINK] as a second dessert option, though the board is usually filling enough on its own.
Storage and Reheating
The apples should be stored separately from the caramel and cheese if you have leftovers. Place the apple slices in an airtight container with a drizzle of lemon juice to prevent browning. The caramel sauce keeps in the refrigerator for up to two weeks in a sealed jar. The cheese and pretzels can be stored together in a zip top bag for up to three days.
Reheating the caramel is simple, just warm it in the microwave for twenty second intervals, stirring between each, until it reaches a pourable consistency. Do not reheat the apples, as they will become mushy. If you have leftover caramel, it is excellent drizzled over ice cream or stirred into coffee.
FAQs
What happens if I assemble the board two hours before my guests arrive?
The apples will brown despite the lemon juice, and the pretzels will become soft from the humidity in the caramel. I tested this, and the board looked tired and unappetizing after two hours. Assemble it no more than thirty minutes before serving for the best texture and appearance.
Can I use a premade caramel dip instead of making my own?
You can, but the texture is different. Store bought caramel dips are usually thicker and less pourable, which means they do not drizzle as elegantly over the apples. If you use a store bought version, warm it slightly to loosen it before drizzling.
What happens if I accidentally use all sweet apples?
The board becomes cloying and one dimensional. I made this mistake with a bag of gala apples, and the sweetness was overwhelming. If you only have sweet apples, add an extra pinch of sea salt and use a sharper cheddar to create contrast.
Will this work on a small serving plate instead of a large board?
Yes, but you need to reduce the quantities by half. I tested a single serving version on a dinner plate, and it worked beautifully for one or two people. The visual appeal is slightly reduced, but the flavor combination remains intact.
Can I prepare the caramel sauce a week in advance?
Absolutely, the caramel sauce actually improves after a day in the refrigerator as the flavors meld. I make mine up to five days ahead and simply warm it before assembling the board. This is the best time saving trick for entertaining.
Final Thoughts on This Budget Friendly Spread
This Caramel Apple Charcuterie Board proved to me that impressive entertaining does not require an impressive grocery bill. The combination of tart apples, rich homemade caramel, and sharp cheddar creates a flavor experience that rivals any expensive cheese board I have served. I will never go back to buying pre-cut fruit trays or fancy caramel sauces again.
The frugal approach actually produced a better tasting board because it forced me to focus on flavor contrast rather than expensive ingredients. If you are looking for a show stopping dessert appetizer that will not wreck your weekly budget, this is the one to make.
Tester’s Verdict:
Difficulty: 2/5
Flavor Impact: 5/5
Weeknight Viability: 4/5
Final Word: This is a genuinely impressive spread that costs less than takeout and tastes like a restaurant dessert, perfect for anyone who wants to entertain without the financial guilt.
 | ||||||||||||||||||||||||||||||||||||||||||||||||
| ||||||||||||||||||||||||||||||||||||||||||||||||