


The Best Marshmallow Rice Krispies Halloween Brains You Will Ever Make
Why You’ll Love This Recipe
I remember the first time I tried to make a realistic brain for a Halloween party. I thought I could just wing it with green food coloring and call it a day. The result was a lumpy, slimy mess that looked more like a swamp monster than a human brain. My kids refused to touch it.
That failure taught me everything I needed to know about texture and color. For these Marshmallow Rice Krispies Halloween Brains, the trick is all in the marshmallow to cereal ratio. Too much marshmallow and the brains will be too soft and sticky to hold their shape. Too little and they will crumble the second you try to carve them.
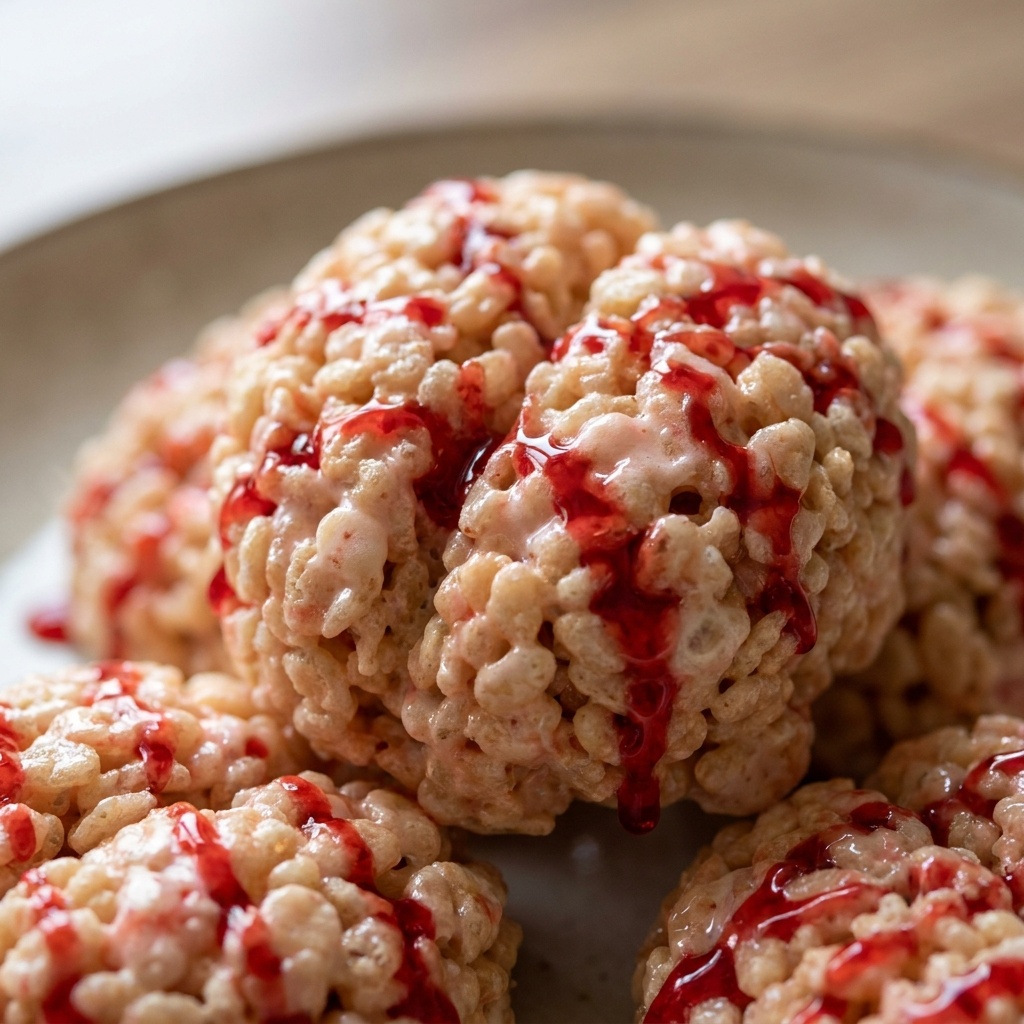
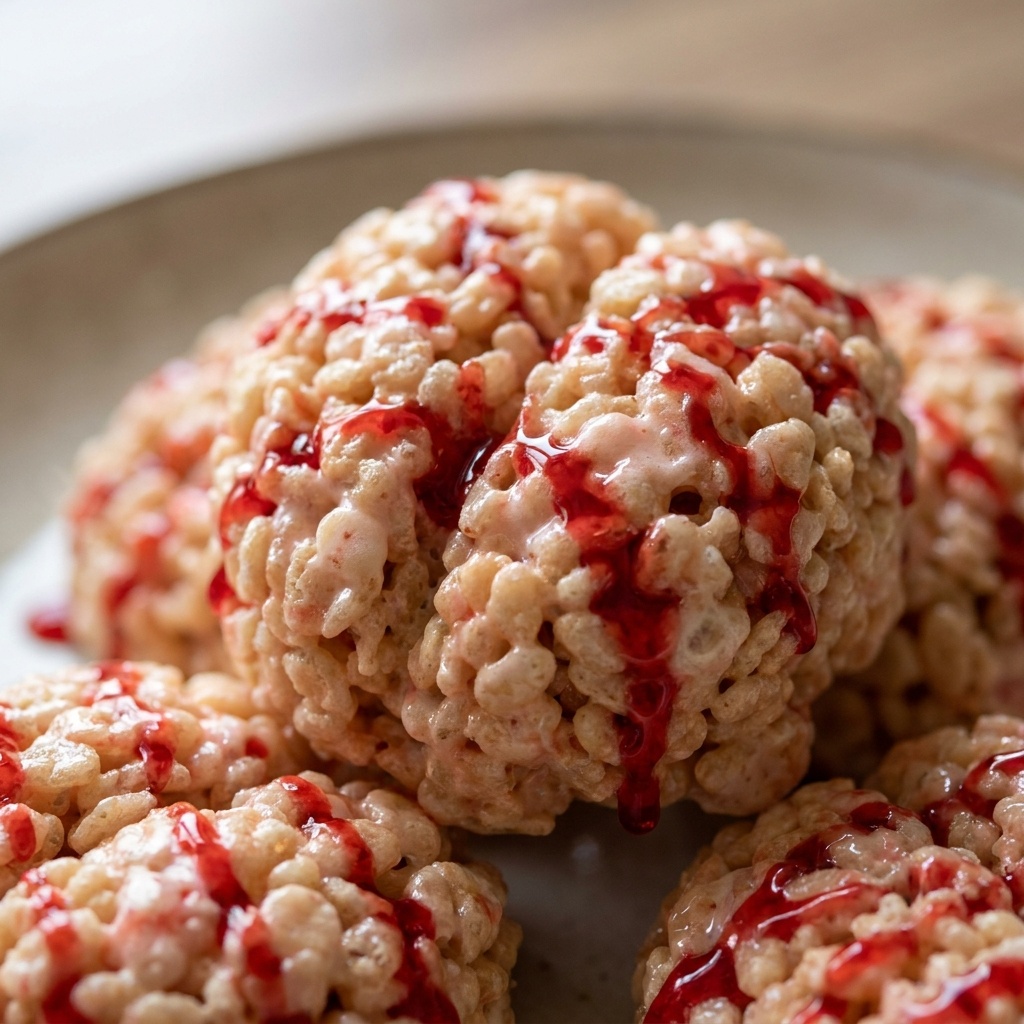
This recipe solves that problem completely. You get a firm yet chewy treat that holds every little crevice and fold you carve into it. The pink and red coloring gives it that shockingly realistic look that will totally freak out your guests. You can learn more about the science of marshmallow texture to understand why this works so well.
Ingredients
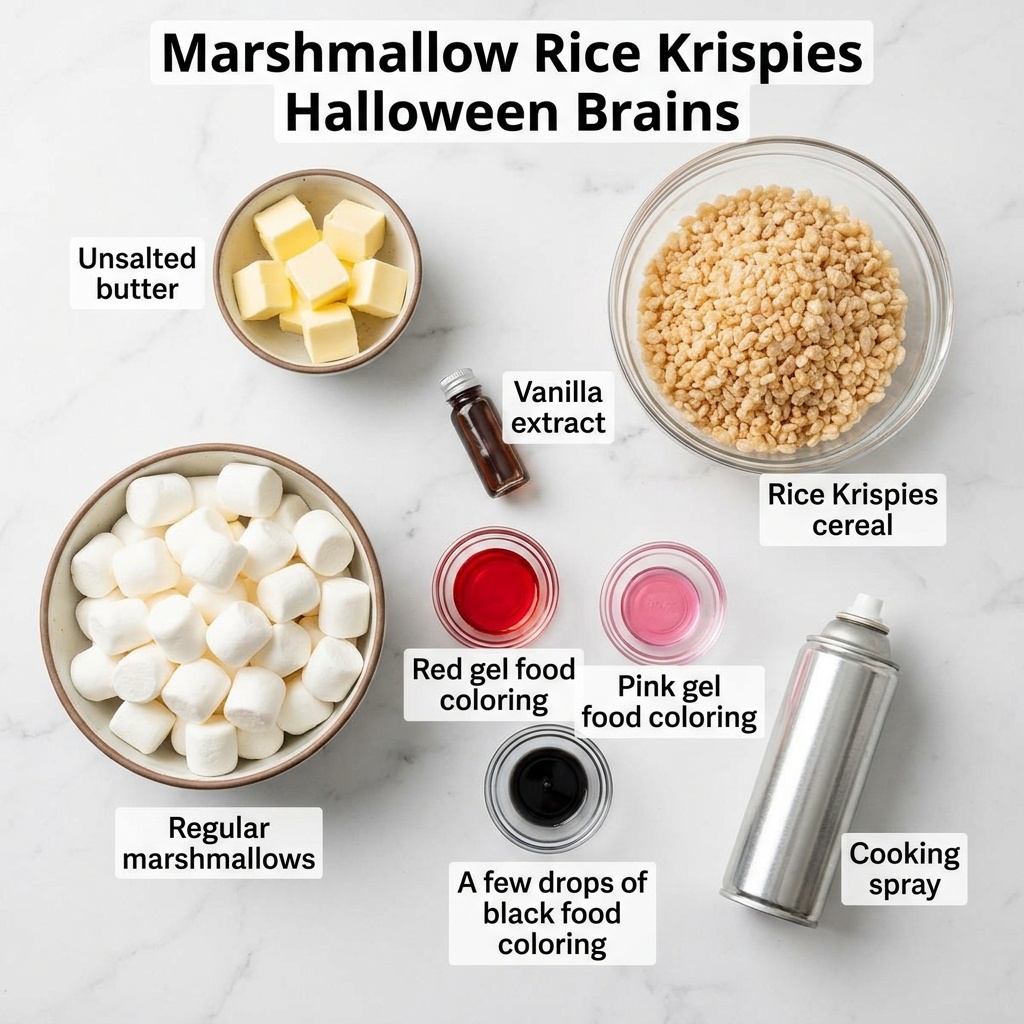
- 3 tablespoons unsalted butter
- 1 package (10 oz) regular marshmallows
- 6 cups Rice Krispies cereal
- 1/4 teaspoon vanilla extract
- Red gel food coloring
- Pink gel food coloring
- A few drops of black food coloring (for the veins)
- Cooking spray
Step-by-Step Directions
- Get a large pot and set it over low heat. Drop in the butter and let it melt slowly. Do not rush this step or the butter will burn.
- Once the butter is fully liquid, pour in the entire bag of marshmallows. Stir constantly with a rubber spatula. You want the marshmallows to melt into a smooth, gooey puddle. The smell at this point is pure childhood.
- Pull the pot off the burner. Stir in the vanilla extract. Now add the red and pink gel food coloring. I use about 10 drops of red and 5 drops of pink. Mix until the color is even. The mixture should look like pink bubblegum but slightly darker.
- Pour in the Rice Krispies cereal. Fold everything together gently but firmly. You want every single piece of cereal coated in the pink marshmallow glue. Do not crush the cereal.
- Let the mixture cool for exactly 2 minutes. It will be very hot, but you need to work with it while it is still pliable.
- Spray your hands generously with cooking spray. Take a handful of the mixture and shape it into a rough oval. This is the base of the brain.
- Now for the fun part. Using your fingers, press deep lines and folds into the oval. Create the two hemispheres by pressing a deep line down the center. Then make smaller squiggly lines branching out. Do not try to make it perfect. Real brains are wrinkly and asymmetrical.
- For the final touch, dip a toothpick into the black food coloring. Draw very thin, delicate veins across the surface. Less is more here. A few tiny lines will look terrifyingly real.
- Let the brains sit on a parchment-lined baking sheet for 30 minutes to fully set before serving.
Pro Tips for Success
The most common mistake people make is using liquid food coloring from the little grocery store bottles. That stuff is mostly water and it will make your marshmallow mixture seize up and get grainy. You absolutely need gel food coloring. It is concentrated and will not mess with the texture.
Another tip is to not overwork the mixture once it is shaped. The more you touch it, the more the heat from your hands will melt the marshmallow back down. Shape it once and then stop. Let it set. If you want to understand why the cooling process is so critical for Rice Krispies treats, read about how starch retrogradation works.
Finally, always use fresh marshmallows. Stale marshmallows are hard and dry. They will not melt into that silky smooth glue that holds everything together.
Servings and Timing
This recipe makes one large brain that serves about 8 to 10 people as a spooky snack. The prep time is 15 minutes and the cook time is 5 minutes. You need an additional 30 minutes for the brains to set. Total time is about 50 minutes.
Variations and Substitutions
If you want a vegan version, you can use vegan marshmallows and a plant-based butter. The texture will be slightly different but it still works great. For a gluten-free option, Rice Krispies are naturally gluten-free, but you should check the label to be sure.
You can also change the color. Instead of pink and red, use green and yellow for a zombie brain. Or use purple for an alien brain. The shaping method stays exactly the same. I have also made a chocolate version by melting a quarter cup of dark chocolate chips with the butter for a richer flavor.
What to Serve With This
These brains are perfect for a Halloween party spread. I love serving them alongside a batch of [LINK: Halloween Desserts]spooky spider cupcakes[/LINK] for a full themed dessert table. They also pair wonderfully with [LINK: Party Snacks]savory monster meatball sliders[/LINK] to balance out all the sugar.
Storage and Reheating
Store any leftover brains in an airtight container at room temperature. They will stay fresh for up to 5 days. Do not refrigerate them. The cold will make the marshmallow hard and rock-like.
If you need to revive them after a day or two, pop them in the microwave for 5 seconds. That is all it takes to soften them back up. Do not overheat them or they will melt into a goopy puddle.
FAQs
Q: Can I use mini marshmallows instead of the big ones?
Yes, mini marshmallows work perfectly. You just need to measure the same weight. One 10-ounce bag of regular marshmallows equals about 4 cups of mini marshmallows. The melting time will be slightly faster, so keep a close eye on them.
Q: What happens if I accidentally use too much red food coloring?
If the mixture turns bright red instead of pink, do not panic. You can fix it by adding a tiny drop of blue food coloring. Blue will neutralize the red and bring it back to a more muted, brain-like shade. Just stir it in slowly until the color looks right.
Q: Can I make these Marshmallow Rice Krispies Halloween Brains a week in advance?
Absolutely. These treats hold up very well. Make them up to 5 days ahead and store them in an airtight container. Just wait to draw the black veins until the day you serve them. The black food coloring can bleed and fade over time.
Q: Why did my brains crumble when I tried to carve the folds?
This happens when the mixture cools down too much before you shape it. You must work while it is still warm and pliable. If it gets too cold, the marshmallow sets and the cereal will not stick together. Reheat the mixture in the microwave for 10 seconds to soften it back up.
Q: Can I cook this in a microwave instead of on the stove?
Yes, you can. Melt the butter in a large microwave-safe bowl for 30 seconds. Add the marshmallows and microwave for another 60 seconds. Stir and then microwave in 30-second bursts until smooth. The stove method gives you more control, but the microwave is faster.
Conclusion
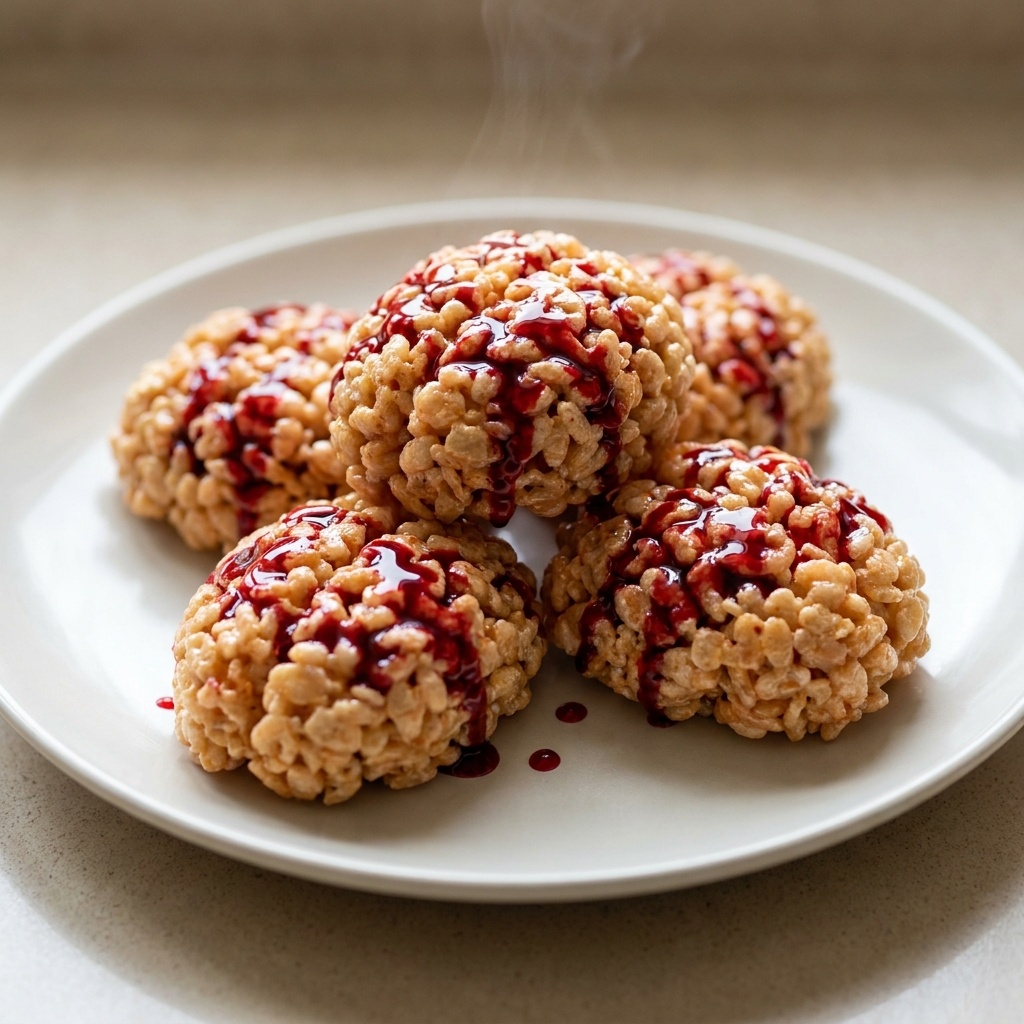
I hope you love making these Marshmallow Rice Krispies Halloween Brains as much as I do. They are the perfect mix of creepy and delicious. My family fights over the last piece every single Halloween. Give this recipe a try and let me know how your brains turn out. Share a photo with me. I love seeing your spooky creations.
 | ||||||||||||||||||||||||||||||||||||||||||||||||||||
| ||||||||||||||||||||||||||||||||||||||||||||||||||||