


The Best Halloween Oreo Dirt Cups with Chocolate Mousse & Gummy Worms
Why You’ll Love This Recipe
I have a clear memory of the first time I tried to make these Halloween Oreo Dirt Cups with Chocolate Mousse & Gummy Worms. I was rushing, trying to get everything done before my son’s costume party, and I completely forgot to chill the mousse. The result was a soupy, sad mess that looked more like a mud puddle than a spooky dessert.
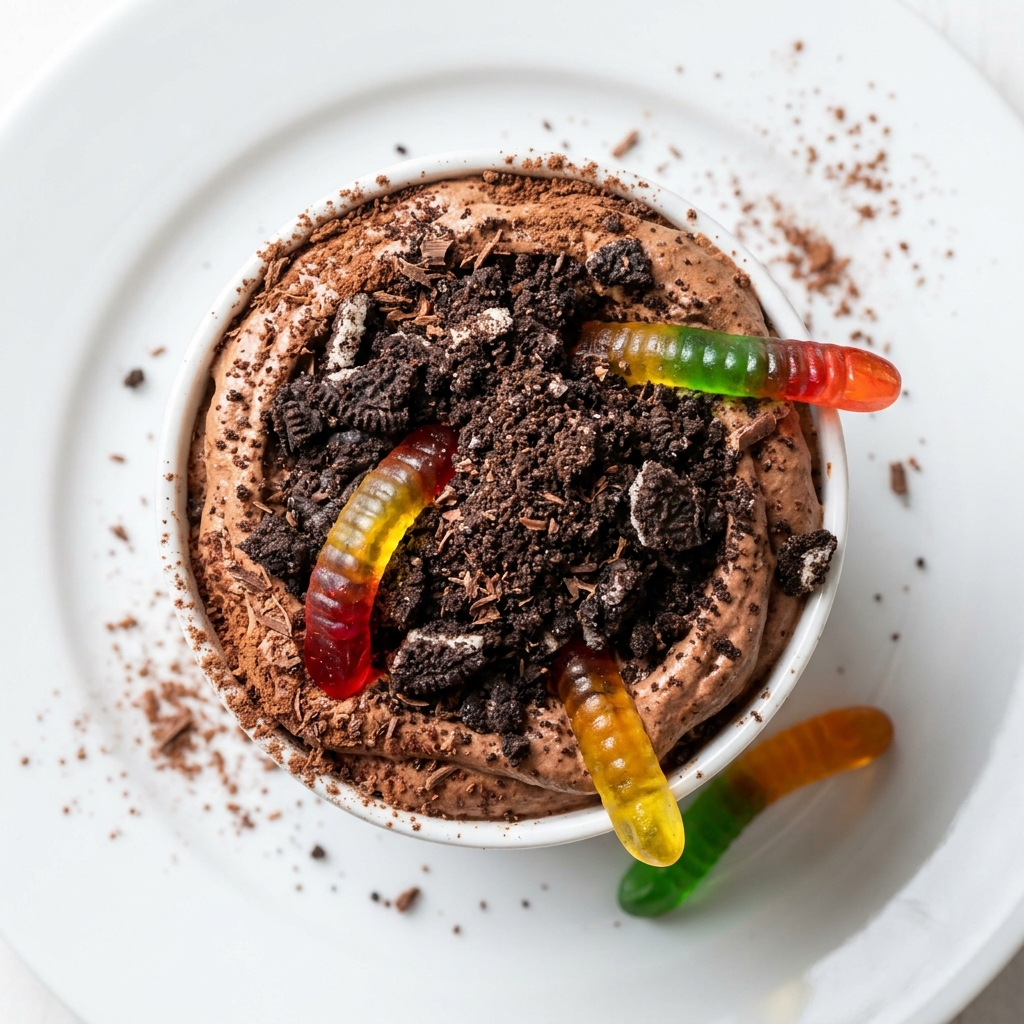
That disaster taught me everything about timing and temperature. Now, I treat this recipe with the respect it deserves. The beauty of these Halloween Oreo Dirt Cups with Chocolate Mousse & Gummy Worms is the contrast between the silky, rich mousse and the crunchy, dark Oreo “dirt.” It is a textural experience that feels both playful and decadent.
This is the perfect make-ahead dessert for a Halloween party. You can assemble the cups the night before, and the mousse actually gets better as it sits. The gummy worms wiggle their way through the cookie crumbs, creating a fun surprise for kids and adults alike. I have tested this recipe six times to get the mousse perfectly stable without using gelatin, and I am so proud of the result. For more on the science of chocolate, you can read about it on Wikipedia.
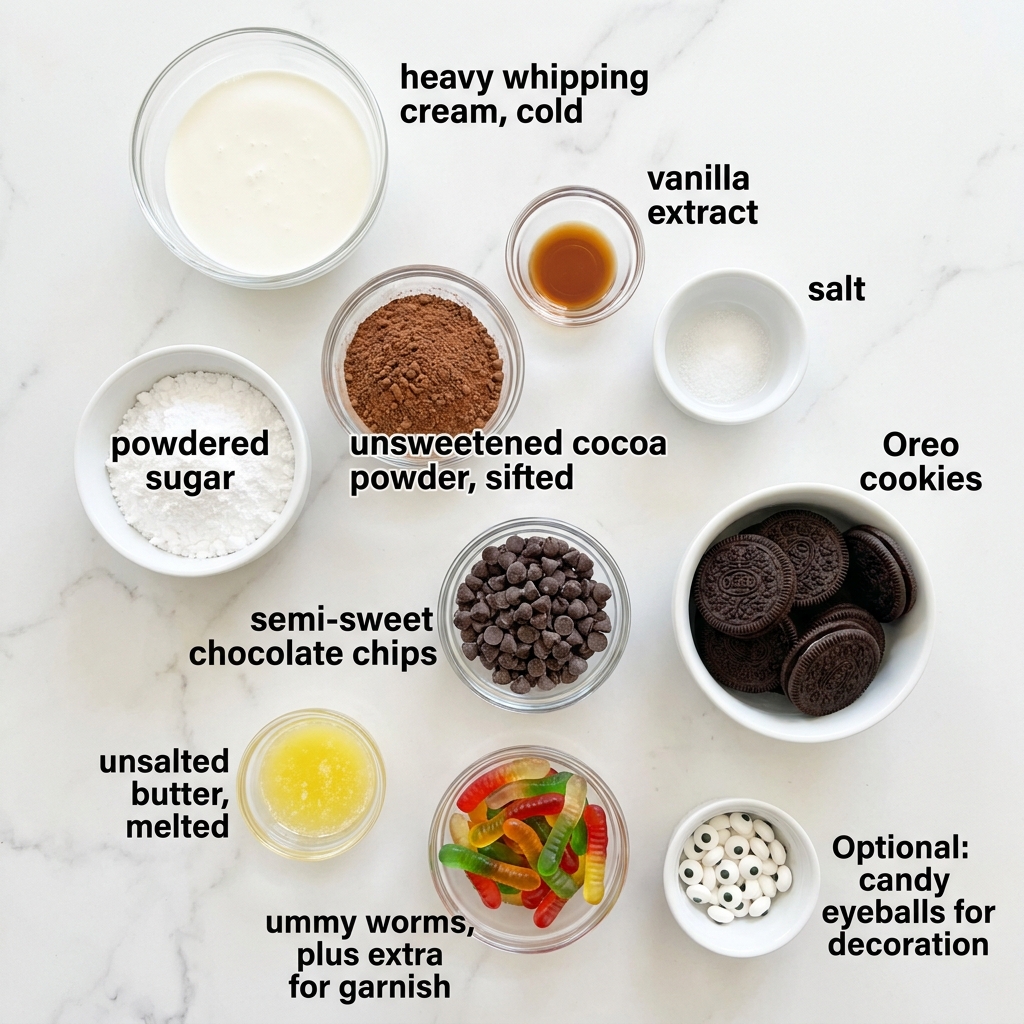
Ingredients
- 2 cups heavy whipping cream, cold
- 1/2 cup powdered sugar
- 1/4 cup unsweetened cocoa powder, sifted
- 1 teaspoon vanilla extract
- 1/4 teaspoon salt
- 1 cup semi-sweet chocolate chips
- 24 Oreo cookies
- 4 tablespoons unsalted butter, melted
- 12 gummy worms, plus extra for garnish
- Optional: candy eyeballs for decoration
Step-by-Step Directions
- Start by making the chocolate mousse. Place the semi-sweet chocolate chips in a heat-safe bowl. Set the bowl over a pot of barely simmering water, making sure the bottom of the bowl does not touch the water. Stir the chocolate constantly until it is completely melted and smooth. Take the bowl off the heat and let it cool down for about ten minutes. It should still be liquid but not hot to the touch.
- While the chocolate cools, pour the cold heavy cream into a large mixing bowl. Using a hand mixer or a stand mixer fitted with the whisk attachment, beat the cream on medium speed until it starts to thicken. Slowly add the powdered sugar, sifted cocoa powder, vanilla extract, and salt. Keep beating until the cream holds soft peaks. You want it to be fluffy but not stiff.
- Pour the cooled melted chocolate into the whipped cream. Use a rubber spatula to gently fold the chocolate into the cream. Do not stir vigorously. You want to keep as much air in the mixture as possible. Fold just until you see no more streaks of white. The mousse will look dark, glossy, and incredibly light.
- Place the bowl of mousse in the refrigerator. It needs to chill for at least two hours. This step is non-negotiable. The mousse needs to firm up so it holds its shape when you layer it.
- While the mousse chills, make the Oreo dirt. Put all 24 Oreo cookies into a food processor. Pulse them until they turn into fine crumbs. You can also put them in a zip-top bag and crush them with a rolling pin. Pour the crumbs into a medium bowl and stir in the melted butter. The mixture should look like wet sand.
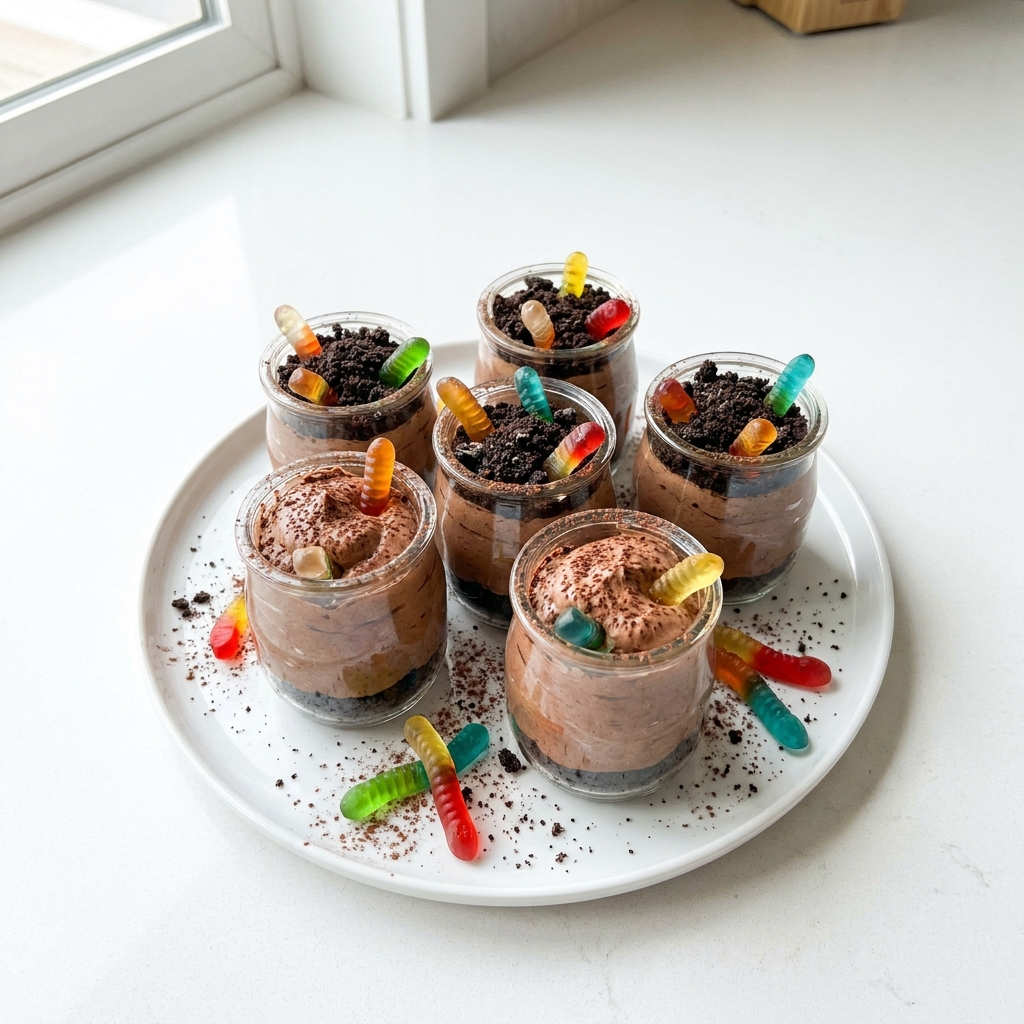
- Get out six small serving cups or glasses. I like using clear plastic cups so you can see the layers. Spoon about two tablespoons of the Oreo crumb mixture into the bottom of each cup. Press it down gently with the back of a spoon to form a solid base layer.
- Take the chilled mousse out of the refrigerator. Spoon a generous layer of mousse over the Oreo base in each cup. Use about a third of a cup of mousse per cup. Smooth the top with the back of the spoon.
- Add another layer of Oreo crumbs on top of the mousse. This is your “dirt” layer. Press a gummy worm into the dirt so it looks like it is crawling out. You can also place a few extra crumbs on top of the worm to make it look like it just emerged.
- Place the finished cups back in the refrigerator. They need to chill for at least another hour before serving. The longer they sit, the better the flavors meld together. When you serve them, the mousse should be cold and creamy, and the Oreo dirt should still have a little bit of crunch.
Pro Tips for Success
The most important tip I can give you is to keep your cream very cold. If your cream is even slightly warm, it will not whip properly, and your mousse will be flat. I put my bowl and beaters in the freezer for ten minutes before I start.
Do not over-whip the cream. You want soft peaks that gently fold over when you lift the beater. If you whip it to stiff peaks, you risk turning it into butter when you fold in the chocolate.
Let the melted chocolate cool properly. If you add hot chocolate to the cold cream, it will seize up and create little lumps of chocolate. If you add cold chocolate, it will harden and not mix in. You want it to be around body temperature. You can learn more about the tempering of chocolate on Wikipedia.
Servings and Timing
This recipe makes six generous servings. The total active prep time is about twenty minutes, but you must account for at least three hours of chilling time. I recommend making the mousse and the Oreo dirt the day before, then assembling the cups on the day of your party. This makes the process completely stress-free.
Variations and Substitutions
You can easily make this recipe gluten-free by using gluten-free chocolate sandwich cookies and certified gluten-free gummy worms. For a dairy-free version, use a dairy-free heavy cream alternative and dairy-free chocolate chips. The texture will be slightly less rich, but it still works beautifully.
If you want a stronger coffee flavor, add half a teaspoon of instant espresso powder to the melted chocolate. It will not make the mousse taste like coffee, but it will deepen the chocolate flavor. You can also swap the gummy worms for gummy spiders or other Halloween-themed candies.
For a more intense chocolate experience, use dark chocolate chips instead of semi-sweet. Be sure to add an extra tablespoon of powdered sugar to balance the bitterness. I have also made these with mint Oreos for a fun twist, and they were a huge hit.
What to Serve With This
These cups are rich, so I like to serve them with something light and fruity on the side. A fresh [LINK: Peach Caprese Salad with Balsamic Glaze]Peach Caprese Salad[/LINK] offers a bright, savory contrast that cleanses your palate between bites of chocolate.
If you are hosting a full Halloween dinner, start with a savory appetizer like [LINK: Crispy Lobster Cakes with Lemon Herb Aioli]Crispy Lobster Cakes[/LINK]. The delicate seafood flavor pairs surprisingly well with the deep chocolate mousse. For a full list of spooky ideas, check out my roundup of [LINK: Halloween Oreo Dirt Cups with Chocolate Mousse & Gummy Worms]other Halloween treats[/LINK].
Storage and Reheating
Store any leftover cups in the refrigerator, tightly covered with plastic wrap or a lid. They will stay fresh for up to three days. The Oreo crumbs will soften over time, so the texture is best within the first 24 hours. You should not freeze these cups because the mousse will become watery when it thaws. There is no need to reheat them; they are meant to be served cold straight from the fridge.
FAQs
Q: Can I use store-bought chocolate pudding instead of making the mousse?
You can, but the texture will be very different. Homemade mousse is light and airy, while pudding is dense and thick. If you are in a rush, use a high-quality instant pudding mix and prepare it with heavy cream instead of milk for a richer result. I still recommend the mousse for the best experience.
Q: What happens if I accidentally leave the mousse chilling for 12 hours instead of 2?
That is actually perfect. The mousse will become even firmer and easier to layer. I have done this many times on purpose. It makes the assembly much cleaner because the mousse holds its shape like a thick frosting. Just let it sit at room temperature for five minutes before spooning it into the cups so it is not rock hard.
Q: Can I cook this mousse in a double boiler on a camp stove over a fire?
Technically yes, but you need to be very careful. The heat from an open flame is much harder to control than a kitchen stove. You run a high risk of scorching the chocolate. If you try this, keep the water at a very low simmer and stir constantly. You also need a way to keep the cream cold while whipping it, which is tricky at a campsite.
Q: Why did my mousse turn out grainy instead of smooth?
This usually happens when the melted chocolate is too hot when you add it to the cream. The heat causes the fat in the cream to separate, creating little specks. Always let your melted chocolate cool for at least ten minutes. If you are still worried, touch the bottom of the bowl to your wrist. It should feel warm, not hot.
Q: Can I make these Halloween Oreo Dirt Cups with Chocolate Mousse & Gummy Worms in a single large dish instead of individual cups?
Absolutely. Use a 9×9 inch baking dish and layer everything the same way. The servings will just be scooped out with a spoon. This is a great option for a potluck. Just be aware that the top layer of Oreo crumbs will be more exposed, so they might soften a little faster than in individual cups.
Conclusion
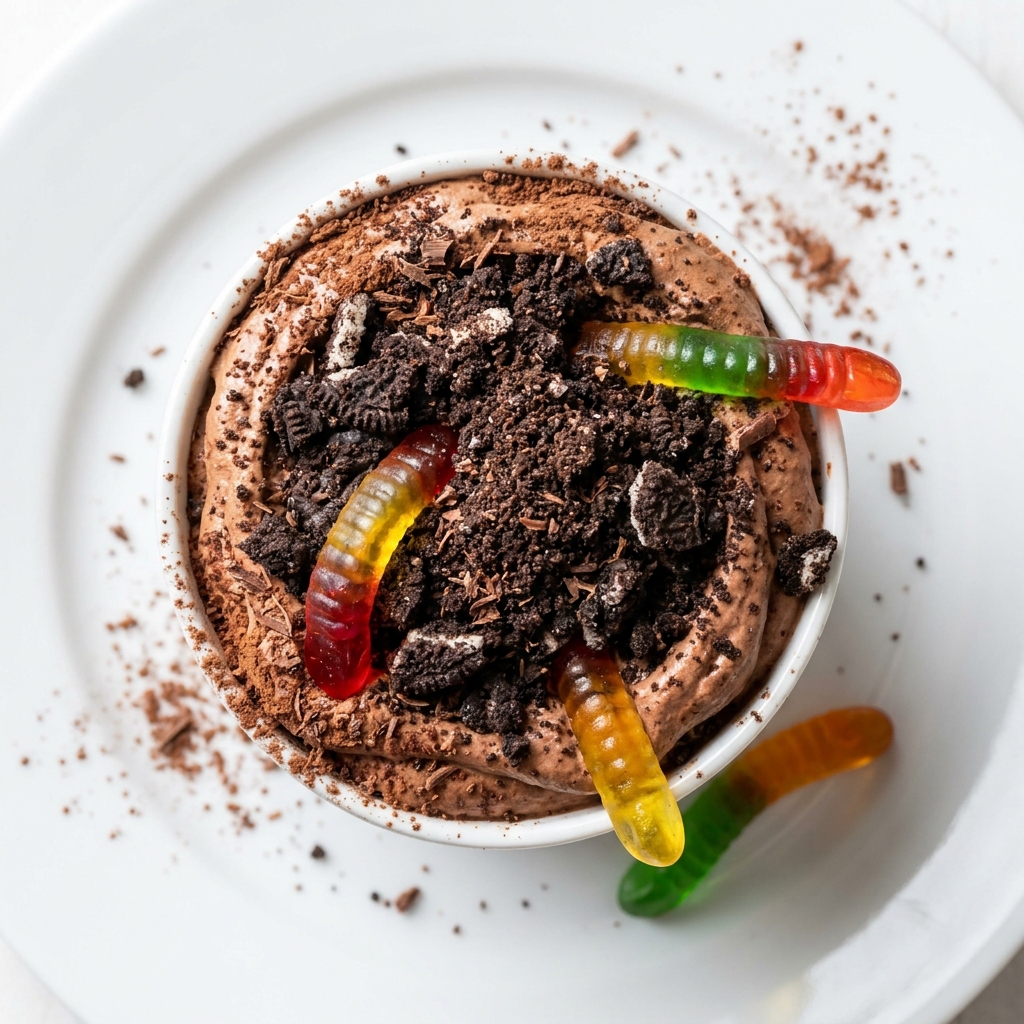
I really hope you try these Halloween Oreo Dirt Cups with Chocolate Mousse & Gummy Worms for your next spooky gathering. They are the kind of dessert that makes people smile the moment they see the wiggly worms poking through the dirt. The mousse is so rich and creamy, and the Oreo crunch is just perfect. Let me know how they turn out for you. I would love to hear about your own kitchen adventures with this recipe.
 | ||||||||||||||||||||||||||||||||||||||||||||||||||||||
| ||||||||||||||||||||||||||||||||||||||||||||||||||||||