


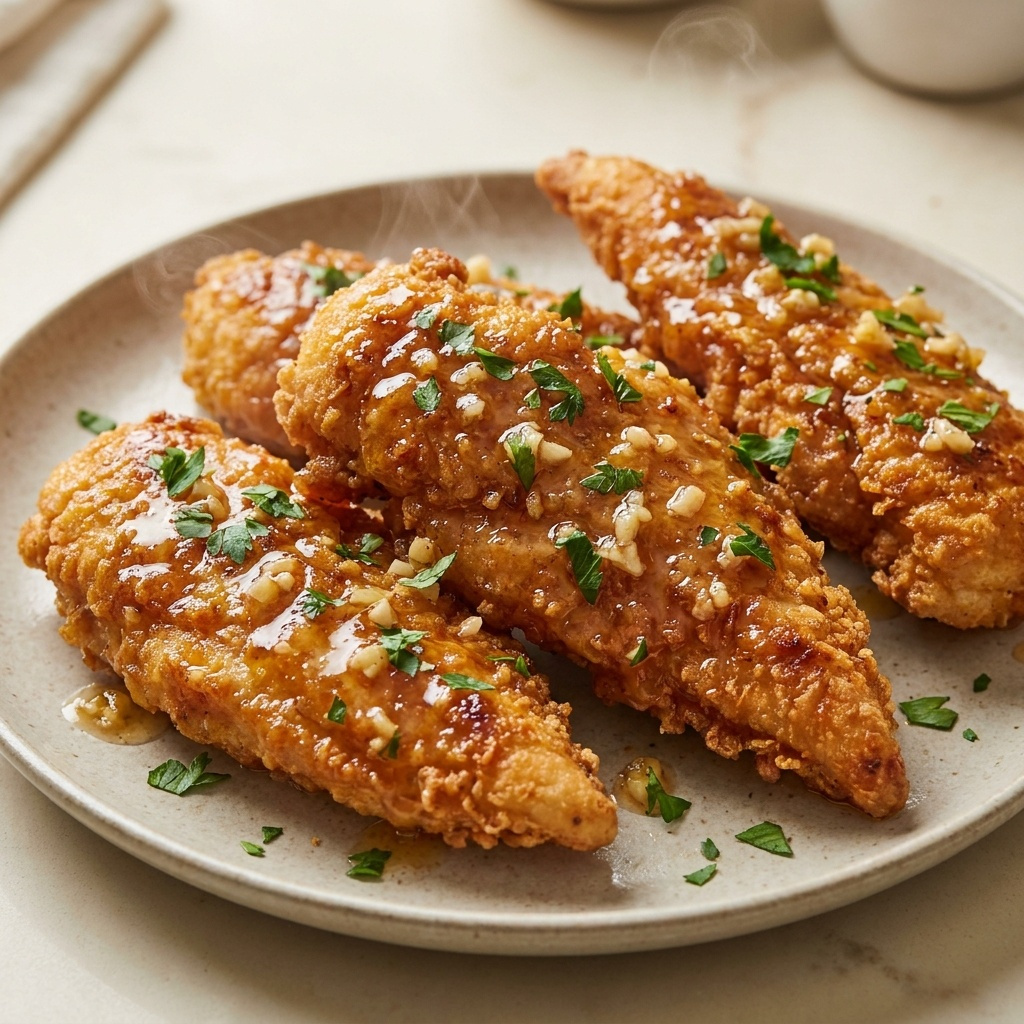
The Best Crispy and Juicy Honey Butter Garlic Chicken Tenders
Why You’ll Love This Recipe
I first made these Crispy and juicy honey butter garlic chicken tenders for a family dinner that needed to feel special without taking all afternoon. I wanted something that would please my picky eaters but also feel like a treat for the adults at the table. The first batch came out uneven, with some tenders too dark and the sauce separating into a greasy mess. That failure taught me exactly what not to do.
After several more tries, I figured out the trick to keeping the coating perfectly crunchy even after it gets tossed in that glossy honey butter garlic sauce. The secret lies in how you prep the chicken and the order of your cooking steps. These tenders have a shatteringly crisp crust that stays crunchy for a surprisingly long time. The sauce itself is a beautiful balance of sweet honey, rich butter, and savory garlic that clings to every ridge of the breading. This recipe has become my most requested dish for game days and casual get-togethers.
The technique for getting that crust right relies on a simple but effective breading method that uses a buttermilk soak. This is a classic trick for tenderizing chicken, and you can read more about how buttermilk works on this Wikipedia article about buttermilk. The lactic acid in the buttermilk helps break down the proteins, ensuring the inside stays incredibly moist while the outside gets perfectly golden.
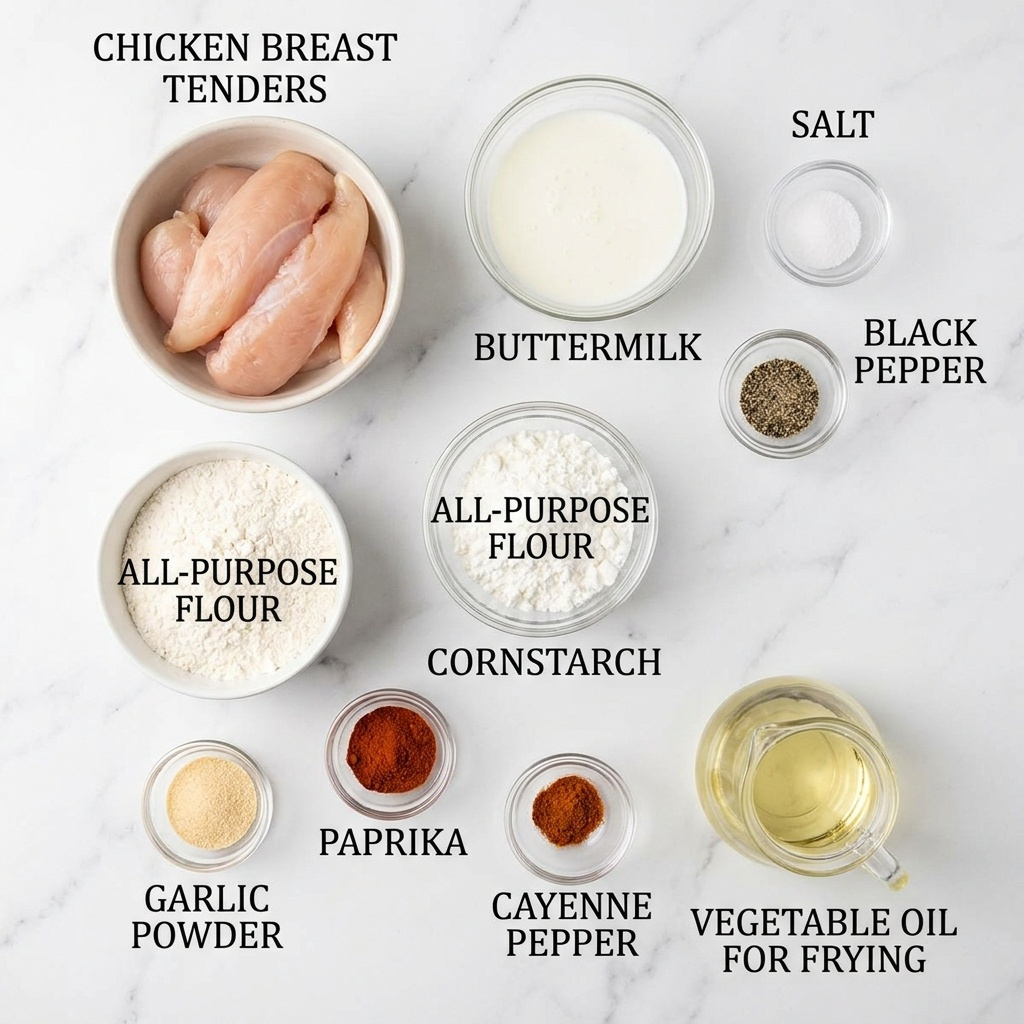
Ingredients
- 1.5 pounds chicken breast tenders
- 1 cup buttermilk
- 1 teaspoon salt
- 1/2 teaspoon black pepper
- 1 cup all-purpose flour
- 1/2 cup cornstarch
- 1 teaspoon garlic powder
- 1 teaspoon paprika
- 1/2 teaspoon cayenne pepper
- Vegetable oil for frying
- 4 tablespoons unsalted butter
- 1/3 cup honey
- 4 cloves garlic, minced
- 1 tablespoon soy sauce
- Fresh parsley for garnish
Step-by-Step Directions
- Start by placing your chicken tenders in a large bowl and pour the buttermilk over them. Add the salt and black pepper, then toss everything together with your hands. Cover the bowl with plastic wrap and let it sit in the refrigerator for at least 30 minutes. I usually let mine go for an hour. The chicken will look plump and the buttermilk will look slightly thickened when it is ready.
- While the chicken soaks, mix your dry coating. In a wide, shallow dish, whisk together the all-purpose flour, cornstarch, garlic powder, paprika, and cayenne pepper. The cornstarch is the real hero here. It helps create that ultra-crispy texture that stays crunchy even after saucing.
- Pull the chicken from the fridge. Let any excess buttermilk drip off each tender, but do not wipe them dry. You want that thin layer of buttermilk still clinging to the surface. Dredge each tender in the flour mixture, pressing gently so the coating sticks. Shake off the extra flour and set the breaded tenders on a wire rack. Let them sit there for 5 minutes. This resting step helps the coating adhere better so it does not fall off during frying.
- Pour about 2 inches of vegetable oil into a heavy-bottomed pot or deep skillet. Heat the oil over medium-high heat until it reaches 350 degrees Fahrenheit. I use a thermometer to be sure, but if you do not have one, drop a pinch of flour into the oil. If it sizzles immediately and floats, the oil is ready.
- Carefully lower 3 or 4 breaded tenders into the hot oil. Do not crowd the pan. The oil temperature will drop, so work in batches. Fry the tenders for 4 to 5 minutes total, flipping them halfway through. They should be deep golden brown and the coating will look rough and craggy. The kitchen will smell like savory fried chicken.
- Transfer the cooked tenders to a fresh wire rack set over a baking sheet. Do not put them on paper towels or the steam will make the coating soggy. Keep them in a warm oven while you fry the remaining batches.
- In a small saucepan, melt the butter over medium heat. Add the minced garlic and cook for about 1 minute until it smells fragrant. Pour in the honey and soy sauce, then whisk everything together. Let the sauce bubble gently for 2 minutes until it thickens slightly. It will look glossy and smell sweet and savory.
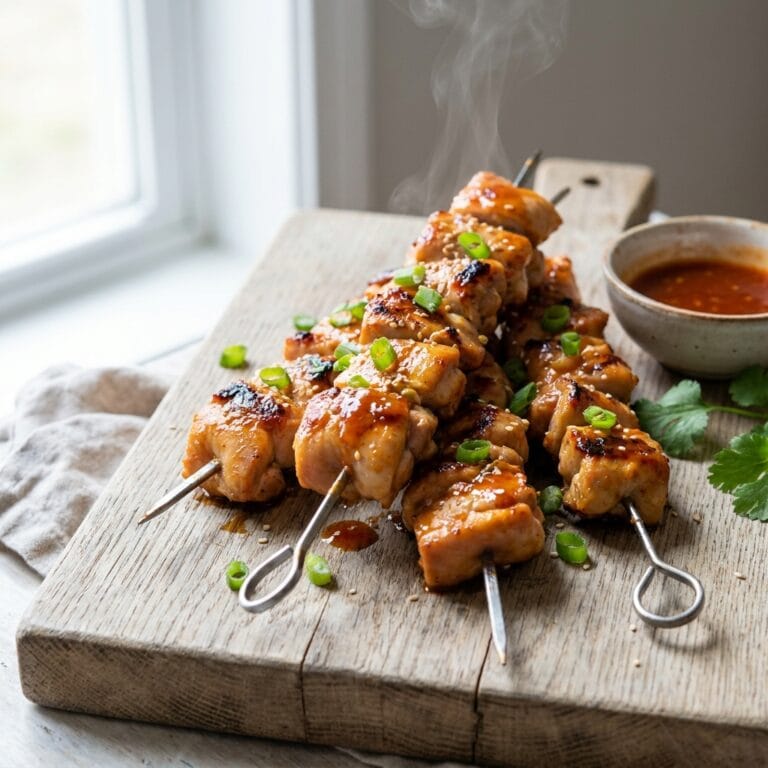
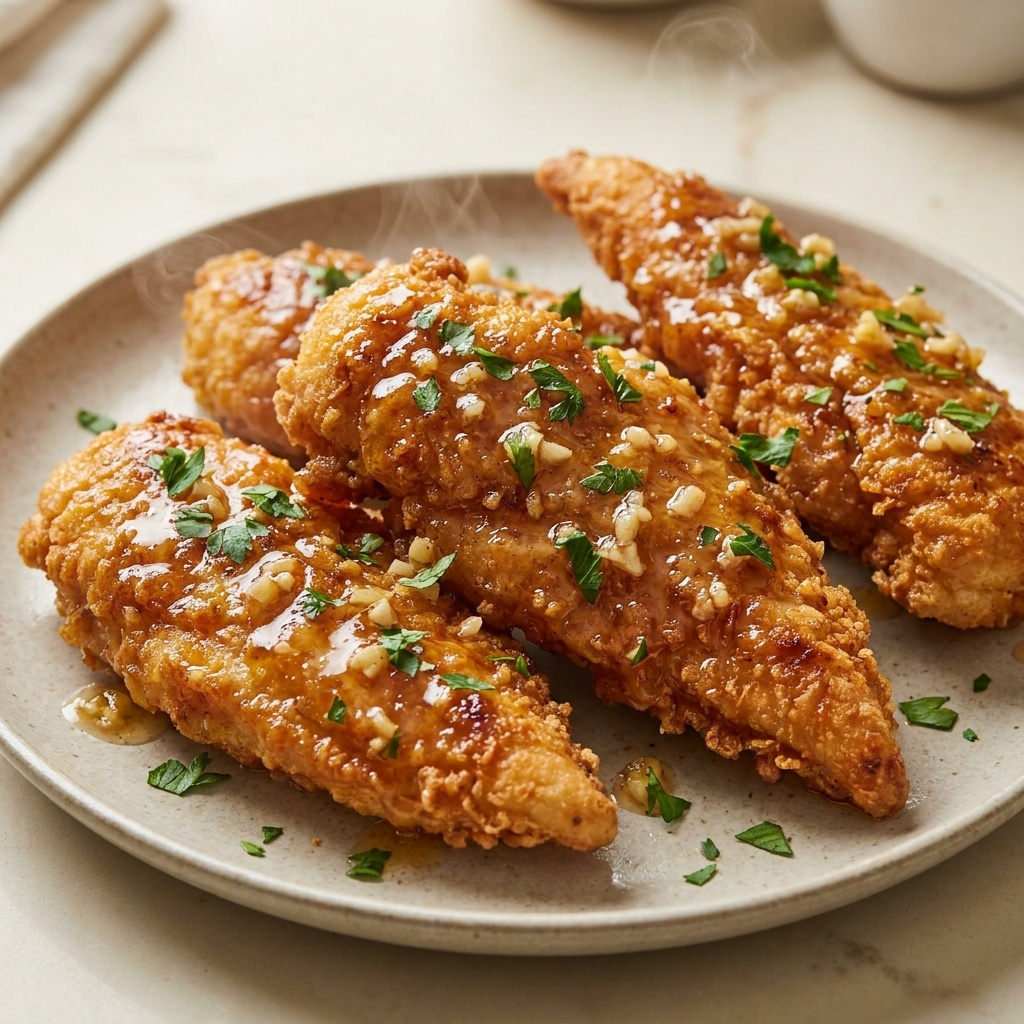
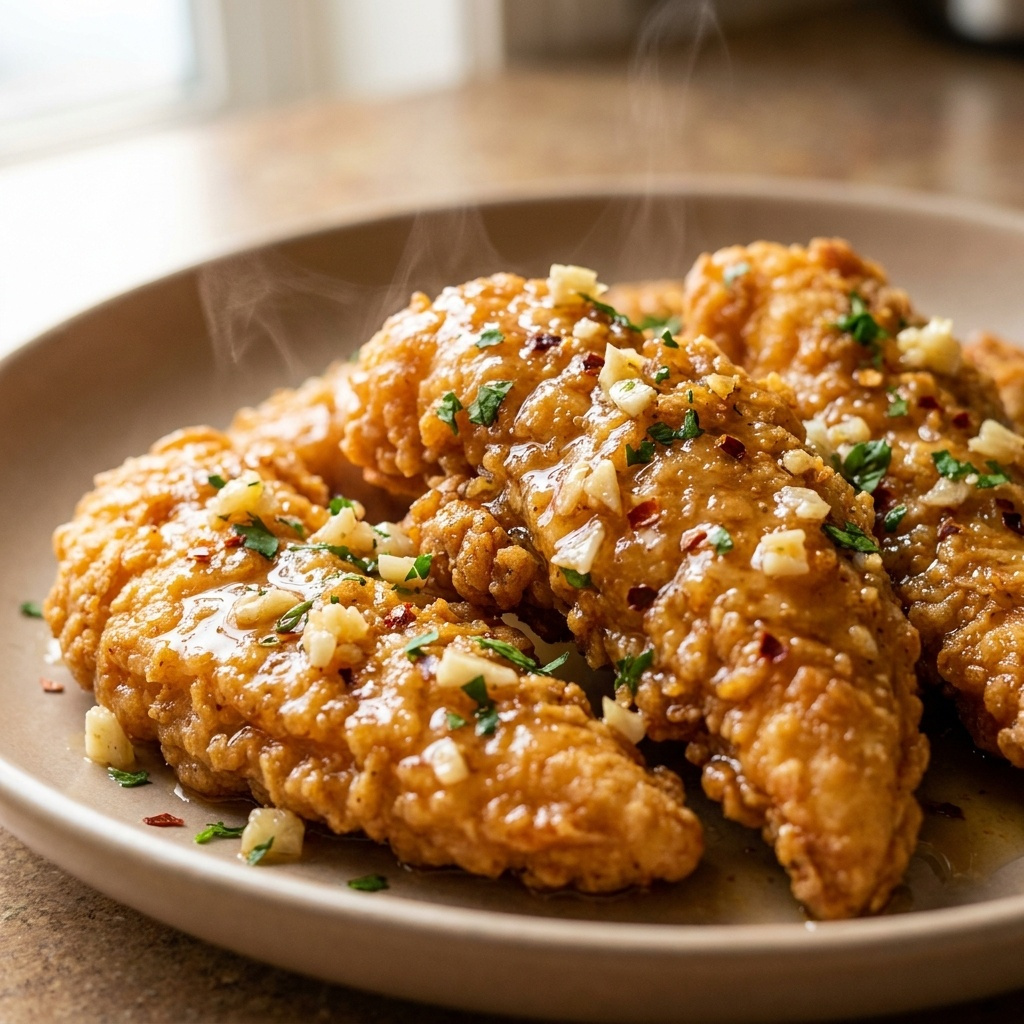
- Place all the crispy tenders in a large mixing bowl. Pour the warm honey butter garlic sauce over the top. Use two spoons or your hands to gently toss the tenders until each one is evenly coated. The sauce will cling to the crunchy coating beautifully.
- Transfer the glazed tenders to a serving platter. Sprinkle fresh chopped parsley over the top for a pop of color and a fresh note. Serve immediately while they are still hot and the coating is at its crispiest.
Pro Tips for Success
The most important thing you can do is not skip the buttermilk soak. I made that mistake once and the chicken turned out dry and bland. The buttermilk tenderizes the meat and seasons it from the inside out. Another crucial tip is to let the breaded tenders rest on the wire rack before frying. That short rest helps the flour mixture hydrate slightly, which creates a better bond with the chicken. If you fry them immediately, the coating tends to slide off in the oil.
You also need to maintain the oil temperature. If the oil is too cool, the coating will absorb grease and become heavy. If it is too hot, the outside will burn before the inside cooks through. Using a thermometer takes the guesswork out of this step. For more information on the science behind frying, check out this Wikipedia article about frying techniques.
Finally, always toss the tenders in the sauce right before serving. If you sauce them too early, the honey butter glaze will soften the crust. I like to keep the sauce warm on the stove and pour it over the chicken just before I bring the platter to the table.
Servings and Timing
This recipe makes about 4 to 6 servings, depending on how hungry your crowd is. The total time from start to finish is roughly 1 hour, with 30 minutes of that being inactive marinating time. Active prep and cooking takes about 30 minutes.
Variations and Substitutions
If you want a milder version, skip the cayenne pepper entirely. The honey butter garlic sauce is already sweet and savory, so it works beautifully without any heat. For a gluten-free option, swap the all-purpose flour for a good quality gluten-free flour blend and use cornstarch as directed. The texture will still be very crispy.
You can also make these in the oven if you prefer not to deep fry. Place the breaded tenders on a greased wire rack set over a baking sheet and spray them generously with cooking oil. Bake at 400 degrees Fahrenheit for 20 minutes, flipping halfway through. The crust will be lighter in color but still crunchy. For an air fryer version, cook the breaded tenders at 375 degrees Fahrenheit for 10 to 12 minutes, shaking the basket halfway through.
What to Serve With This
These tenders are fantastic on their own, but they pair beautifully with a few classic sides. I love serving them alongside a creamy [LINK: Irresistible Best Smothered Chicken and Rice Recipe]smothered chicken and rice[/LINK] for a hearty dinner plate. The buttery rice soaks up any extra sauce from the tenders.
For a vegetable side, I often make a simple green salad with a tangy vinaigrette to cut through the richness. Another favorite pairing is [LINK: Creamy Tuscan Chicken]creamy Tuscan chicken[/LINK] if I want an Italian-inspired twist on the meal. The creamy sauce from that dish complements the sweet honey butter glaze perfectly.
Storage and Reheating
Store any leftover tenders in an airtight container in the refrigerator for up to 3 days. The coating will soften in the fridge, so do not expect them to stay as crunchy. To reheat, place the tenders on a wire rack set over a baking sheet and warm them in a 375 degree Fahrenheit oven for about 8 minutes. This helps re-crisp the coating better than a microwave ever could. Avoid reheating them in the microwave unless you are okay with a soft, chewy texture.
FAQs
Q: Can I use chicken breast instead of chicken tenders for this recipe?
Yes, absolutely. If you use whole chicken breasts, slice them into strips that are about the same thickness as store-bought tenders. Aim for strips that are roughly 1 inch wide so they cook evenly. The rest of the recipe works exactly the same way.
Q: What if I accidentally leave the chicken marinating in buttermilk for 24 hours?
I have done this before and it turned out fine. The chicken will be extremely tender, almost too soft, but it will still hold together during breading and frying. The texture will be more delicate than usual, so handle the tenders gently when you toss them in the sauce. The flavor will be well-seasoned throughout.
Q: My honey butter garlic sauce turned out too thin. How do I fix it?
This usually happens if the sauce does not simmer long enough. Let it bubble gently for another 2 to 3 minutes. The sauce will reduce and thicken as the water evaporates. If it is still thin after that, you can whisk in a tiny slurry of 1 teaspoon cornstarch mixed with 2 teaspoons cold water. Cook for one more minute and it will thicken right up.
Q: Can I make these Crispy and juicy honey butter garlic chicken tenders without deep frying?
Yes, you can bake or air fry these tenders instead of deep frying. For baking, place the breaded tenders on a greased wire rack over a baking sheet and spray them with oil. Bake at 400 degrees Fahrenheit for 20 minutes, flipping once. For the air fryer, cook at 375 degrees Fahrenheit for 10 to 12 minutes. The crust will be slightly less crunchy than the fried version, but still delicious.
Q: Why did my breading fall off the chicken while frying?
This usually happens for two reasons. Either the chicken was too wet when you dipped it in the flour, or the oil was not hot enough. Make sure to let the excess buttermilk drip off before breading. Also, let the breaded tenders rest on a wire rack for 5 minutes before frying. That rest helps the coating stick. Finally, check that your oil is at 350 degrees Fahrenheit before adding the chicken.
Conclusion
These Crispy and juicy honey butter garlic chicken tenders have become a staple in my kitchen for good reason. They deliver that perfect combination of crunchy texture and sweet, savory flavor that makes everyone at the table happy. I love how the simple buttermilk soak transforms the chicken into something truly tender and flavorful.
I hope you give this recipe a try soon. It is one of those dishes that feels special enough for a celebration but easy enough for a weeknight dinner. When you make them, I would love to hear how they turn out. Share your results and let me know if your family loves them as much as mine does.
 | ||||||||||||||||||||||||||||||||||||||||||||||||||||||||||||||||
| ||||||||||||||||||||||||||||||||||||||||||||||||||||||||||||||||