


The Best Mini Cannoli Cups Recipe for a Crowd
Why You’ll Love This Recipe
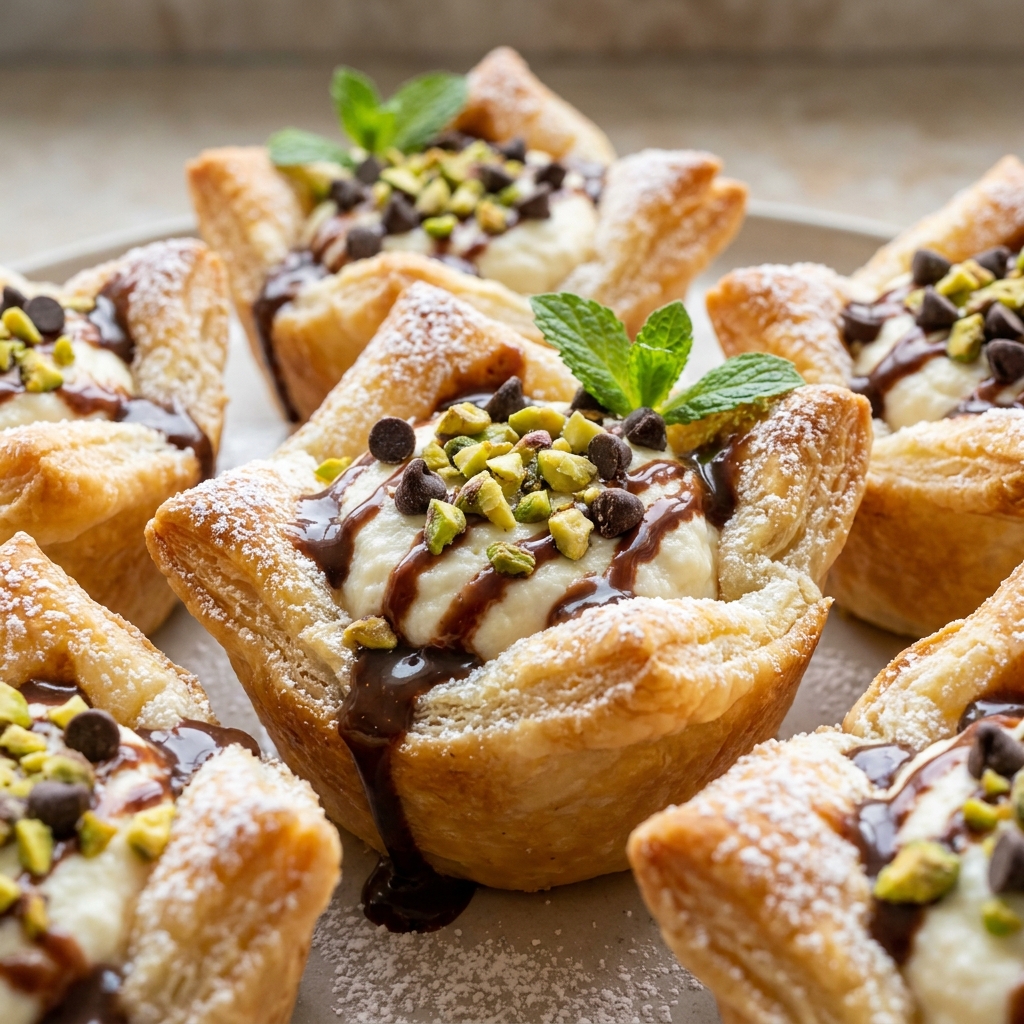
I have a confession that is not really a confession—I love cannoli, but I hate the deep frying part. The mess, the hot oil, the risk of a burnt finger. That is why I spent an entire weekend testing these Mini Cannoli Cups.
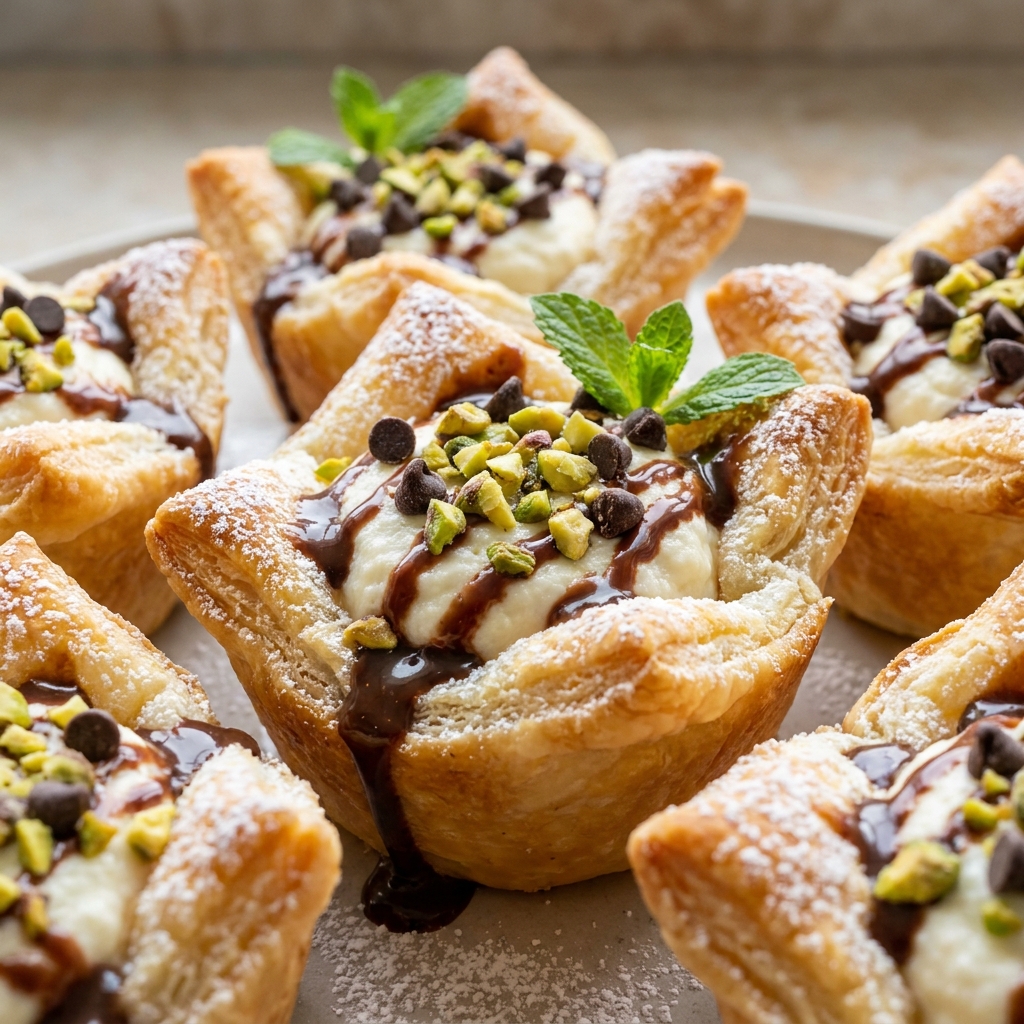
I wanted all the classic flavor of a traditional Sicilian pastry but in a form that was easier to handle. No fancy cannoli tubes needed. No deep fryer required. Just a simple muffin tin and a lot of patience. The first batch I made came out too soft because I did not bake the shells long enough. The second batch was perfect—crispy, golden, and ready for a luscious ricotta filling.
These Mini Cannoli Cups solve the problem of wanting a fancy dessert without the stress. You can make them ahead, they travel well, and they disappear fast at parties. I have brought them to three different gatherings this year, and each time someone asked for the recipe. The secret is in the shell, which I learned about from reading up on cannoli history on Wikipedia. That article taught me why the traditional fried shell is so important, and I used that knowledge to create a baked version that still delivers crunch.
Ingredients
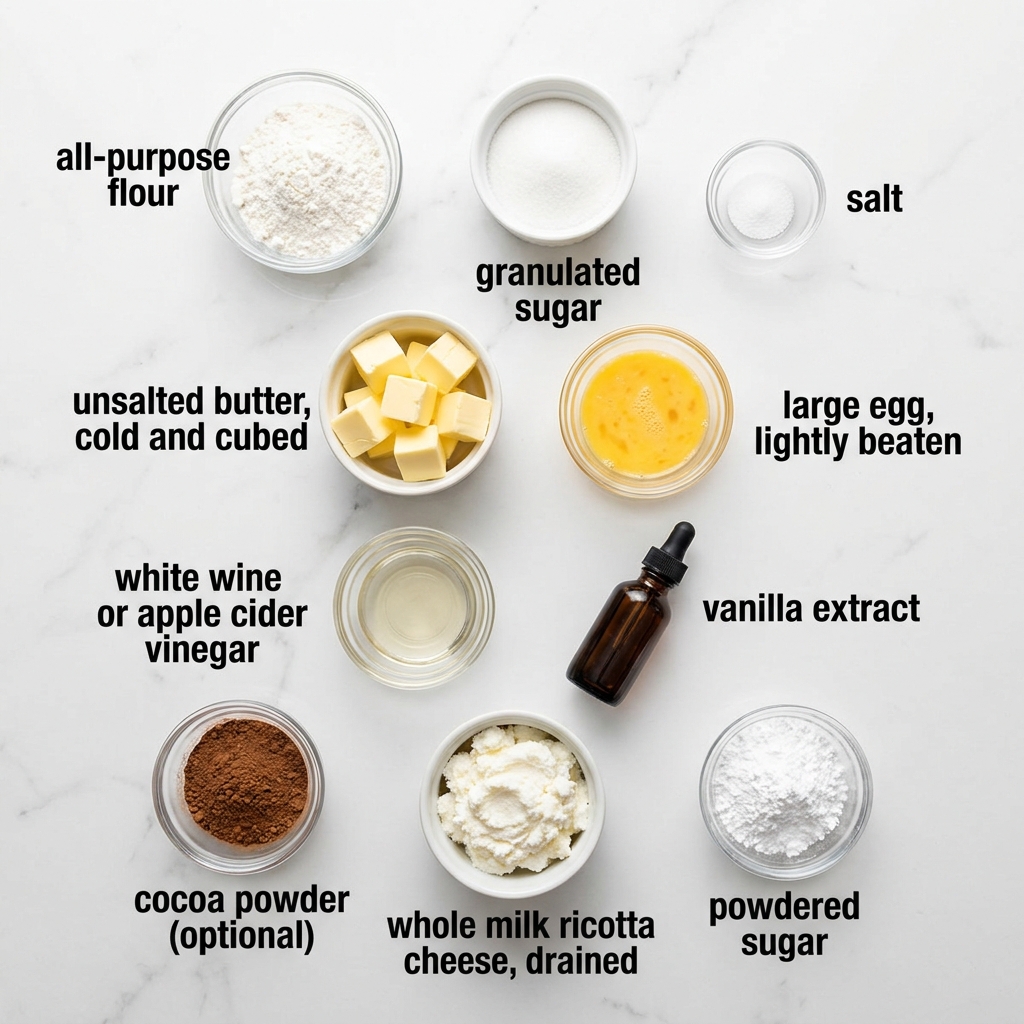
- 1 1/2 cups all-purpose flour
- 2 tablespoons granulated sugar
- 1/4 teaspoon salt
- 1/4 cup unsalted butter, cold and cubed
- 1 large egg, lightly beaten
- 2 tablespoons white wine or apple cider vinegar
- 1/2 teaspoon vanilla extract
- 1 tablespoon cocoa powder (optional for chocolate shells)
- 1 cup whole milk ricotta cheese, drained
- 1/2 cup powdered sugar
- 1/2 teaspoon vanilla extract
- 1/4 cup mini chocolate chips
- 2 tablespoons chopped pistachios
- 1 tablespoon powdered sugar for dusting
Step-by-Step Directions
- Start by making the dough. In a large bowl, whisk together the flour, sugar, and salt. Drop in the cold butter cubes. Use your fingertips to rub the butter into the flour until it looks like coarse crumbs. This step is crucial because the butter creates steam pockets that make the shell flaky.
- Make a well in the center of the flour mixture. Pour in the beaten egg, the white wine, and the vanilla extract. Stir with a fork until a shaggy dough forms. Turn it out onto a lightly floured surface and knead it gently just until it comes together. Do not overwork it or the shells will be tough.
- Wrap the dough in plastic wrap and let it rest in the fridge for at least 30 minutes. This resting time relaxes the gluten, which means your Mini Cannoli Cups will be tender, not chewy.
- Preheat your oven to 375 degrees Fahrenheit. Lightly grease a mini muffin tin with nonstick spray.
- Roll the dough out on a floured surface until it is about 1/8 inch thick. Use a round cookie cutter or a drinking glass to cut out circles that are about 3 inches in diameter. I used a 3-inch cutter and got exactly 24 circles.
- Gently press each circle into a well of the mini muffin tin. Pinch the edges slightly so they form little cups. Prick the bottom of each cup a few times with a fork to prevent puffing.
- Bake for 12 to 15 minutes, until the edges are golden brown and the cups feel firm to the touch. The smell in your kitchen will be incredible—like buttery pastry and vanilla. Let them cool completely in the pan before removing.
- While the shells cool, make the filling. In a medium bowl, combine the drained ricotta, powdered sugar, and vanilla extract. Stir until smooth and creamy. Fold in the mini chocolate chips.
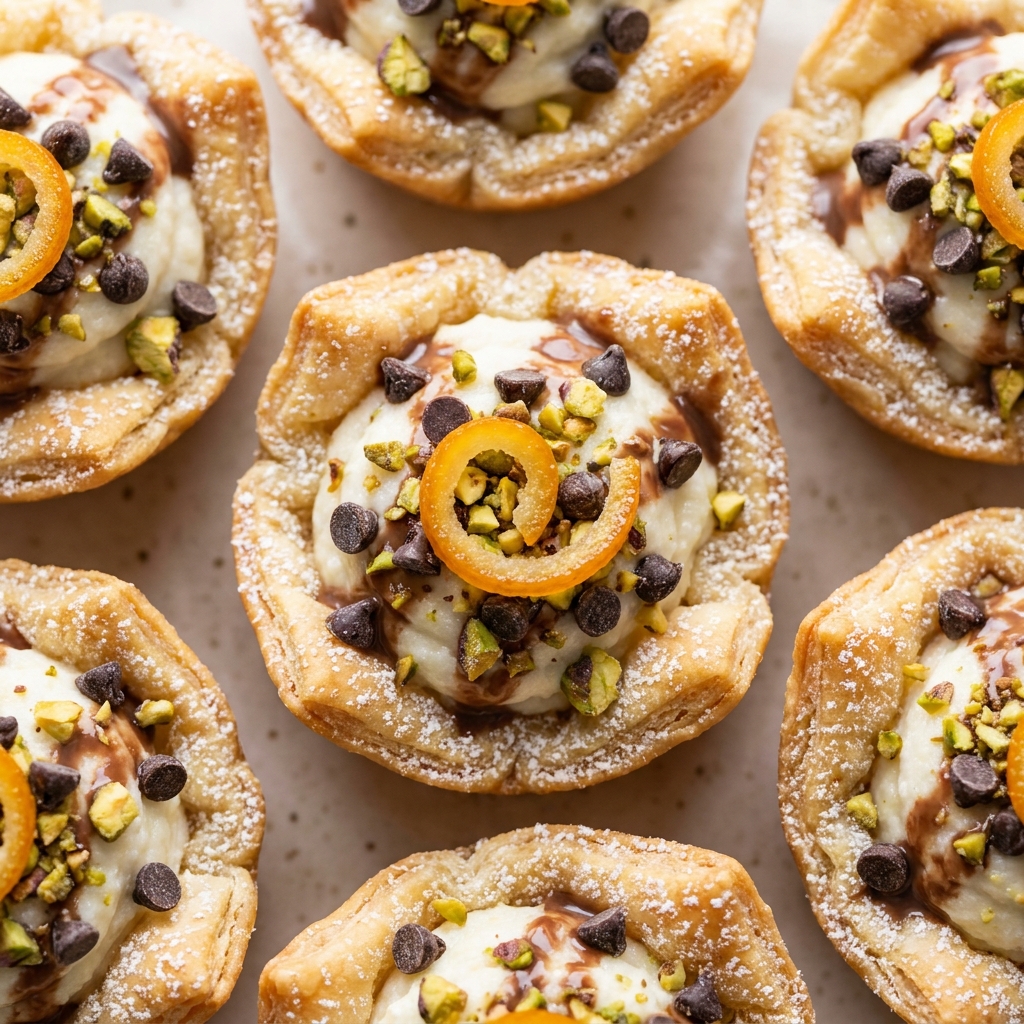
- Spoon or pipe the filling into each cooled shell. I used a piping bag with a star tip for a pretty look, but a spoon works just fine.
- Top each Mini Cannoli Cup with a sprinkle of chopped pistachios and a dusting of powdered sugar. Serve immediately or refrigerate until ready to serve.
Pro Tips for Success
First, drain your ricotta. This is the most important step. If you skip it, the filling will be watery and your shells will get soggy. I place the ricotta in a fine mesh strainer over a bowl and let it sit in the fridge for two hours. You can also use a cheesecloth. The drier the ricotta, the creamier the filling.
Second, do not skip chilling the dough. Warm dough is sticky and hard to work with. Cold dough rolls out beautifully and holds its shape in the oven. I once rushed this step and ended up with misshapen cups that collapsed. Learn from my mistake.
Third, watch the oven closely. These Mini Cannoli Cups go from golden to burnt very quickly. I set my timer for 12 minutes and check them every minute after that. The edges should be a deep golden brown. If you want to learn more about why baking times matter, check out this Wikipedia article on baking science.
Servings and Timing
This recipe makes 24 Mini Cannoli Cups. The total time is about one hour, with 30 minutes of active prep, 30 minutes of resting and baking, and another 10 minutes for assembling. You can easily double the batch for a larger party.
Variations and Substitutions
You can make chocolate shells by adding the cocoa powder to the flour mixture. The flavor is richer and pairs beautifully with the sweet ricotta. For a gluten free version, use a 1:1 gluten free baking flour blend. The texture will be slightly more crumbly, but still delicious.
If you do not have pistachios, use toasted almonds or skip the nuts entirely. You can also swap the mini chocolate chips for chopped dark chocolate or white chocolate chips. For a fruity twist, add a teaspoon of orange zest to the ricotta filling. That citrus note is a classic pairing with cannoli.
What to Serve With This
These Mini Cannoli Cups are perfect on their own, but they also pair wonderfully with other desserts. I love serving them alongside a batch of classic tiramisu for an Italian themed dinner. The coffee flavor of the tiramisu balances the creamy sweetness of the cups.
Another great option is to offer them with fresh berry salad. The tartness of the berries cuts through the richness of the ricotta. I have also served them with a simple espresso or a glass of cold milk.
Storage and Reheating
Store any leftover Mini Cannoli Cups in an airtight container in the refrigerator for up to three days. The shells will soften slightly over time, but they will still taste wonderful. I do not recommend freezing them because the ricotta filling becomes grainy when thawed.
To refresh the shells, you can reheat them in a 350 degree oven for about five minutes. Let them cool completely before adding fresh filling. If you have already filled them, just eat them cold. They are still delicious.
FAQs
Q: Can I use a regular muffin tin instead of a mini tin?
You can, but the cups will be much larger. You will need to roll the dough into bigger circles and increase the baking time by about five minutes. The texture will still be great, but they will not be bite sized anymore.
Q: What happens if I accidentally leave the ricotta draining for 24 hours?
That is actually fine. The ricotta will become very thick and almost like cream cheese. You may need to add a tablespoon of milk or cream to loosen it up before mixing in the sugar. The flavor will be more concentrated and delicious.
Q: Can I make the shells a day ahead and fill them later?
Yes, this is my preferred method. Bake the shells, let them cool completely, and store them in an airtight container at room temperature. Fill them right before serving for the crunchiest result. Do not refrigerate the shells or they will absorb moisture.
Q: Why did my shells puff up into domes instead of staying as cups?
You forgot to prick the bottoms with a fork. The steam needs an escape route. Without the holes, the dough puffs up like a balloon. Next time, use a fork to poke each cup at least four times before baking.
Q: Can I use low fat ricotta to make these healthier?
You can, but the filling will be less creamy and more watery. Low fat ricotta has a higher moisture content. If you use it, make sure to drain it for at least four hours. The texture will still be lighter, but the flavor is still good.
Conclusion
I hope you give these Mini Cannoli Cups a try soon. They are my go to dessert when I want something impressive without spending hours in the kitchen. The crispy shell, the creamy filling, and the little crunch from the pistachios make every bite special.
If you make them, I would love to hear how they turned out. Leave a comment below or tag me in your photos. Happy baking!
 | ||||||||||||||||||||||||||||||||||||||||||||||||||||||||||||||
| ||||||||||||||||||||||||||||||||||||||||||||||||||||||||||||||