


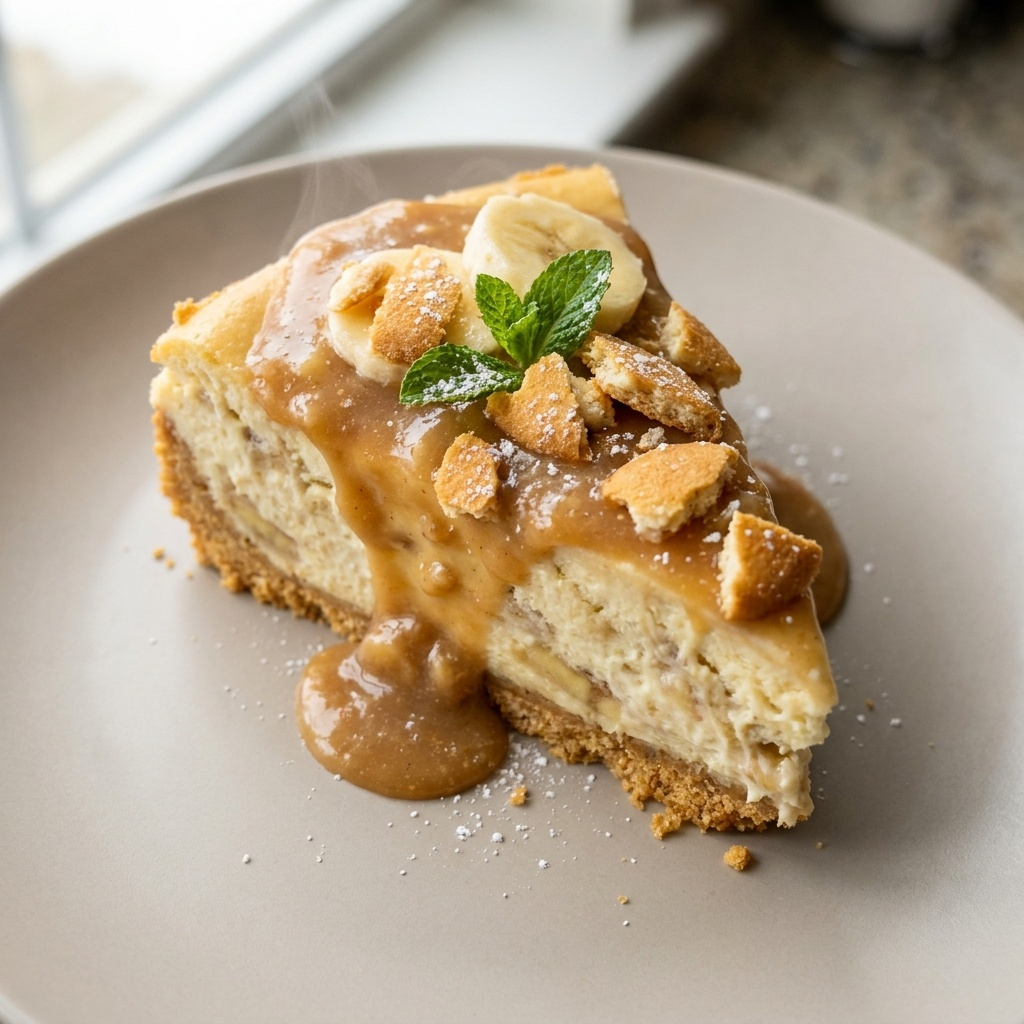
The Ultimate Banana Pudding Crunch Cheesecake
Why You’ll Love This Recipe
I have a strong memory of the first time I tried to make a no-bake cheesecake. I was in my tiny college apartment, and I thought I could just mix cream cheese with some pudding mix and call it a day. The result was a grainy, watery mess that slid right off the plate. It was a disaster. It took me years of testing to understand the science behind a truly stable, sliceable cheesecake.
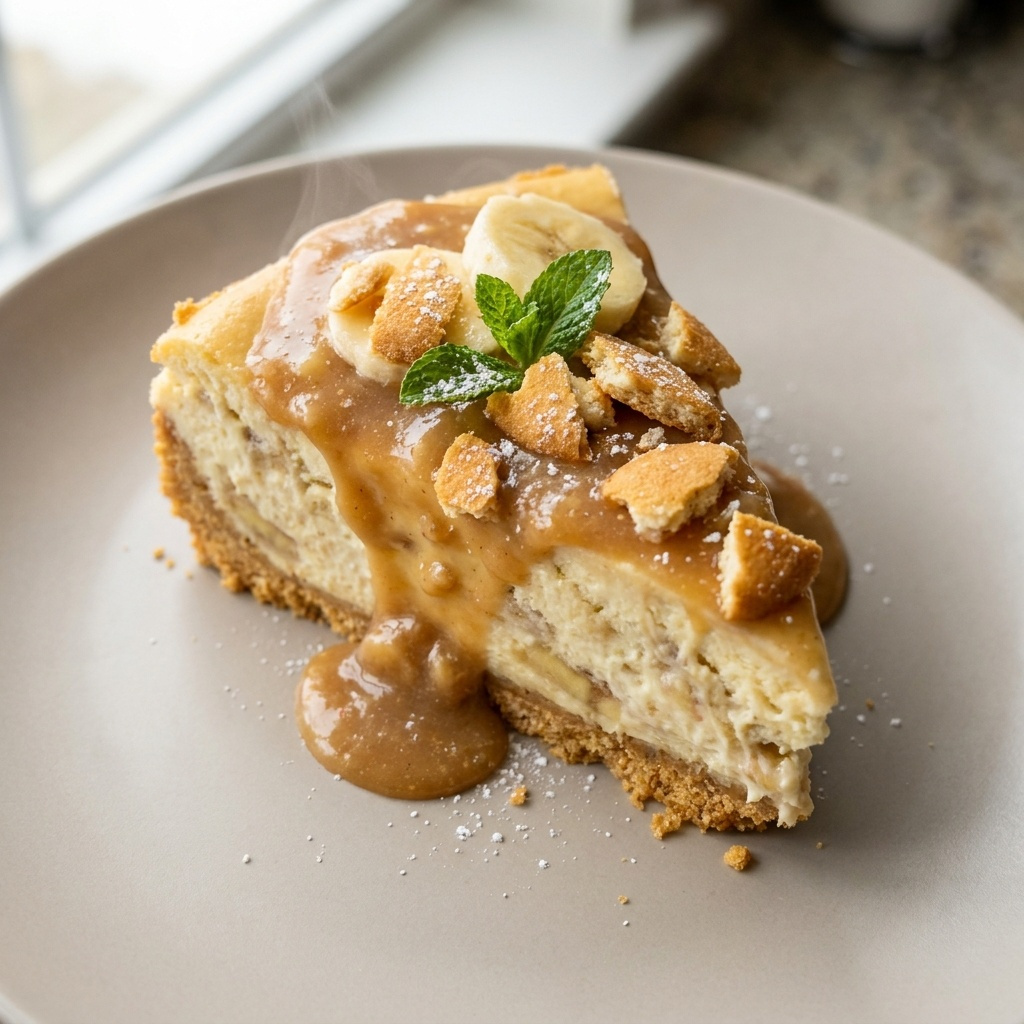
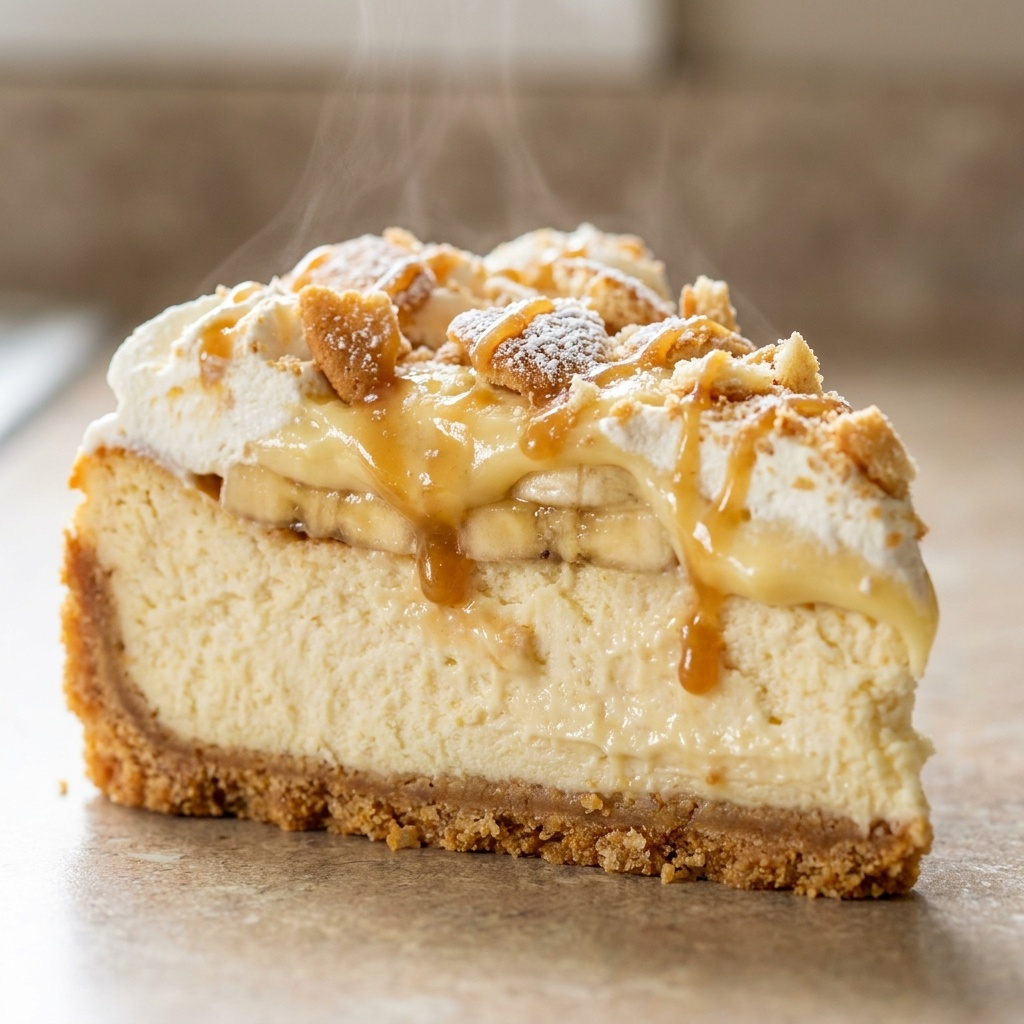
This Banana Pudding Crunch Cheesecake is the happy result of all those failed experiments. It solves the problem of a soggy crust and a runny filling by using a specific technique. I use a combination of whipped cream and cream cheese that is stabilized with a bit of gelatin. This gives the cheesecake a dense, velvety texture that holds its shape perfectly, just like a classic baked cheesecake but without turning on the oven. The banana flavor comes from real, ripe bananas and a touch of banana extract for depth. The “crunch” comes from a layer of crushed vanilla wafers that stay crisp because they are sealed between the crust and the creamy filling. For more on the history of banana pudding, you can see how this dessert evolved from a simple Southern treat.
Ingredients
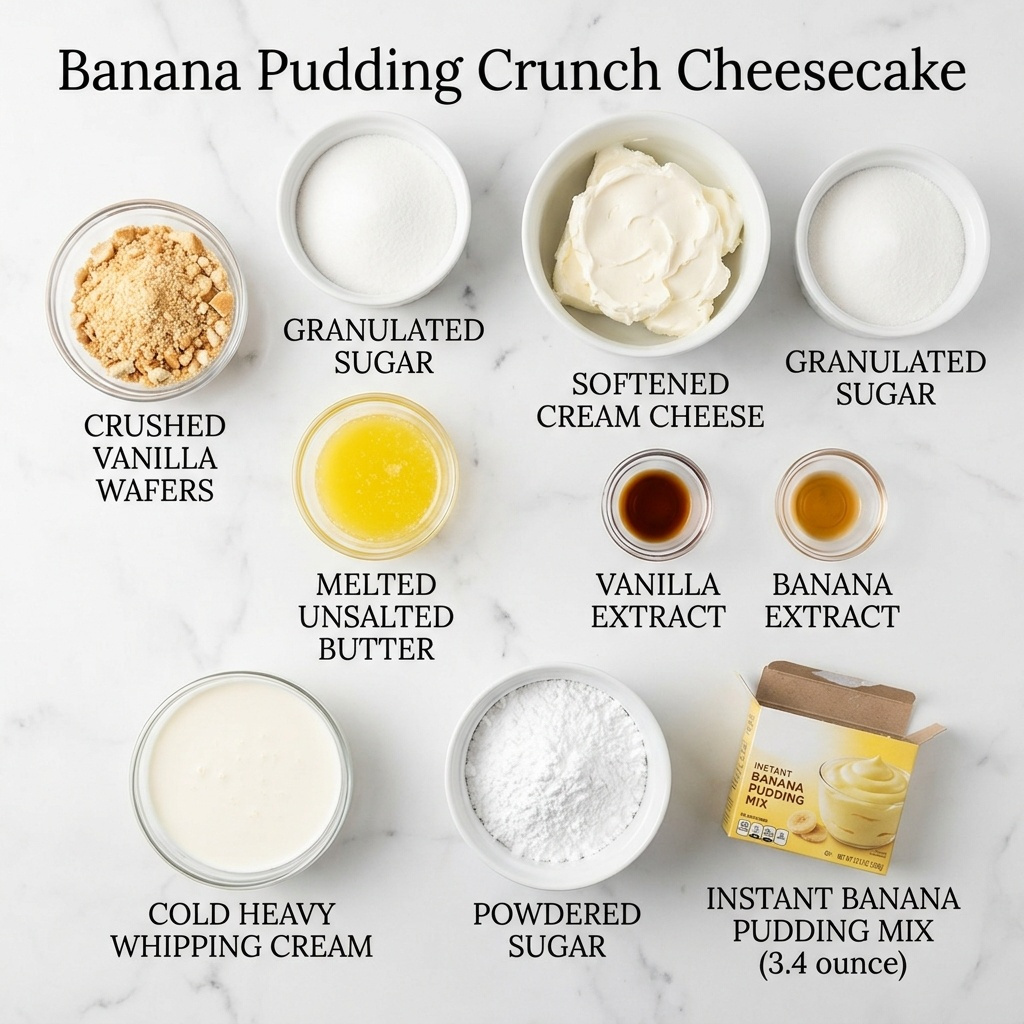
- 2 cups crushed vanilla wafers (about 60 wafers)
- 1/4 cup granulated sugar
- 6 tablespoons unsalted butter, melted
- 16 ounces full-fat cream cheese, softened
- 1/2 cup granulated sugar
- 1 teaspoon vanilla extract
- 1 teaspoon banana extract
- 1 cup cold heavy whipping cream
- 1/4 cup powdered sugar
- 1 (3.4 ounce) box instant banana pudding mix
- 1 cup cold whole milk
- 2 ripe bananas, sliced
- 1 cup additional crushed vanilla wafers for the crunch layer
- 1/2 cup caramel sauce for drizzling
Step-by-Step Directions
- Start by making the crust. Grab a medium bowl and toss the 2 cups of crushed vanilla wafers with the 1/4 cup of granulated sugar. Pour the melted butter over the top and stir with a fork until every crumb feels damp. Dump this mixture into a 9-inch springform pan. Press it down firmly with the bottom of a flat glass. You want the crust to be compact and even. Pop this into the freezer for 15 minutes to set.
- While the crust chills, make the crunch layer. Take that 1 cup of additional crushed vanilla wafers and spread them in a thin, even layer right on top of the chilled crust. This is the secret to the texture. Do not press them down. Leave them loose.
- Now for the banana pudding layer. In a small bowl, whisk together the instant banana pudding mix and the cold milk. Whisk vigorously for about 2 minutes until it thickens. Set it aside.
- In a large bowl, beat the softened cream cheese with the 1/2 cup of granulated sugar, vanilla extract, and banana extract. Beat on medium speed until it is completely smooth and fluffy. Scrape the sides of the bowl.
- Fold the thickened banana pudding into the cream cheese mixture. Stir gently until no white streaks remain. Be careful not to overmix.
- In a separate cold bowl, whip the heavy cream and powdered sugar together. Whip until stiff peaks form. The cream should hold its shape when you lift the whisk.
- Gently fold the whipped cream into the cream cheese and banana mixture. Fold in three additions. This keeps the filling light and airy. The mixture should look like a thick, silky mousse.
- Pour half of this filling over the loose wafer crunch layer in the pan. Spread it out evenly. Arrange the sliced bananas on top of the filling. Pour the remaining filling over the bananas and smooth the top.
- Cover the pan with plastic wrap and refrigerate for at least 6 hours, but overnight is best. The cheesecake needs this time to set up completely. If you try to cut it early, it will be too soft.
- Before serving, run a knife around the edge of the pan. Release the springform ring. Drizzle the top with caramel sauce and add a few extra whole vanilla wafers for decoration.
Pro Tips for Success
Do not skip the step of leaving the crushed wafers loose on the crust. If you press them down, they will absorb moisture from the filling and become soft. By leaving them loose, they stay crunchy and create a wonderful textural contrast. Think of it like a crème brûlée topping, but hidden inside.
Use full-fat cream cheese and heavy cream. Low-fat versions contain more water, which will make your filling runny and prevent it from setting properly. The fat is what gives this cheesecake its luxurious, dense texture.
Make sure your cream cheese is truly softened to room temperature. If it is cold, it will create lumps in the filling that are impossible to get out. Let it sit on the counter for at least an hour before you start.
Servings and Timing
This recipe makes one 9-inch cheesecake, which yields about 12 generous slices. The total active prep time is about 30 minutes. The cheesecake needs a minimum of 6 hours to chill in the refrigerator, so plan accordingly. For the best texture, I always make it the night before I plan to serve it.
Variations and Substitutions
If you cannot find instant banana pudding mix, you can use vanilla pudding mix and add an extra 1/2 teaspoon of banana extract. For a gluten-free version, use gluten-free vanilla wafer cookies. You can also swap the vanilla wafers for shortbread cookies or graham crackers, though the flavor will change slightly. If you want a more intense banana flavor, mash one very ripe banana and stir it into the cream cheese mixture before adding the pudding.
What to Serve With This
This cheesecake is rich and creamy on its own, but it pairs beautifully with a light and fruity dessert. Try serving it alongside a bowl of fresh berries or a scoop of vanilla bean ice cream. For a fun twist, you can also make a batch of [LINK: banana pudding rice krispies]Banana Pudding Rice Krispies Treats[/LINK] for a crunchy, no-bake sidekick. And if you are looking for a classic version of this dessert, check out my roundup of the [LINK: Banana Pudding Crunch Cheesecake]best banana pudding cheesecake recipes[/LINK].
Storage and Reheating
Store any leftover cheesecake in the refrigerator, tightly covered, for up to 5 days. The crust will soften slightly over time, but the crunch layer should retain some texture for the first 2 days. I do not recommend freezing this cheesecake because the texture of the bananas and the pudding will become watery upon thawing. To serve leftovers, simply take the cheesecake out of the fridge about 15 minutes before eating to take the chill off.
FAQs
Q: Can I use a different type of cookie for the crust and crunch layer?
Absolutely. I have tested this with shortbread cookies and graham crackers. The flavor changes, but the texture works the same. Just make sure the cookies are dry and crunchy to begin with. Avoid soft cookies like Oreos for the crunch layer, as they will not stay crisp.
Q: What happens if I accidentally leave the cheesecake chilling for 48 hours?
It will be perfectly fine. In fact, it will be even more set and easier to slice. The flavors will meld together beautifully. The only downside is that the loose wafer crunch layer might lose a tiny bit of its snap, but it will still be noticeably crunchy.
Q: Can I use a hand mixer instead of a stand mixer for the cream cheese?
Yes, a hand mixer works great. Just make sure to beat the cream cheese for a full 3 to 4 minutes until it is very light and fluffy. If you stop too early, the cheesecake will be dense and lumpy.
Q: Why did my whipped cream deflate when I folded it in?
This usually happens if the cream cheese mixture is too cold or if you are folding too aggressively. Make sure your cream cheese mixture is at room temperature. Use a rubber spatula and use a gentle cutting motion, turning the bowl as you go. Do not stir.
Q: Can I use a 10-inch springform pan instead?
You can, but the cheesecake will be much thinner. You will have a shorter slice. The baking time and chilling time remain the same. I prefer the 9-inch pan for a nice, tall slice of Banana Pudding Crunch Cheesecake.
Conclusion
I have made this Banana Pudding Crunch Cheesecake for family gatherings, potlucks, and quiet nights at home. Every single time, people ask for the recipe. The combination of the creamy banana filling, the crunchy wafer surprise, and the buttery crust is just irresistible. I hope you give this recipe a try and see how easy it is to create a show-stopping dessert. Let me know in the comments how it turns out for you.
 | ||||||||||||||||||||||||||||||||||||||||||||||||||||||||||||||
| ||||||||||||||||||||||||||||||||||||||||||||||||||||||||||||||