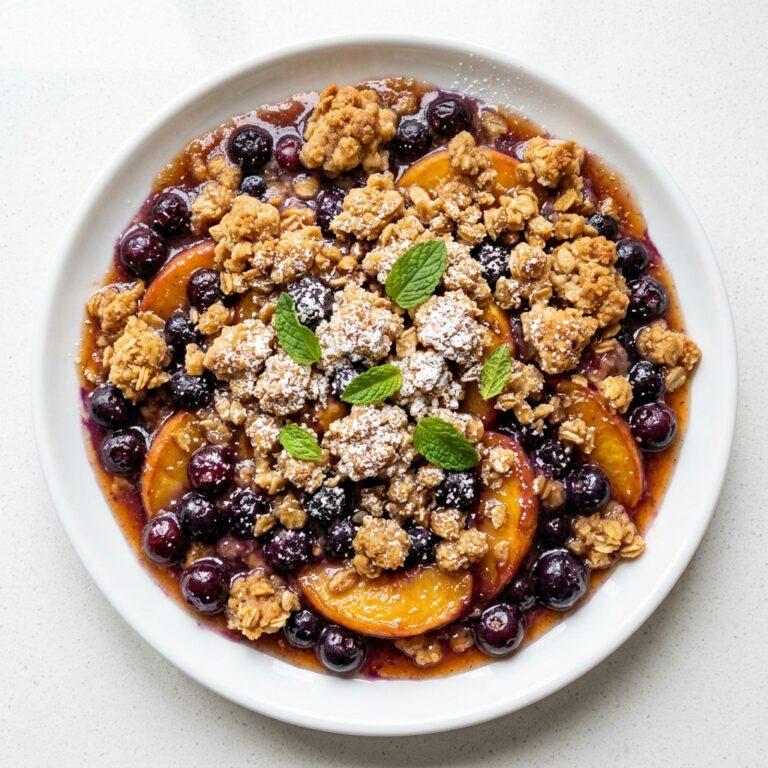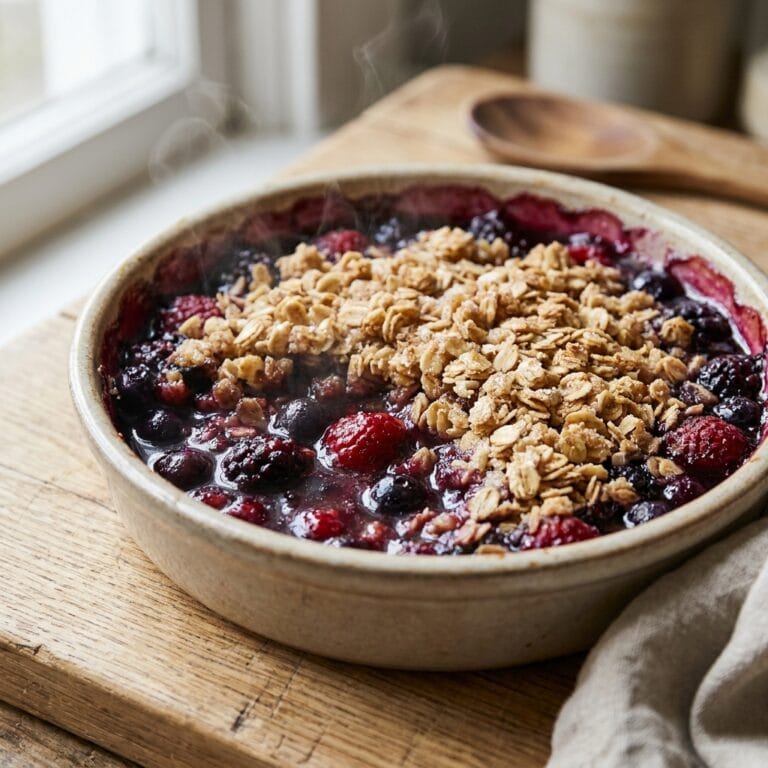



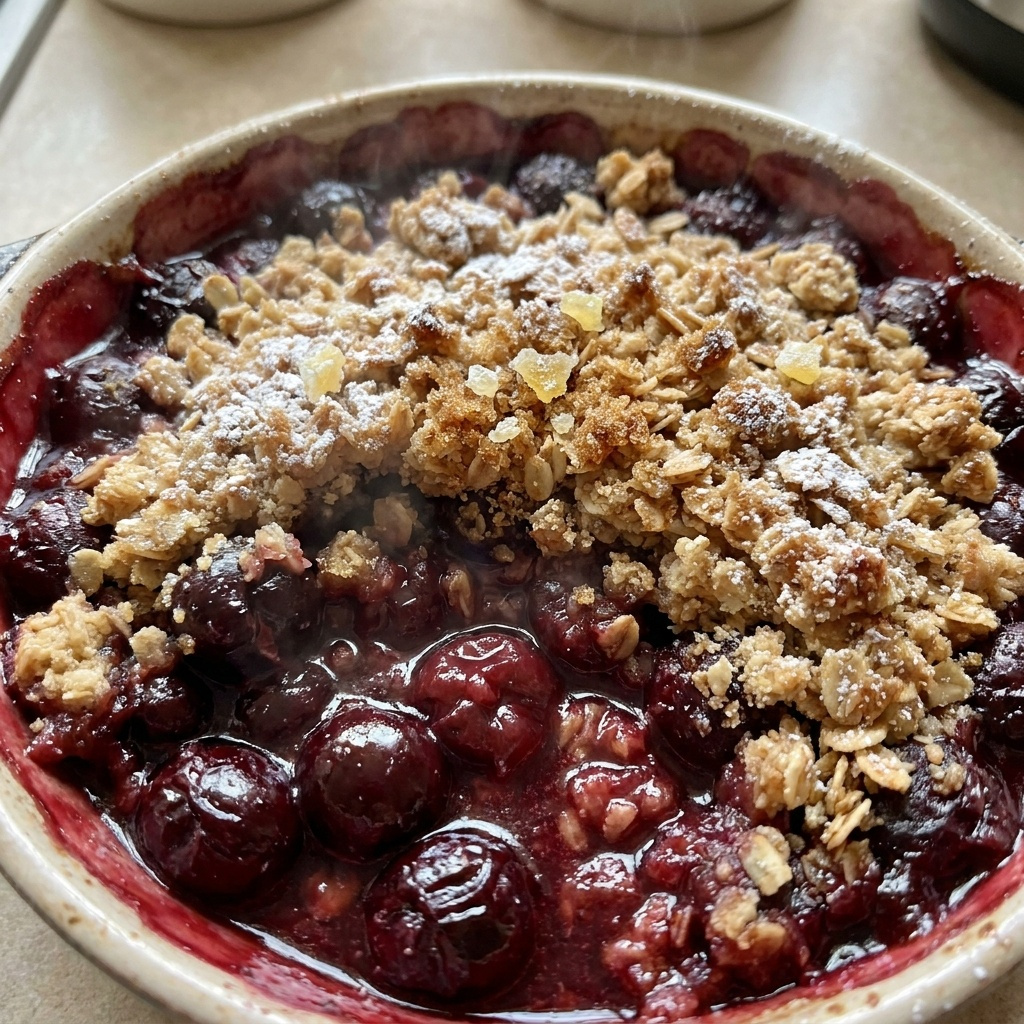
My Best Easy Homemade Cherry Crumble Recipe
Why You’ll Love This Recipe
I have a very specific memory tied to this Easy Homemade Cherry Crumble Recipe. It was the first time I tried to use fresh cherries from the farmer’s market, and I was so nervous about pitting them. I ended up with purple-stained fingers and a kitchen that looked like a crime scene. But the smell that filled my house, that bubbling, jammy, buttery aroma, was pure magic.
The problem with most cherry crumble recipes is that the filling turns watery or the topping gets soggy. I spent months testing this Easy Homemade Cherry Crumble Recipe to solve exactly that. I learned that you absolutely must cook the cherries down with a little cornstarch first to thicken the juices. No one wants a runny dessert. For a deeper dive on why this technique works, you can read about the science of fruit thickeners on this Wikipedia page on cornstarch.
This is the crumble that converted my husband, who swore he hated cooked fruit. Now he asks for it every week. It is the perfect balance of tart, sweet cherries and a crunchy, buttery oat topping. It is simple enough for a Tuesday night but impressive enough for a holiday dinner.
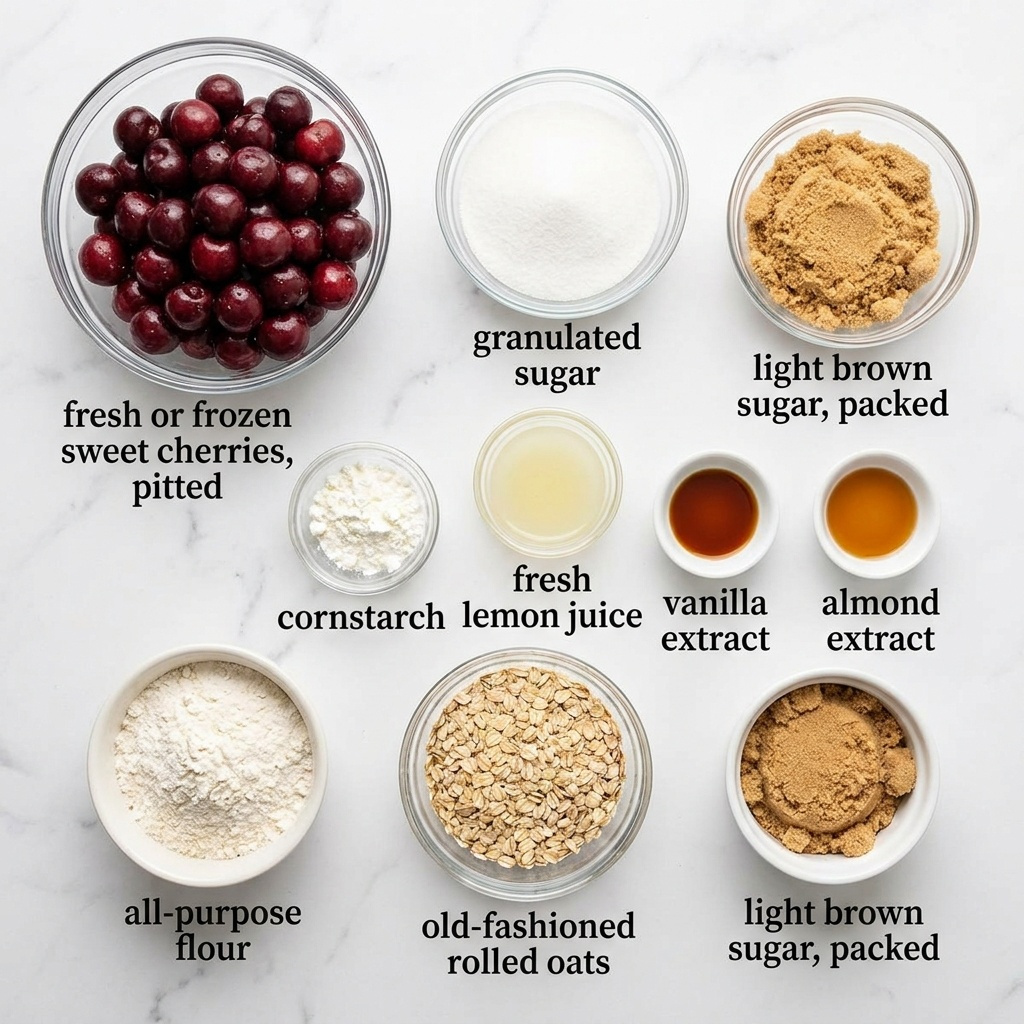
Ingredients
For the Cherry Filling:
- 6 cups fresh or frozen sweet cherries, pitted (if using frozen, do not thaw)
- 1/2 cup granulated sugar
- 1/4 cup light brown sugar, packed
- 3 tablespoons cornstarch
- 1 tablespoon fresh lemon juice
- 1 teaspoon vanilla extract
- 1/4 teaspoon almond extract (optional, but highly recommended)
For the Crumble Topping:
- 1 cup all-purpose flour
- 1 cup old-fashioned rolled oats
- 1/2 cup light brown sugar, packed
- 1/4 cup granulated sugar
- 1/2 teaspoon ground cinnamon
- 1/4 teaspoon salt
- 1/2 cup cold unsalted butter, cut into small cubes
Step-by-Step Directions
- Preheat your oven to 375 degrees F. Get a 9×9 inch baking dish or a 2-quart baking dish ready. You do not need to grease it.
- In a large bowl, toss together the pitted cherries, both sugars, cornstarch, lemon juice, vanilla, and almond extract. Make sure every cherry is coated. Let this mixture sit for about 5 minutes. You will see the sugar start to draw out the cherry juices.
- Pour the cherry mixture into your baking dish. Spread it into an even layer. Do not skip this step or the crumble will be uneven.
- In a separate medium bowl, make the topping. Whisk together the flour, oats, both sugars, cinnamon, and salt. Drop in the cold butter cubes. Use a pastry cutter or your fingertips to work the butter into the dry ingredients. You want the mixture to look like coarse, pebbly sand with some pea-sized butter chunks remaining. If you overmix, the topping will be tough.
- Sprinkle the crumble topping evenly over the cherries. Do not press it down. You want it to stay loose so it can crisp up.
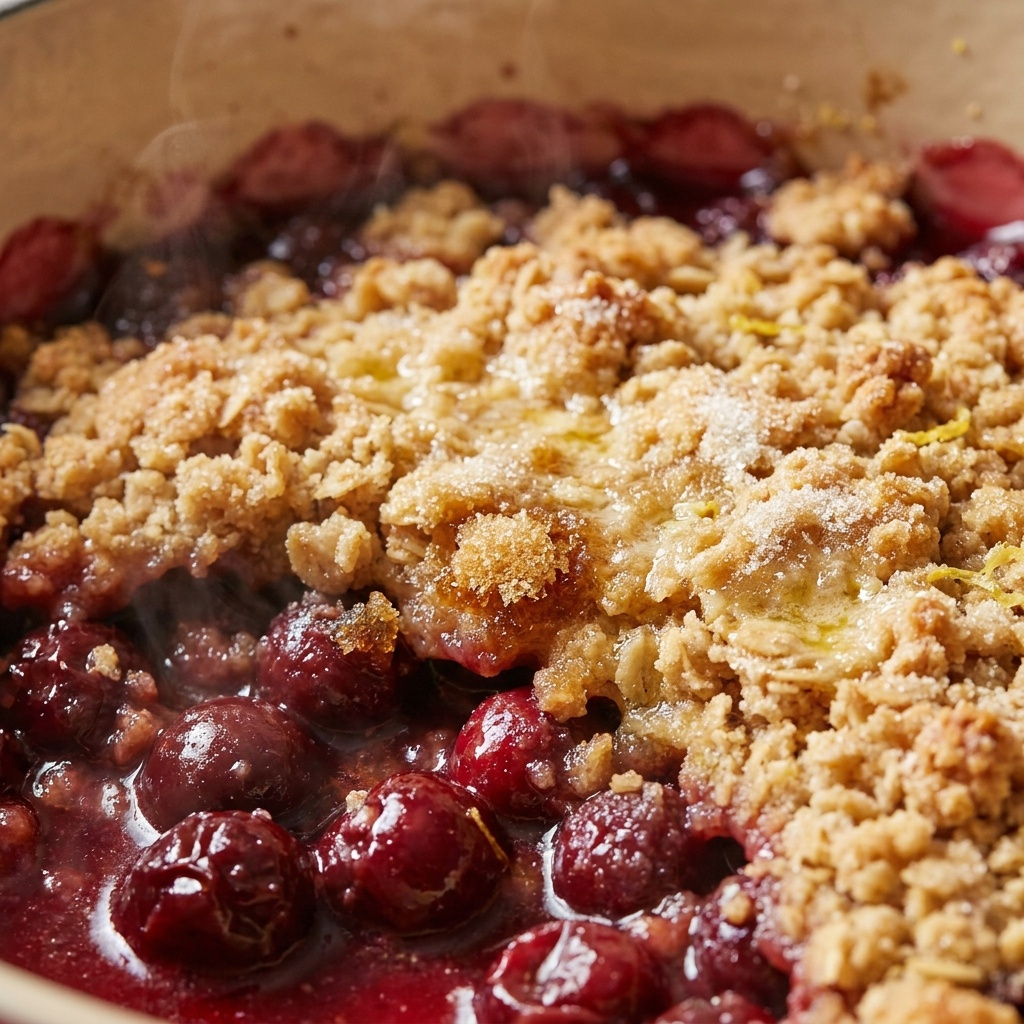
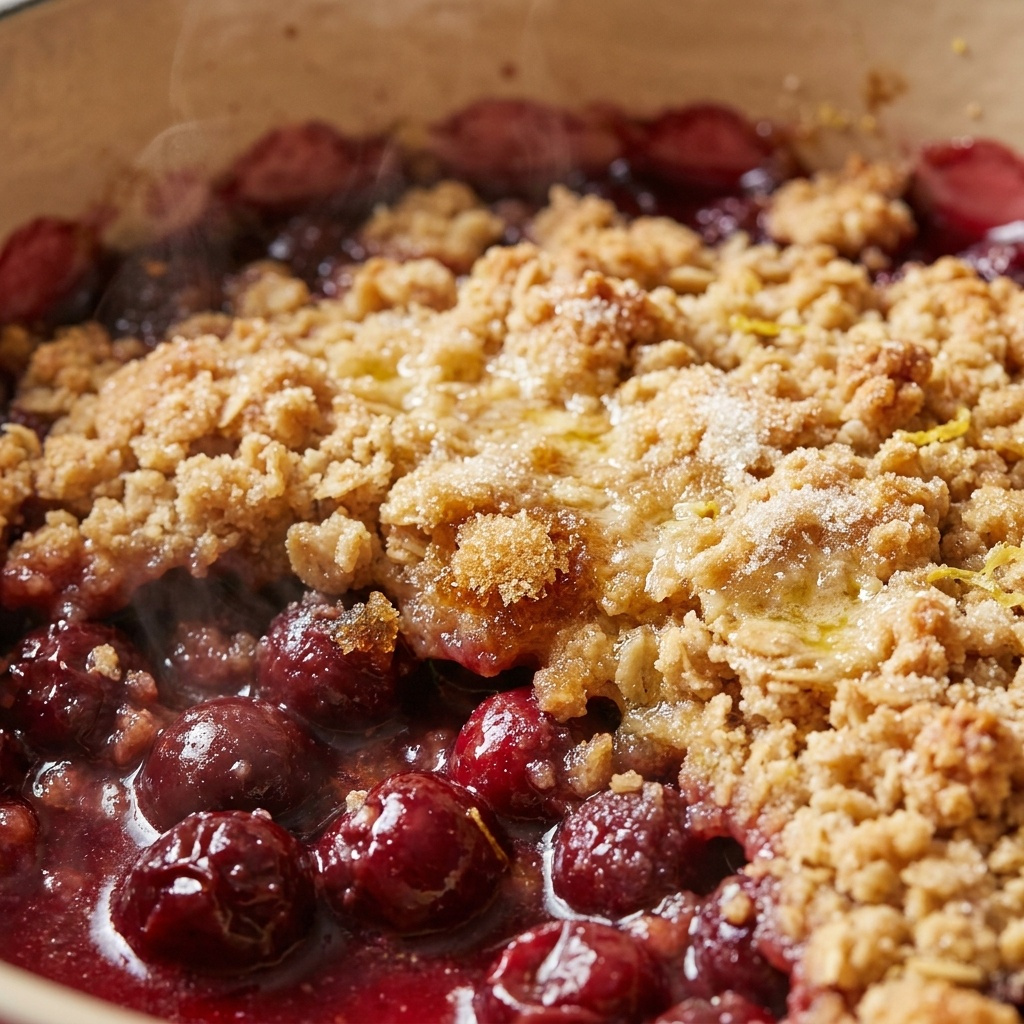
- Place the dish on a baking sheet to catch any drips. Bake for 40 to 45 minutes. The filling should be bubbling thickly around the edges and the topping should be deep golden brown. Your kitchen will smell like a bakery. Let the crumble rest on a wire rack for at least 20 minutes before serving. This is critical for the filling to set properly.
Pro Tips for Success
The most important tip for this Easy Homemade Cherry Crumble Recipe is to never skip the resting time. If you dig in immediately, the filling will run everywhere like soup. Giving it 20 minutes allows the cornstarch to finish its job and the juices to thicken into a gorgeous, jammy sauce.
Another trick I swear by is using frozen cherries without thawing them first. If you thaw them, they release too much water and your filling will be watery. Just toss them in the sugar mixture frozen and bake. For more insight on how frozen fruit behaves in baking, check out this Wikipedia article on frozen fruit.
Finally, keep your butter very cold for the topping. Warm butter will melt into the flour and create a paste instead of a crumbly texture. If your kitchen is hot, chill the butter cubes in the freezer for 10 minutes before mixing.
Servings and Timing
This Easy Homemade Cherry Crumble Recipe makes 6 generous servings. The total prep time is about 15 minutes, and the bake time is 40 to 45 minutes. You will need an additional 20 minutes of resting time, so plan for about 1 hour and 20 minutes from start to finish.
Variations and Substitutions
If you want to make this gluten free, swap the all-purpose flour for a good 1-to-1 gluten free baking blend and use certified gluten free oats. For a lower sugar version, you can reduce the granulated sugar in the filling to 1/3 cup and use a sugar substitute like monk fruit in the topping. I have also made this Easy Homemade Cherry Crumble Recipe with sour cherries when they are in season, and it is incredible. Just increase the sugar in the filling by 2 tablespoons to balance the tartness.
What to Serve With This
This crumble is absolutely perfect with a scoop of vanilla ice cream. The cold creaminess against the warm, jammy cherries is a match made in heaven. I also love serving it with a dollop of fresh whipped cream. If you are looking for other fruity desserts, you have to try my [LINK: Easy Homemade Cherry Crumble Recipe]classic cherry crumble[/LINK] for a different take. For a completely different flavor profile, my [LINK: Peach Crisp]peach crisp[/LINK] is another family favorite.
Storage and Reheating
Store any leftover Easy Homemade Cherry Crumble Recipe in an airtight container in the refrigerator for up to 4 days. The topping will lose some of its crunch, but the flavor will still be amazing. To reheat, place a portion in a small oven-safe dish and warm it in a 350 degree F oven for about 10 minutes. You can also use the microwave, but the topping will be soft. If you want to revive the crunch, sprinkle a little extra brown sugar on top before reheating in the oven.
FAQs
Q: Can I use canned cherry pie filling instead of fresh cherries?
I do not recommend it. Canned pie filling already has thickeners and a lot of extra sugar. It will throw off the texture and sweetness of this Easy Homemade Cherry Crumble Recipe. Stick with fresh or frozen cherries for the best result.
Q: What if I accidentally leave the cherries marinating for an hour?
That is actually fine. The sugar will draw out even more juice, but do not worry. Just pour everything into the dish, including the juices, and proceed. The extra liquid will cook down in the oven. You might need to bake it for 5 extra minutes to make sure it thickens properly.
Q: Can I make this Easy Homemade Cherry Crumble Recipe in a cast iron skillet?
Absolutely. A 10-inch cast iron skillet works perfectly. You can even start the cherry filling on the stovetop to save time. Just be careful because the handle will be extremely hot when you take it out of the oven.
Q: My crumble topping turned into a solid sheet, what went wrong?
You likely overmixed the butter into the flour. When the butter is too warm or you work it too much, the flour absorbs the fat and creates a dough. Next time, use very cold butter and stop mixing when the mixture looks like coarse crumbs.
Q: Can I double this recipe for a crowd?
Yes. Use a 9×13 inch baking dish and increase the baking time to about 50 to 55 minutes. Keep an eye on the topping. If it gets too dark before the filling is bubbly, tent the dish loosely with foil for the last 10 minutes.
Conclusion
I truly believe this is the only Easy Homemade Cherry Crumble Recipe you will ever need. It is forgiving, adaptable, and absolutely delicious. I love how the tart cherries balance the sweet, buttery crumble. It feels like a warm hug in a bowl. I hope you make it for your family and love it as much as I do. Let me know how it turns out in the comments.
 | ||||||||||||||||||||||||||||||||||||||||||||||||||||||||||||
| ||||||||||||||||||||||||||||||||||||||||||||||||||||||||||||