


The Ultimate Guide to Canning Banana Peppers Made Easy
Why You’ll Love This Recipe
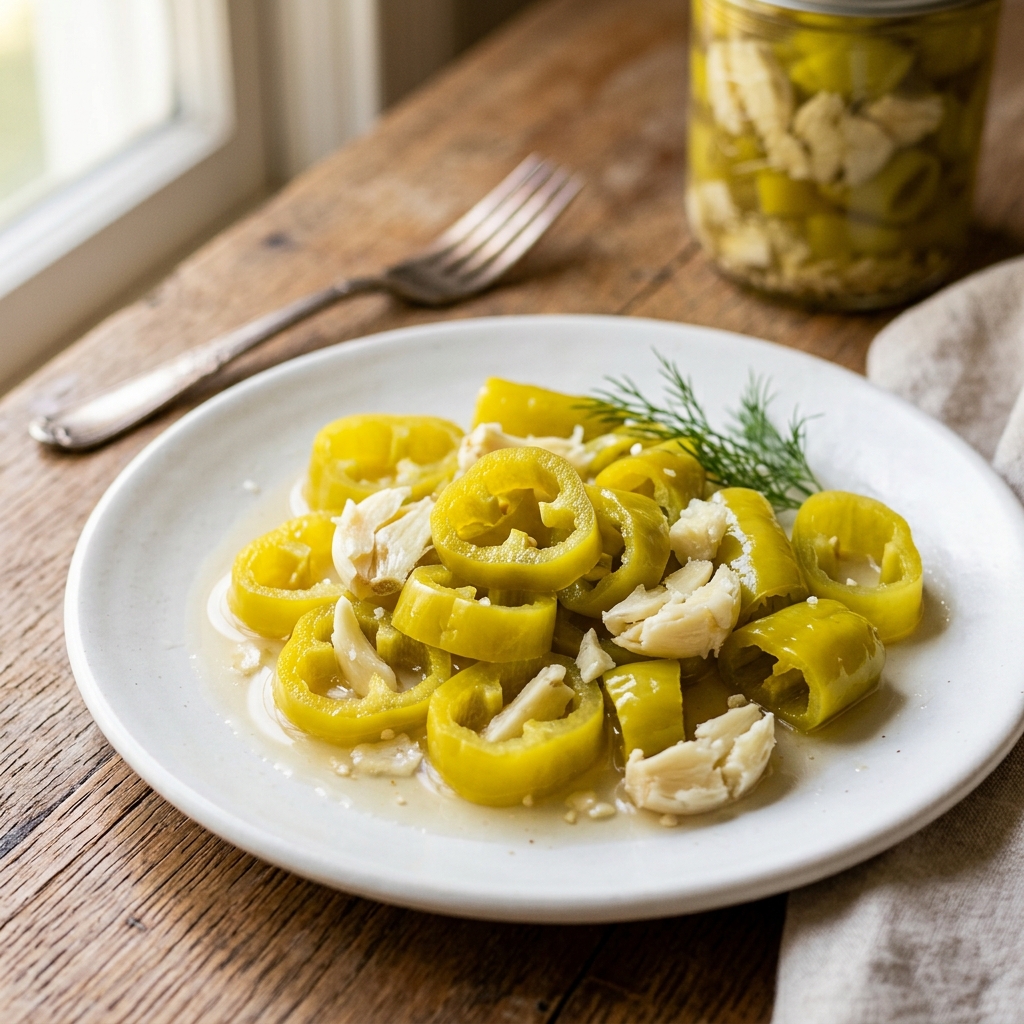
I have a small confession to make. The first time I tried preserving peppers, I ended up with a pantry full of mushy, flavorless jars. It was heartbreaking. I had spent hours picking peppers from my garden and prepping them, only to have them turn into a sad, limp mess. That failure is exactly why I spent an entire summer perfecting this method for Canning Banana Peppers Made Easy. I wanted a foolproof system that anyone could follow.
This recipe is the result of dozens of batches, a few minor kitchen mishaps, and one very memorable brine boil-over. It gives you crisp, tangy peppers that taste like summer in a jar. The key is a specific balance of vinegar and salt, plus a water bath processing time that preserves the pepper’s natural crunch. I have tested this with both sweet and hot banana peppers, and it works beautifully for both. If you want to learn more about the science behind preserving foods, canning is a fascinating process that uses heat to kill microorganisms and create a vacuum seal. This guide takes all the guesswork out of it so you can feel confident stocking your shelves.
Ingredients
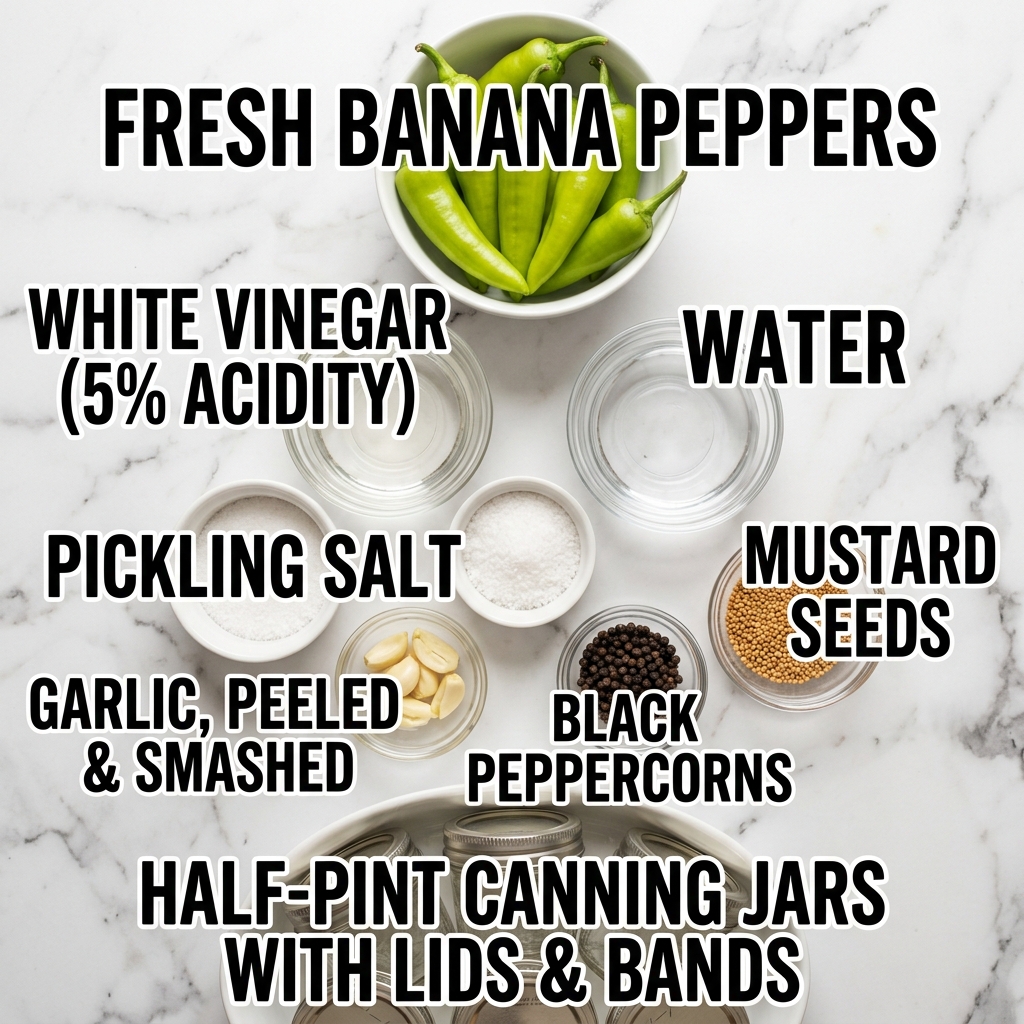
- 4 pounds fresh banana peppers
- 5 cups white vinegar (5% acidity)
- 2 cups water
- 3 tablespoons pickling salt
- 4 cloves garlic, peeled and smashed
- 2 teaspoons black peppercorns
- 1 teaspoon mustard seeds
- 4 half-pint canning jars with lids and bands
Step-by-Step Directions
- Start by washing your banana peppers thoroughly under cool running water. I like to pat them dry with a clean kitchen towel so the skins are easier to handle later.
- Put on some food-safe gloves. This is not optional if you are using hot peppers. Slice off the tops of each pepper, then use a small paring knife to remove the seeds and white membranes. I slice mine into rings about a quarter inch thick.
- Pack the pepper rings into your clean canning jars. I add one smashed garlic clove, a few peppercorns, and a pinch of mustard seeds to each jar before filling them with peppers. Leave about half an inch of headspace at the top.
- In a large stainless steel pot, combine the white vinegar, water, and pickling salt. Bring this mixture to a full rolling boil over high heat. You will smell the sharp vinegar aroma immediately.
- Carefully pour the hot brine over the peppers in each jar. Use a chopstick or a plastic knife to gently poke around the inside of the jar to release any trapped air bubbles.
- Wipe the rims of the jars with a clean, damp paper towel. Place the lids on and screw the bands on until they are fingertip tight. Do not overtighten them.
- Process the jars in a boiling water bath for 10 minutes. Make sure the water covers the jars by at least one inch. When the time is up, turn off the heat and let the jars sit in the water for five more minutes.
- Use a jar lifter to remove the jars and place them on a clean kitchen towel. Let them cool completely for 12 to 24 hours. You should hear a satisfying pop sound as each lid seals.
Pro Tips for Success
The most important thing for crisp peppers is the calcium in the water. If you have very soft water, the peppers can turn mushy. I add a small grape leaf or a pinch of calcium chloride to each jar to keep them crunchy. This trick came from an old family recipe and it has never failed me.
Always use vinegar with exactly 5% acidity. Anything less can make your brine unsafe for shelf storage. The pickling process relies on the acid level to prevent spoilage. Do not substitute white vinegar with apple cider vinegar unless you are prepared for a very different flavor and color.
Do not skip the resting time after processing. Let the jars sit undisturbed for at least 24 hours. This allows the flavors to meld and the peppers to fully absorb the brine. If you open a jar too soon, the peppers will taste flat.
Servings and Timing
This recipe yields four half-pint jars of pickled banana peppers. The total active prep time is about 30 minutes, with an additional 10 minutes for processing and 12 hours for cooling. You will have perfectly preserved peppers ready to enjoy for up to one year when stored in a cool, dark pantry.
Variations and Substitutions
If you prefer a sweeter pickle, add one tablespoon of granulated sugar to the brine. This creates a bread and butter style pepper that pairs wonderfully with sandwiches. For a spicy version, toss in a whole dried chili pepper or a teaspoon of red pepper flakes into each jar. You can also swap the mustard seeds for celery seeds or dill seeds to change the flavor profile. If you are short on time, you can skip the water bath and store these in the refrigerator for up to two months. Just pack the jars, pour the hot brine over them, and let them cool before putting the lids on and refrigerating.
What to Serve With This
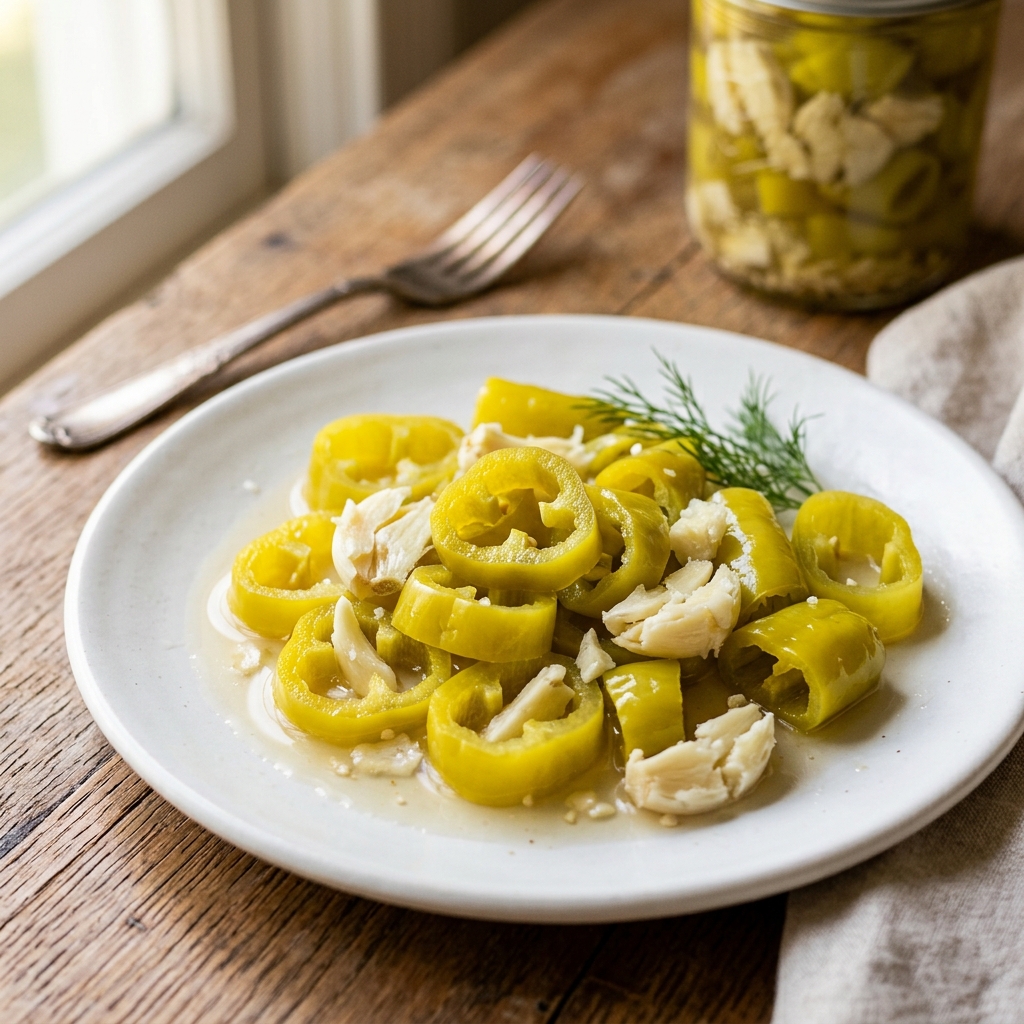
These pickled peppers are amazing on top of a juicy burger or piled onto a bratwurst. I love adding them to a charcuterie board with cheeses and cured meats. They also make a fantastic topping for tacos or nachos. If you are looking for another crunchy side dish, try my [LINK: Creamy Mango Smoothie Recipe | Easy 5-Minute Healthy Drink]refreshing mango smoothie[/LINK] to balance the tangy heat. For a heartier meal, check out my guide on [LINK: Canning Banana Peppers Made Easy]canning more garden vegetables[/LINK] to build a full pantry of preserved goods.
Storage and Reheating
Store your sealed jars in a cool, dark place like a pantry or basement. They will stay fresh for up to one year. Once you open a jar, keep it in the refrigerator and use the peppers within two weeks. You do not need to reheat these peppers. They are meant to be enjoyed cold or at room temperature straight from the jar. If you want to warm them slightly, you can toss them into a hot pan for just 30 seconds before serving.
FAQs
Q: Can I reuse the brine from a previous batch for a new batch of peppers?
I strongly advise against reusing brine. The acid level decreases significantly after the first use, which can make your new batch unsafe for shelf storage. Always make a fresh brine for each batch to ensure proper preservation.
Q: What happens if I accidentally leave the peppers fermenting on the counter for 48 hours before processing?
If you leave the jars unprocessed for that long, the peppers will start to ferment naturally. They will become slightly fizzy and develop a sour, tangy flavor similar to fermented pickles. They are still safe to eat if no mold appears, but they will not be shelf stable. You must refrigerate them immediately.
Q: My peppers turned a dull olive green color after processing. Is that normal?
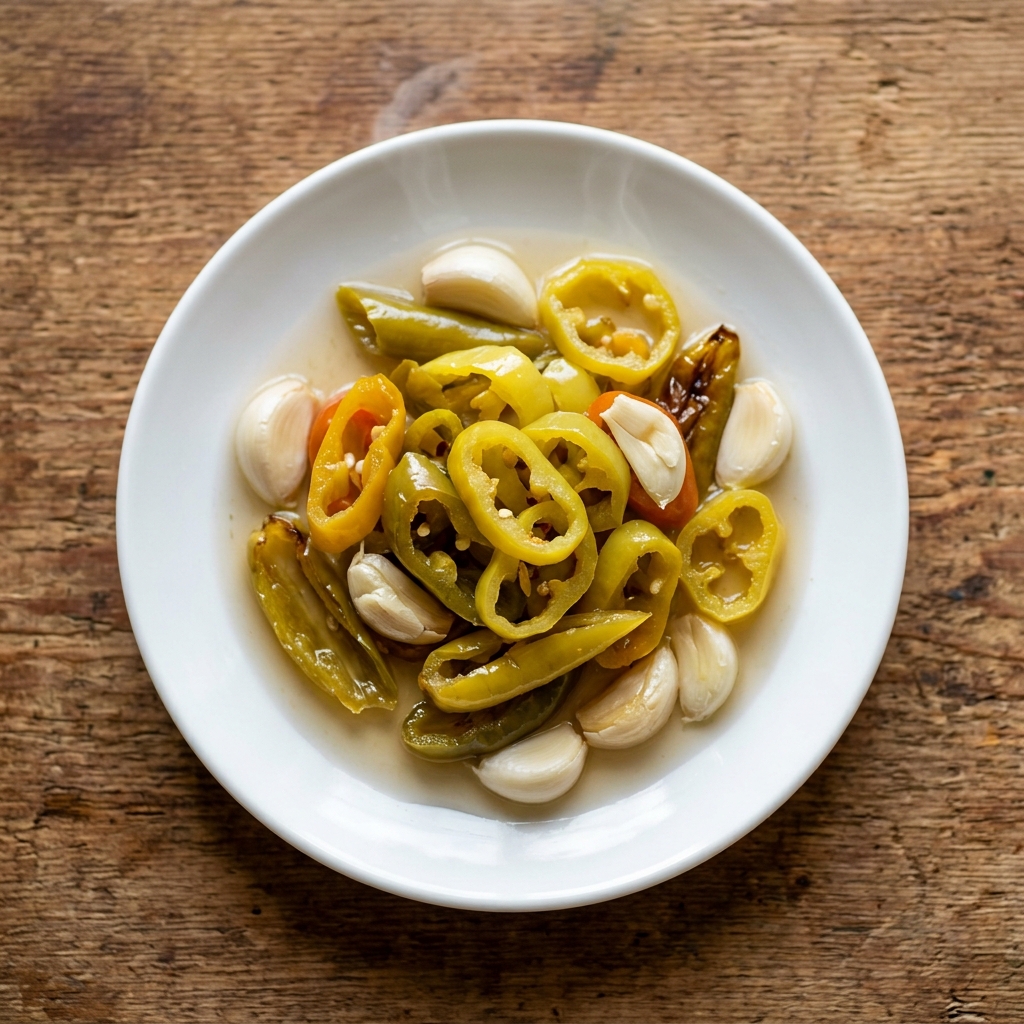
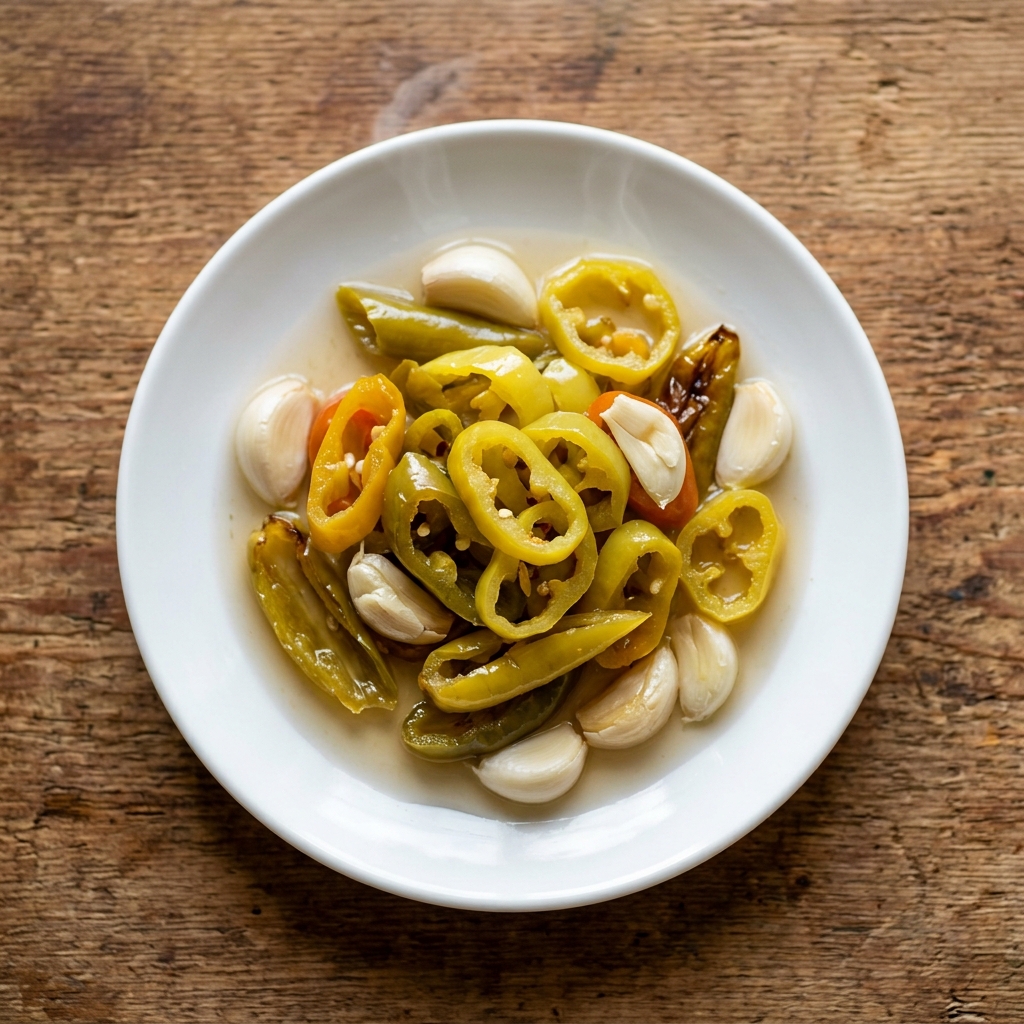
Yes, this is completely normal. The heat from the water bath causes the chlorophyll in the peppers to break down, resulting in a color shift from bright yellow-green to a muted olive tone. The flavor is still excellent.
Q: Can I use apple cider vinegar instead of white vinegar?
You can, but the flavor will be much more mellow and slightly fruity. The peppers will also take on a darker, more amber color. Make sure the apple cider vinegar is also 5% acidity. I personally prefer the clean, sharp taste of white vinegar for this recipe.
Q: My jars did not seal. Can I reprocess them?
Yes, you can reprocess unsealed jars within 24 hours. Remove the lids, wipe the rims clean, and use new lids. Process them again in the boiling water bath for the full 10 minutes. If they still do not seal, store them in the refrigerator and eat them within two months.
Conclusion
I hope this guide takes the fear out of preserving your own peppers. Canning Banana Peppers Made Easy is a project that feels incredibly rewarding when you see those jars lined up on your shelf. The first time I opened a jar of my own pickled peppers and tasted that perfect crunch, I knew all the trial and error was worth it. Give it a try this summer with your garden harvest. I promise you will be hooked. Let me know how your batch turns out.
 | ||||||||||||||||||||||||||||||||||||||||||||||||
| ||||||||||||||||||||||||||||||||||||||||||||||||